Fun at Home with Kids

15 Ocean Sensory Play Ideas for Kids

Tuesday, July 22, 2014

The ocean is full of amazing sensory experiences: various textures and scents, beautiful vibrant colors, and interesting sounds.  Sometimes you can't make it to the beach, though, and for those times, we've got you covered with 15 of the best Ocean Sensory Play Ideas for Kids.  There are ideas for babies, toddlers, preschoolers, and even older children here.  Click on each link below to get the full details/recipes for each post.  :)

15 of the best ideas for Ocean-themed Sensory Play.  Includes ideas for babies, toddlers, preschoolers, and older children.  From Fun at Home with Kids


Fizzing Hidden Ocean World from Fun at Home with Kids

Fizzing Hidden Ocean World from Fun at Home with Kids

Water Bead Seaside Sensory Tub from The Imagination Tree

 Water Bead Seaside Sensory Tub from The Imagination Tree


Soapy Sea Foam Sensory Play from Twodaloo

Icy Ocean Sensory Play and Ice Melt from Little Bins for Little Hands

Icy Ocean Sensory Play and Ice Melt from Little Bins for Little Hands

Edible Sand Beach Sensory Bin from Fun at Home with Kids

Edible Sand Beach Sensory Bin from Fun at Home with Kids

Sand Playdough with Loose Parts from Mama.Papa.Bubba

Sand Playdough with Loose Parts from Mama.Papa.Bubba


Toddler-Safe Play Sand and Beach Sensory World from Fun-A-Day


Ocean Themed Modeling Clay Activity for Kids from My Nearest and Dearest

Ocean in a Bottle from Happy Hooligans

Ocean in a Bottle from Happy Hooligans

Ocean Floor Discovery Bin and Sensory Play from My Nearest and Dearest

Ocean Floor Discovery Bin and Sensory Play from My Nearest and Dearest

Ocean Sensory Tub from No Time for Flashcards

Ocean Sensory Tub from No Time for Flashcards

Ocean Slime from Buggy and Buddy

Ocean Slime from Buggy and Buddy

Mermaid's Lagoon from My Small Potatoes

Mermaid's Lagoon from My Small Potatoes

Ocean Sensory Bag from Craftulate

Ocean Sensory Bag from Craftulate

Ocean Exploration on the Light Table from Still Playing School


Follow along with Fun at Home with Kids on FacebookGoogle+Pinterest or Subscribe by Email or Bloglovin'!

All activities here are activities I feel are safe for my own children.  As your child's parents/guardians, you will need to decide what you feel is safe for your family.  I always encourage contacting your child's pediatrician for guidance if you are not sure about the safety/age appropriateness of an activity. All activities on this blog are intended to be performed with adult supervision.  Appropriate and reasonable caution should be used when activities call for the use of materials that could potentially be harmful, such as scissors, or items that could present a choking risk (small items), or a drowning risk (water activities), and with introducing a new food/ingredient to a child (allergies).  Observe caution and safety at all times.  The author and blog disclaim liability for any damage, mishap, or injury that may occur from engaging in any of these activities on this blog.

Make Slime with Laundry Detergent (Liquid Starch alternative for UK)

Sunday, July 20, 2014

It's no secret that slimes are one of our favorite sensory materials here at Fun at Home with Kids.  During the Slime Week we ran on our Facebook page, I learned that liquid starch is not available in the UK and parts of Canada (and probably some other places as well!).  At the time, I didn't know of an alternative to borax or an alternative to liquid starch for making slime, but it motivated me to do some research and see if I could come up with a different non-toxic ingredient that would make slime.  S was soooo thrilled to learn UK folks can now make slime (she was crushed to learn that you couldn't) that she named this slime "England Slime".  (UPDATE:  Here is a link to a second recipe for UK readers that uses Kershaw's Laundry Starch)

How to make slime using laundry detergent!  A NEW recipe for slime making from Fun at Home with Kids that uses neither borax nor liquid starch.  You can find the necessary ingredients in the UK and Canada as well as in the US.
This post contains affiliate links for your convenience.

I minored in chemistry back in college - many years ago (and before a lot of sleep deprivation, hahaha) - but I knew the answer would be in the reaction between glue and liquid starch or borax.

How to make slime using laundry detergent!  A NEW recipe for slime making from Fun at Home with Kids that uses neither borax nor liquid starch.  You can find the necessary ingredients in the UK and Canada as well as in the US.

After doing a bit of research, I discovered that anything containing a borate ion would react with the polyvinyl alcohol in washable school glue.  A little more research, and I'd found out that borax and boric acid both produce the borate ion when added to water.

How to make slime using laundry detergent!  A NEW recipe for slime making from Fun at Home with Kids that uses neither borax nor liquid starch.  You can find the necessary ingredients in the UK and Canada as well as in the US.

So I needed to see if there was a source of borate ion (either borax or boric acid) that was readily available in the UK.

How to make slime using laundry detergent!  A NEW recipe for slime making from Fun at Home with Kids that uses neither borax nor liquid starch.  You can find the necessary ingredients in the UK and Canada as well as in the US.

I knew that borax is traditionally used in laundry detergents, so I started there.  It isn't as easy as one would hope, however, to find the ingredients in laundry detergents.  Because they aren't food, the manufacturers aren't required to disclose the ingredients on the labels.  So I looked up the MSDS sheets (these are available on brand websites) for several brands of laundry detergent that were widely available.  I also only looked at brands that were classified as non-toxic.

How to make slime using laundry detergent!  A NEW recipe for slime making from Fun at Home with Kids that uses neither borax nor liquid starch.  You can find the necessary ingredients in the UK and Canada as well as in the US.

UPDATE 11/19/15 - Though this has worked for over a year, I'm suddenly getting several reports that the 7th Generation is no longer working.  The website hasn't updated the ingredient list since May of this year, at which point the ingredients were still the same.  Update 11/22/15 - I was able to find a bottle of the new 7th Generation Free and Clear and the bottle no longer lists boric acid - the needed ingredient.  :(  Older versions of 7th Generation should still work, but the new formula won't work.

Eventually I hit gold with a few different brands, but most of the laundry detergents were scented and/or strongly colored, making them poor candidates for slime-making (pheeeew the smell was pretty overpowering with some of them).  At last I found the perfect laundry detergent (links for several International listings are at the bottom of the post).  Now mind you, you need to use this EXACT laundry detergent to make slime (not a different type of Tide).  Please keep in mind that not any laundry detergent will work, and not even every type of laundry detergent from this very brand will work.  Please also keep in mind that if you or your child regularly react to laundry detergents and have very sensitive skin, that creating a laundry detergent slime may irritate your skin.

How to make slime using laundry detergent!  A NEW recipe for slime making from Fun at Home with Kids that uses neither borax nor liquid starch.  You can find the necessary ingredients in the UK and Canada as well as in the US.

To make your slime, you will need a PVA-based glue.  In the US and Canada this is a washable school glue like Elmer's.  If you live outside the US, please read the safety warnings on the glue you choose.  There are several PVA-based glues that are commercial grade and are not meant to be handled.  I recommend selecting a non-toxic school glue for children.  You can use either clear or white glue.  We like using clear.  Add two bottles of glue (about 10 oz total, but this is very flexible) to a container and slowly add Liquid Tide Free and Gentle about a Tablespoon at a time, stirring each time.  Depending on the concentration (2x, 4x, and 8x concentration), you'll need to add anywhere from a few tablespoons to 1/4 cup or possibly slightly more.  Once your slime is no longer sticking to the sides of the container and is holding together in a big clump, you're done!  To see photos of what the process looks like, you can check out our How to Fix Slime That Didn't Work Out post - the process looks the same when you use the laundry detergent.  If your slime is at all sticky, add a teeny bit more laundry detergent and knead it in.  Though the ingredients are non-toxic, I only recommend this slime recipe for kids who aren't going to try tasting it.  We have edible slime recipes here if your child is still likely to taste.

Here are links to the correct laundry detergent for various countries:

US
Amazon US

UK

UPDATE:  I am getting lots of feedback that Almat is no longer working so I have removed that info from this post -- I believe that the ingredients have changed -- you may want to try this new recipe we created using Kershaw's Laundry Starch)

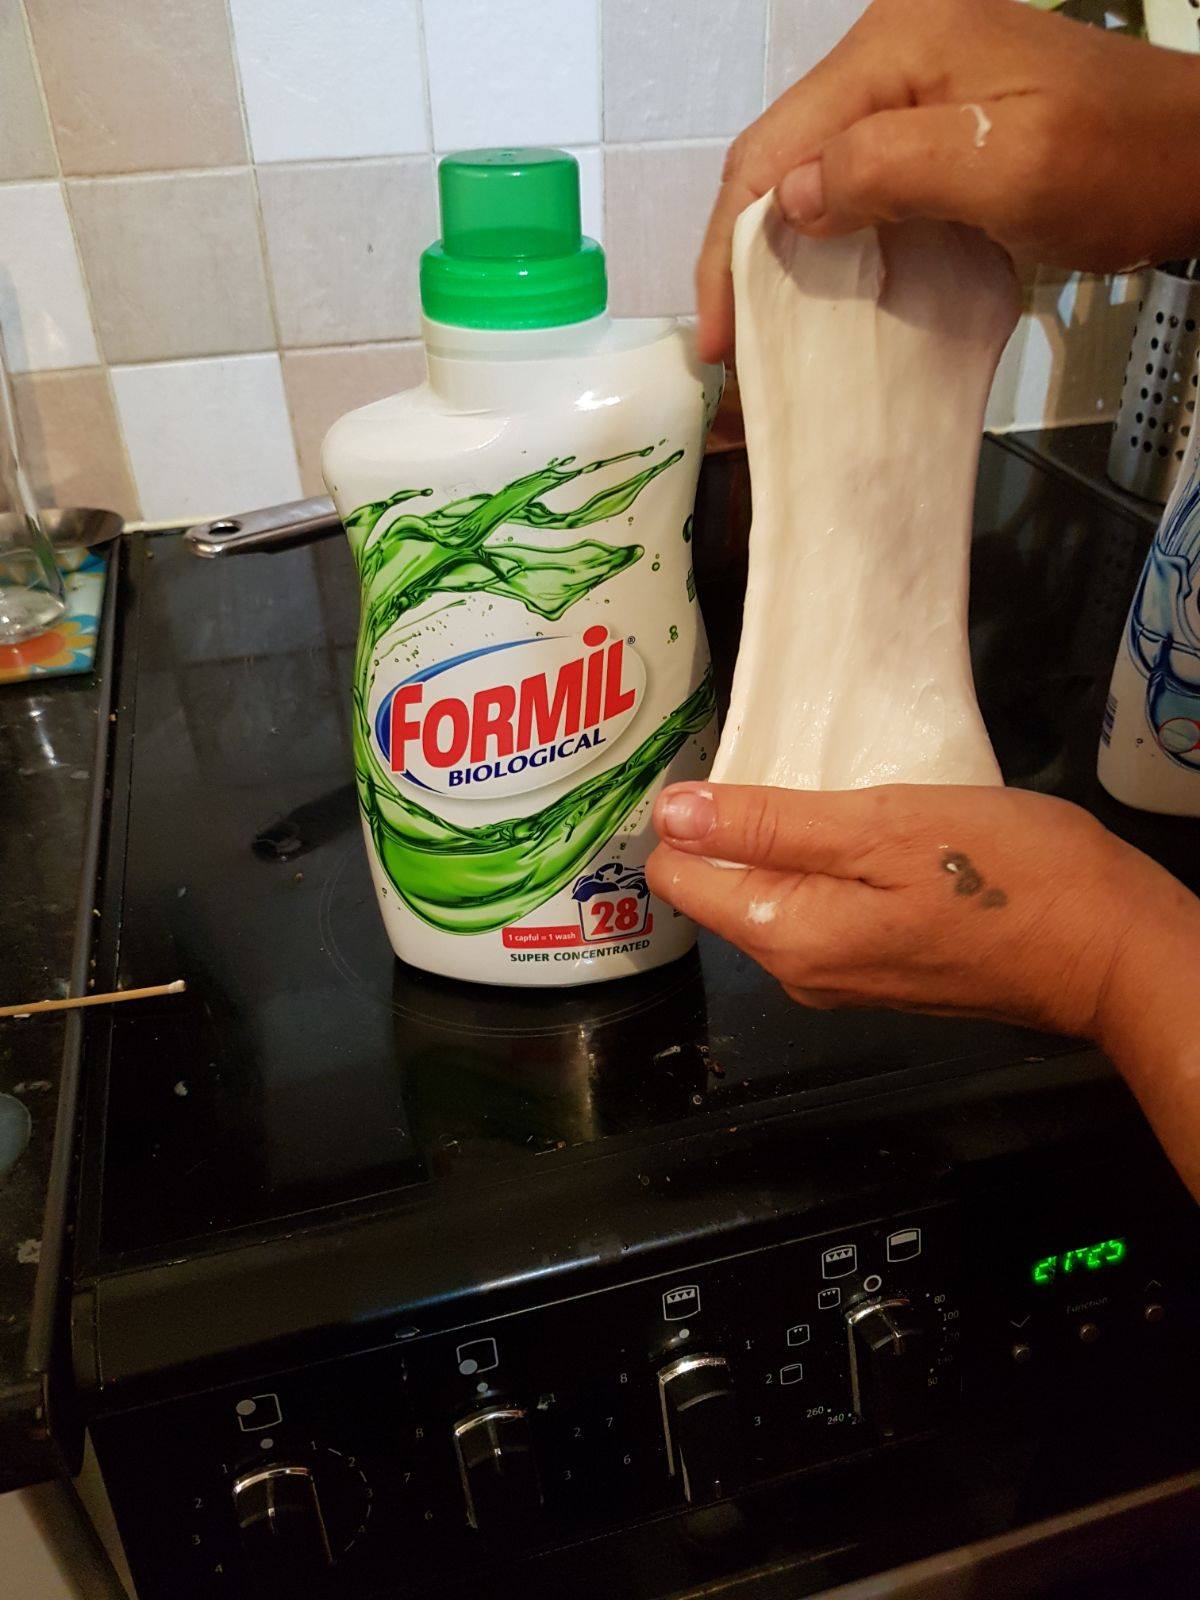
In light of the possible change in Almat ingredients, Sharon Pereira tried both Formil Bio and Non-Bio.  She reports that both work, but the Formil Non-Bio is a bit stickier.  So she recommends just using Formil Biological  (photo courtesy of Sharon Pereira).   Follow the same directions as listed above to make your slime.


Thank you to lovely Lucy for doing the legwork to find a CLEAR PVA glue for UK folks.  She confirms that this brand works with Aldi to make clear slime!!  So rad - thank you, Lucy!!!
Pritt PVA Clear Craft Glue


Canada
Amazon.ca (Canada)


Australia
I have not yet been able to locate an online store that carries Liquid Tide Free and Gentle, but I suspect there is one.  If you find one please let me know!  :)
And Aussies, Irresistible Ideas for Play Based Learning found an Aussie brand of liquid starch that works in this post.

South Africa
According to my online research, Ultra Ariel Liquid Detergent has the correct ingredient.

Malta
According to my online research, Liquid Universal Dixan, Blue Dixan Power Gel, and Multicolored Liquid Dixan all contain the correct ingredient.  I now have photo confirmation from a reader that Multicolored Liquid Dixan works to make slime!  Hooray!

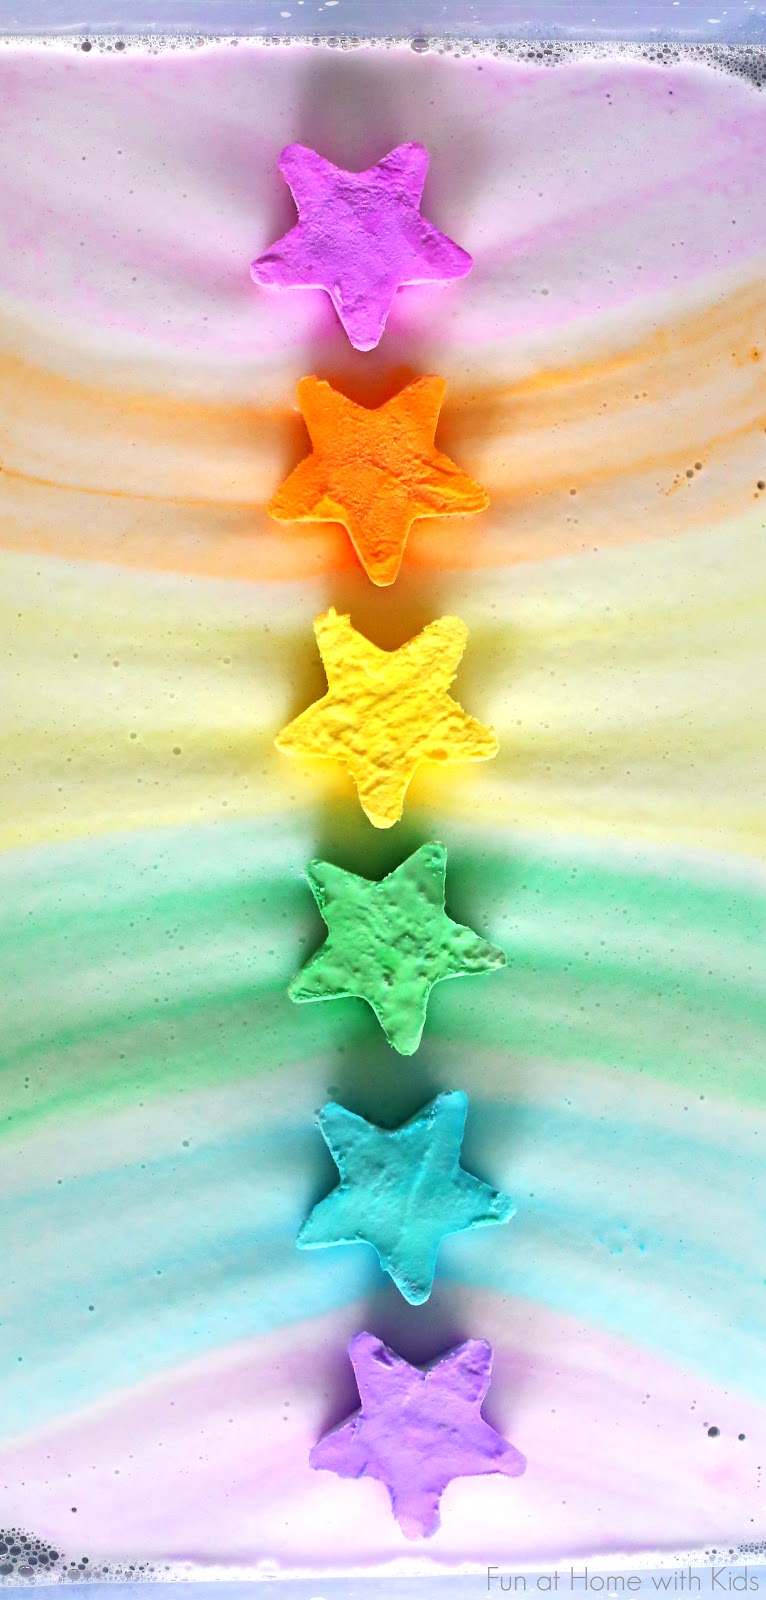
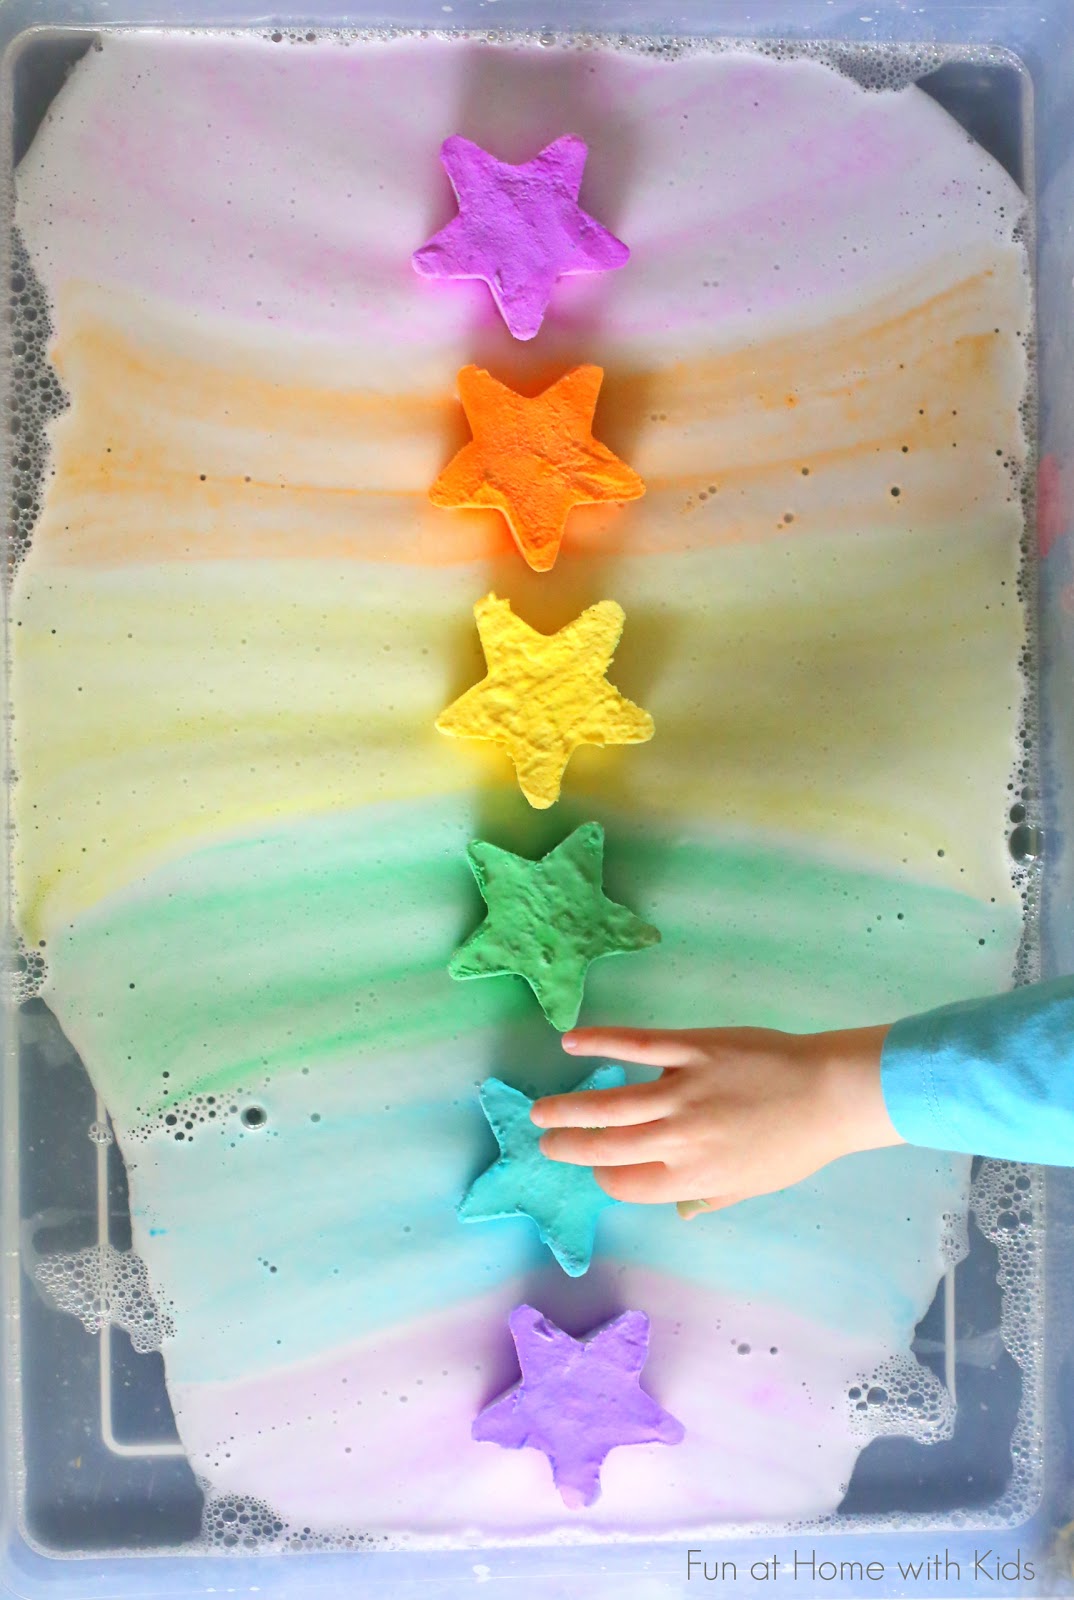
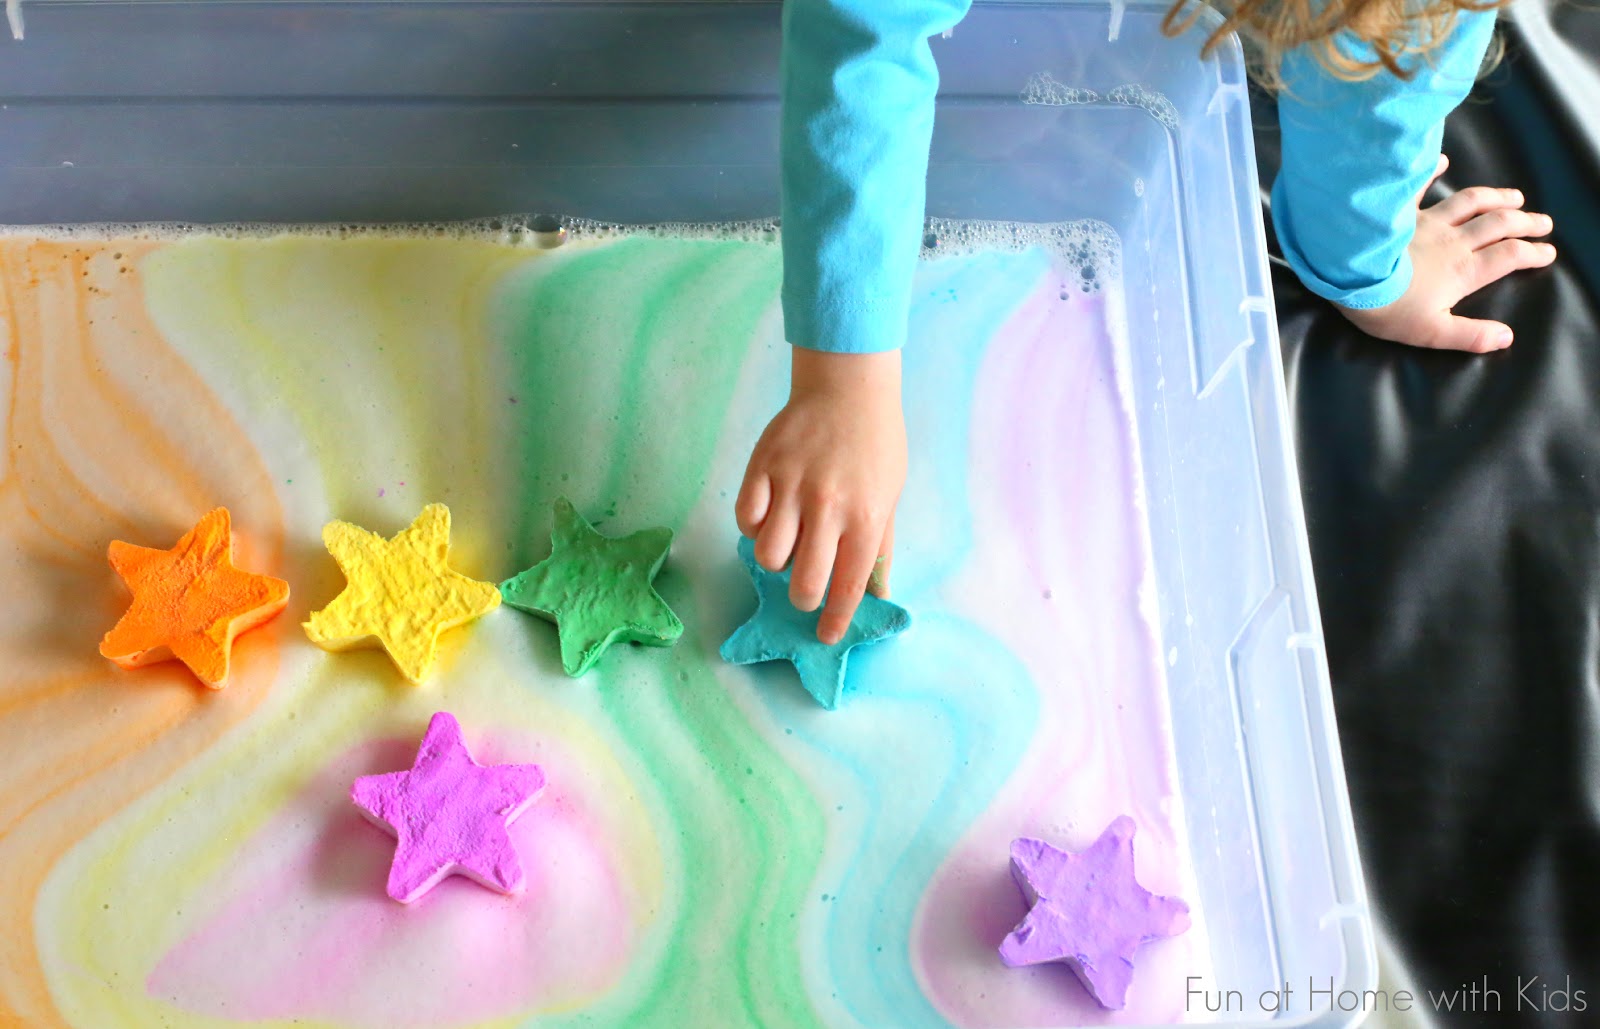
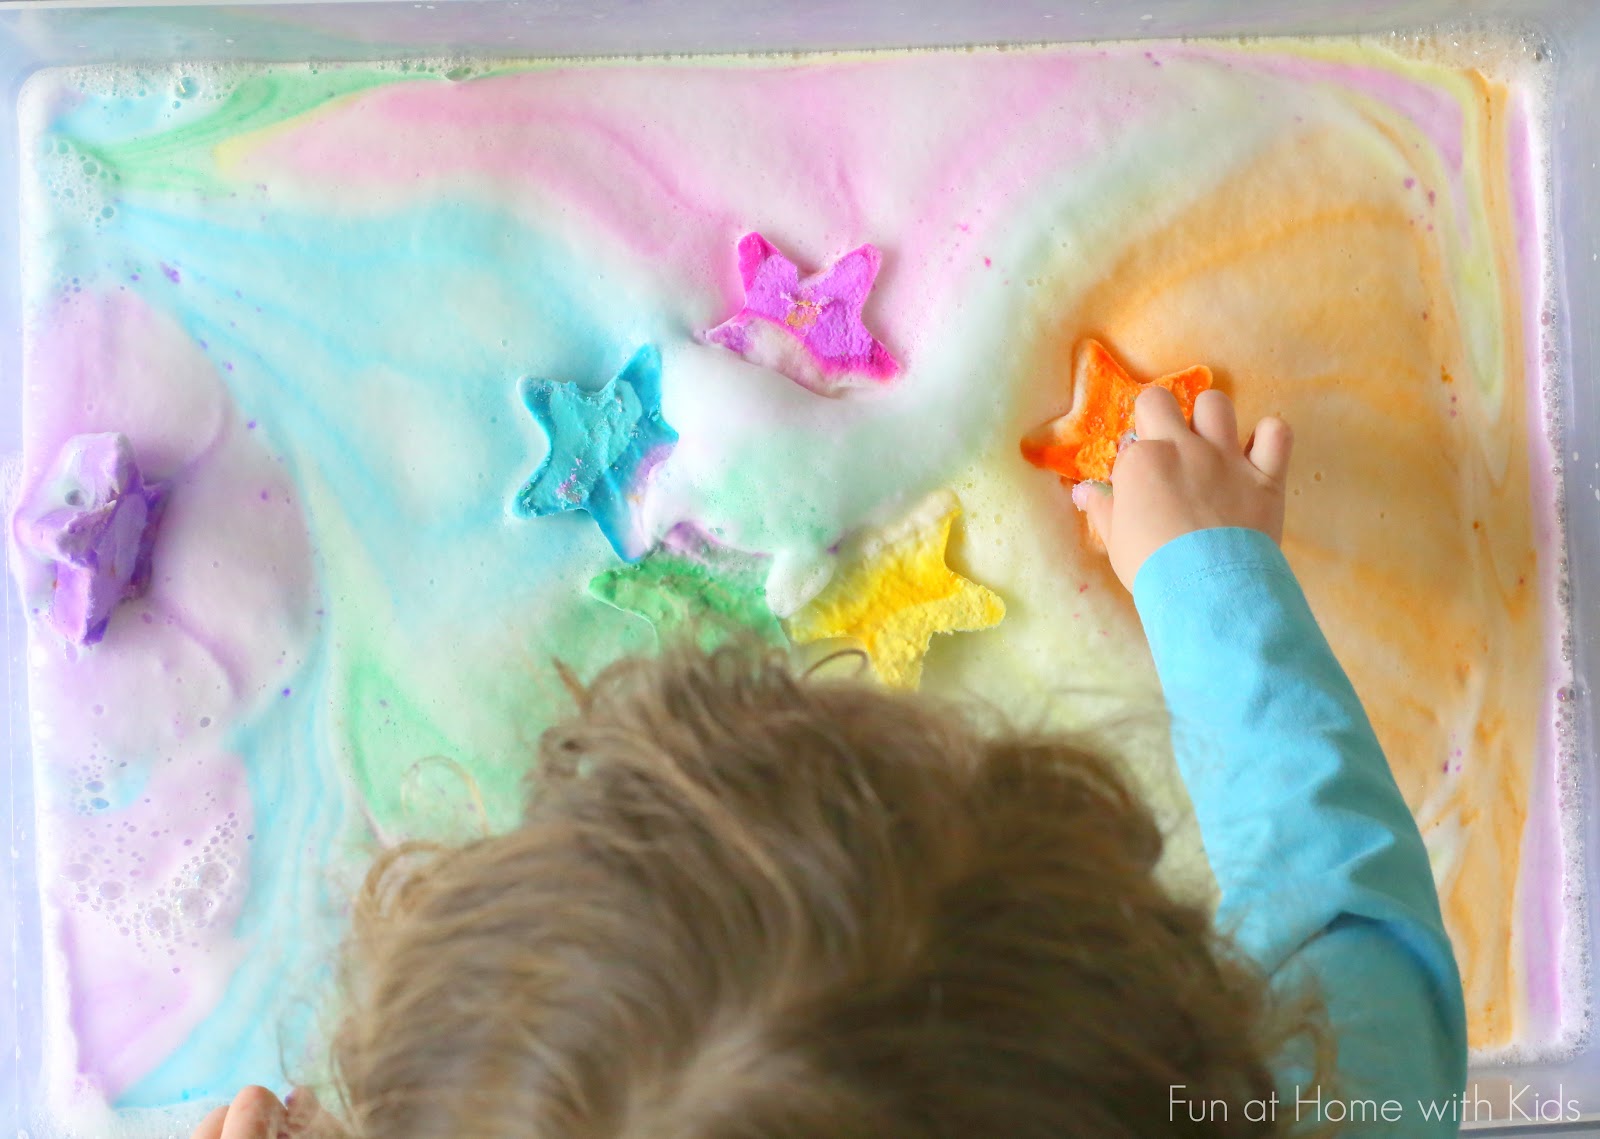
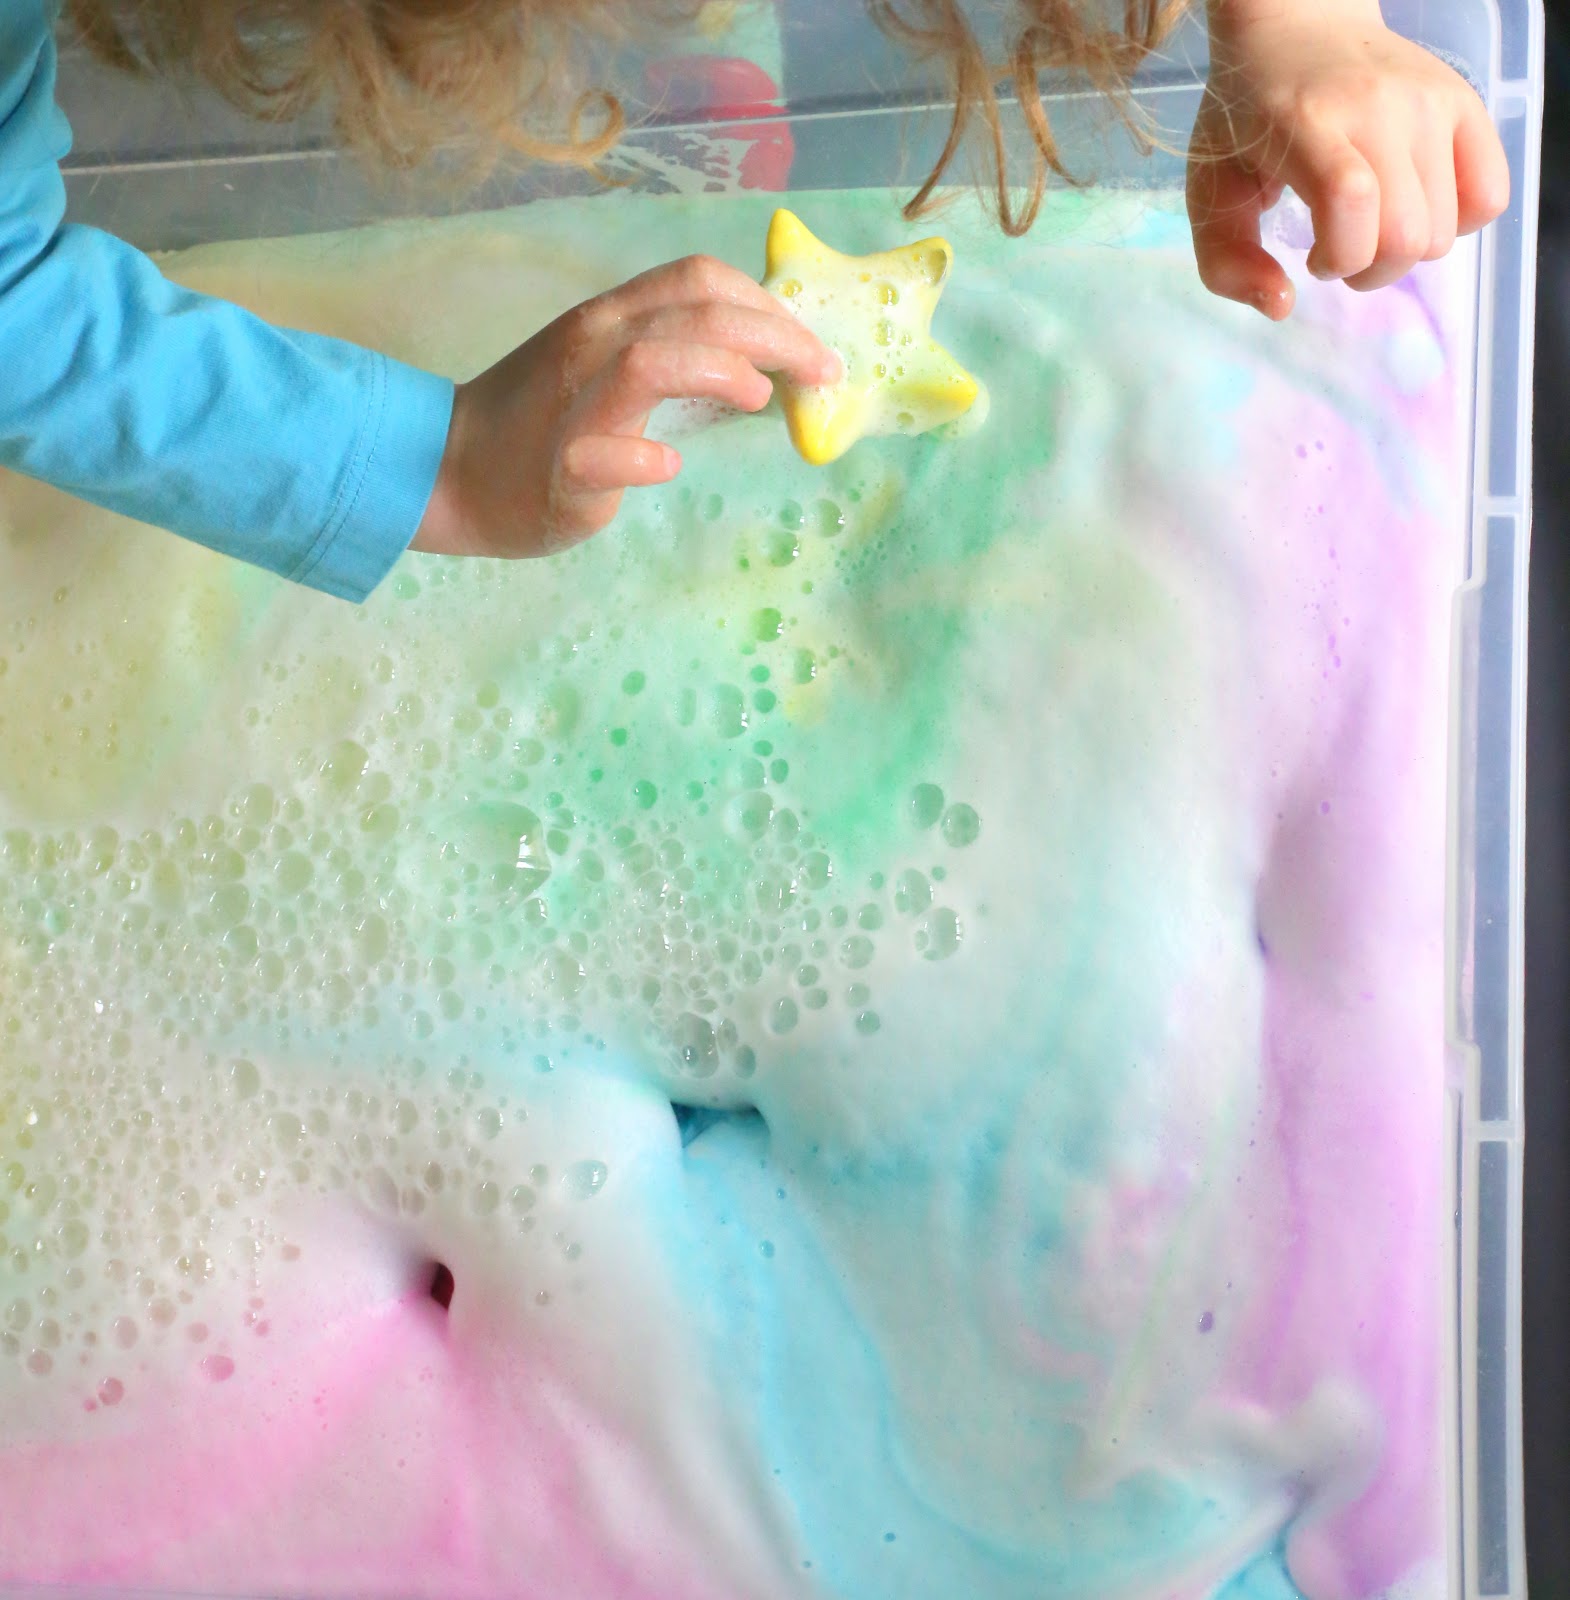
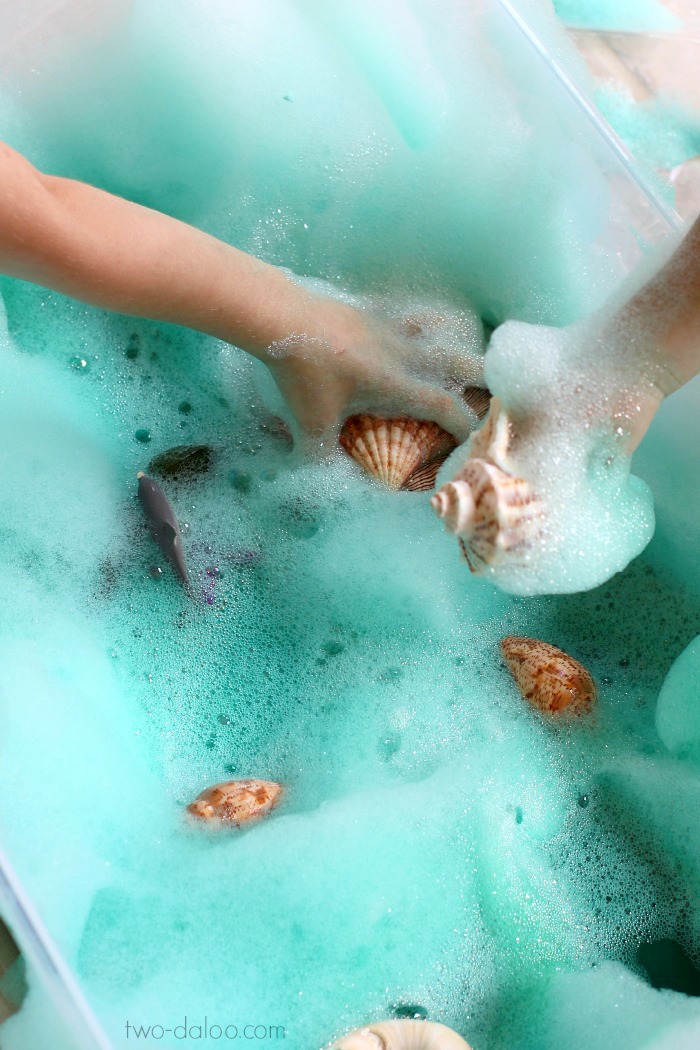
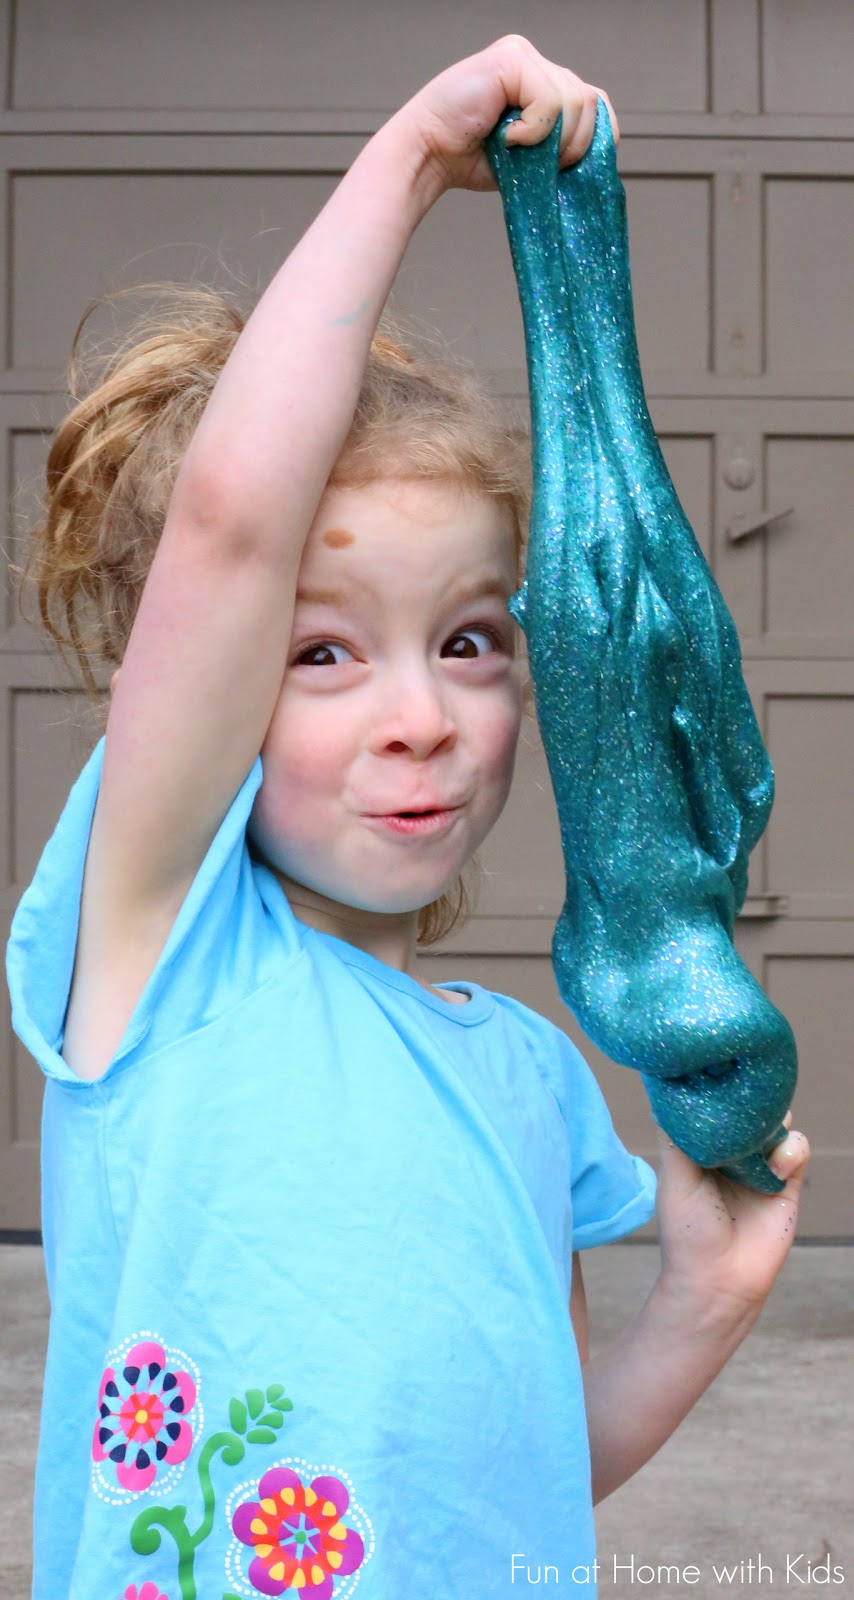
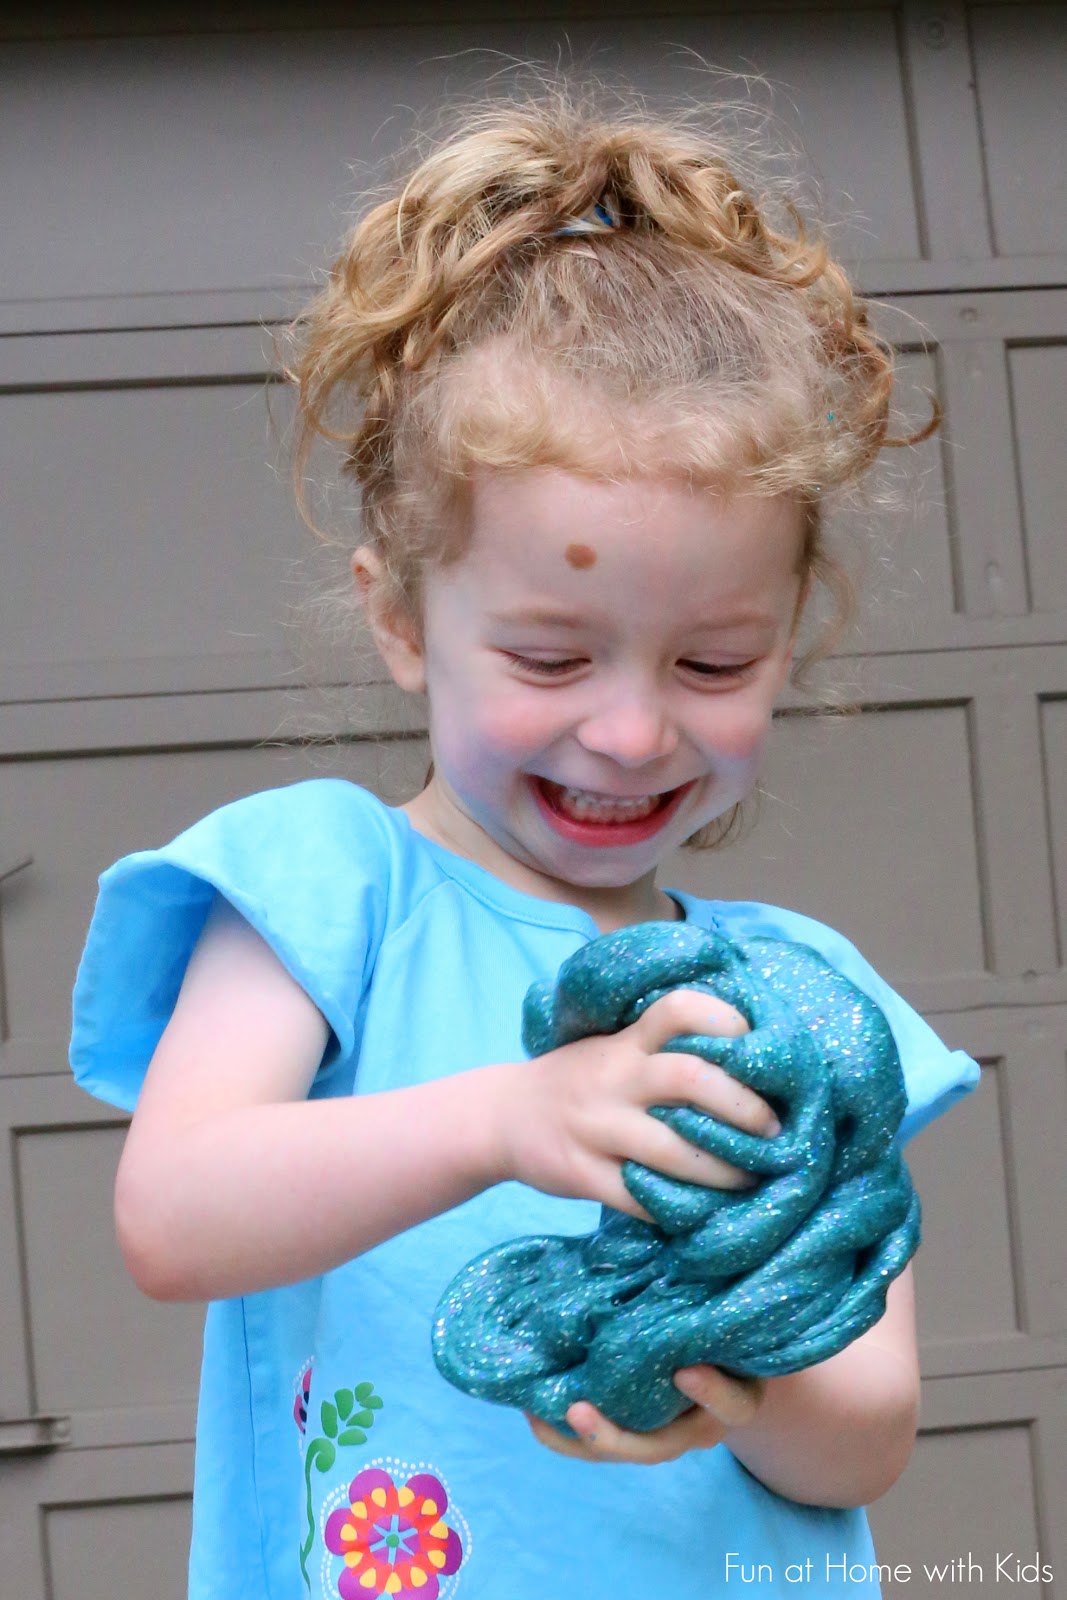
To make the slime you see pictured, we threw in a TON of extra ingredients - turquoise, silver, and green liquid watercolors and about seven different colors and shapes of glitter (about 3/4 of a cup of glitter in all, as we are very serious about our glitter).  If you don't have liquid watercolors, food coloring works as a substitute.  The slime will keep in an airtight container (tupperware or ziploc bag) for several weeks.  Oh and in case you wondered, yes, we actually are weird enough to have a slime photoshoot in our driveway.  :)

Brazil
Thank you to Zoe for trying out Ariel Liquid Detergent for us!  It works!!!!  :)

Other International Locations
I am happy to research whether your country has a laundry detergent that will work.  If you'd like me to look into it, please email me a list of the brand names of liquid laundry detergents commonly found in your stores at funathomewithkids@gmail.com.  Finding out what brands are readily available in some international locations is almost impossible for me, so sending me a list of names helps tremendously!  :)


Follow along with Fun at Home with Kids on FacebookGoogle+Pinterest or Subscribe by Email or Bloglovin'!

All activities here are activities I feel are safe for my own children.  As your child's parents/guardians, you will need to decide what you feel is safe for your family.  I always encourage contacting your child's pediatrician for guidance if you are not sure about the safety/age appropriateness of an activity. All activities on this blog are intended to be performed with adult supervision.  Appropriate and reasonable caution should be used when activities call for the use of materials that could potentially be harmful, such as scissors, or items that could present a choking risk (small items), or a drowning risk (water activities), and with introducing a new food/ingredient to a child (allergies).  Observe caution and safety at all times.  The author and blog disclaim liability for any damage, mishap, or injury that may occur from engaging in any of these activities on this blog.

Tinkerlab Book Review and Giveaway

Monday, July 14, 2014

Disclosure:  I was sent a complimentary copy of this book after agreeing to be a part of the online book tour.  All thoughts are my own, as always!  :)

I am so thrilled to be a part of the book tour for Tinkerlab: A Hands-on Guide for Little Inventors.  I discovered Rachelle's amazing website after I started blogging and loved that we shared the same ideas about play.  I was so excited to hear that she was working on a book at the time and feel so fortunate to have gotten an advance copy and been able to participate in her book tour.

Image courtesy of Amazon.com
This post contains affiliate links for your convenience.

My favorite thing about the Tinkerlab book is that, like the website, it focuses on open-ended play.  As a former science teacher, I place a very high value on allowing kids to "tinker".  Not only is it great for creativity, but it also helps later in life with problem-solving and develops a skill set useful in just about every profession.

The super fun activities in the book (over 55 in total!) are divided into four sections:  Design, Build, Concoct, and Discover.  The overarching theme of the whole book is allowing children the space to tinker and experiment.

Though we had a hard time choosing which activity to try first, S and I decided to build the Drawing Machine.  My scientific background is in the life sciences, so wires and circuits are not really my thing.  S LOVES them though, and thanks to the incredibly clear directions in the Tinkerlab book (after our supplies arrived via Amazon) we were all giggling as the Drawing Machine danced around our dining room table drawing up a storm!

Drawing Machine from Tinkerlab: A Hands-on Guide for Little Inventors

I love that after every activity, Rachelle lists some ideas for how to experiment further.  This is what science is all about!  Following her advice, we then designed and built a Spiral Rainbow Drawing Machine.  Using many of the same pieces (and a lot of tape), it was so cool to see that we could make an entirely different robot/pattern/experience!

Learn how to make DIY Drawing Machines from Tinkerlab: A Hands-on Guide for Little Inventors

The book has a wealth of information on how to set up your house to encourage tinkering - we've already taken Rachelle's advice and purchased an art cart identical to hers.  :)  We highly recommend this book to anyone with kiddos six and under!

Image courtesy of Amazon.com

Buy Tinkerlab: A Hands-on Guide for Little Inventors here:
And all good bookstores

You can find even more book reviews via this landing page for the Tinkerlab Book Tour and you can see a list of Book Tour Events on Rachelle's site here.

And one lucky reader will win a free copy of the Tinkerlab book!  This giveaway is open to readers with a US, UK, CA, and AU address.  Winner must respond to the email notification letting them know they've won within 48 hours or another winner will be selected.


50+ Creative Activities for Babies

Sunday, July 13, 2014

Babies can do so many things!  They are so eager to learn about just about everything - they just love exploring and playing.  Here is a compilation of all of our activities for babies.  This list is perfect for little ones who are sitting on their own.  For babies from newborns to around 4 or 6 months - check out this post on First Sensory Experiences.  The rest of these activities are designed for infants who are 6 months and up.  They may be enjoyed through the toddler years and some even beyond that!  You'll find lots of baby art and baby sensory play ideas to keep your baby entertained.  Some items may present a choking hazard depending on their size (talk to your pediatrician if you're not sure what size would cause a risk) and all edible sensory plays are not intended to be consumed in full, but rather are safe if infants try a few mouthfuls as they play.

Over 50 ways to entertain your baby!   Creative ideas for first art projects and TONS of ideas for edible (taste-safe) sensory play from Fun at Home with Kids

In no particular order, here are over 50 creative ideas for playing with your baby.  Click on each link to get to the post with the full details (and photos!):


 Get a little wet with some Simple Water Play

 Play with Rainbow Spaghetti

Search and find with some Rice Play

Explore Cotton Balls


Play with Edible Cloud Dough

Make some first art using Edible Natural Dye Fingerpaints

Learn about the season with a Nature Sensory Board

Investigate Edible Gelatin

Play with Dried Pasta Shapes

Dig through a Life-Sized Easter Basket

Learn about Warm and Cold

Explore a Crazy Yarn Maze

Touch some Fluffy Soap Foam

Discover the strange properties of Cornstarch and Water

Make music with DIY Egg Shakers

Interact with a Sticky Table

Check out some strange new toys with Kitchen Play (part one)

Learn about textures with Kitchen Play (part two)

Squeeeeeze some Wet Cotton Balls

Bring the outside in with some Nature Floor Play

Dig for worms in our Edible Dirt and Worms sensory play

Paint with vibrant Scented Edible Fingerpaints

Run your fingers through some Birdseed

Explore various textures with an Oatmeal Textures Sensory Bin

Poke at Frozen Gelatin

Make some Colored Rice Art

Enjoy a Squish Bag or Mess-Free Fingerpainting

Investigate things that Float

Play in a Water Table

Take your art outside with some Edible Scented Sidewalk Paint

Cool off with some Frozen Scented Chalk Play

Hang out in an Edible Sand Beach Bin

Play in a Giant Frog Pond or Giant Ocean

Ooh and aah over some brightly Glowing Edible Oobleck

Take a bath in some brightly glowing Safe (Edible) Glow Water

Stick brightly colored DIY Rainbow Pasta on your fingers

Catch a Glowing Gelatin Star

Make some art with Scented Whipped Paints

Check out some spooky Edible Glowing Spiderwebs

Play with Edible Slime or Edible Chia or Flax Slime

Make some easy Suncatcher Art to decorate your windows

Drop things in a DIY Drop Box

Scoop and Pour some Edible Colored Seeds

Make "snowballs" out of Edible Pretend Snow

Squish some Edible Gluten-Free No Cook Playdough (for ideas on Introducing Playdough click here)


Poke some squishy Pretend Edible Eyeballs

Slither with some Pretend Snakes

Sculpt with some No Cook Edible Pumpkin Play Clay

Stir some Polka Dot Soup

Over 50 ways to entertain your baby!   Creative ideas for first art projects and TONS of ideas for edible (taste-safe) sensory play from Fun at Home with Kids


Over 50 ways to entertain your baby!   Creative ideas for first art projects and TONS of ideas for edible (taste-safe) sensory play from Fun at Home with Kids

Follow along with Fun at Home with Kids on FacebookGoogle+Pinterest or Subscribe by Email or Bloglovin'!

All activities here are activities I feel are safe for my own children.  As your child's parents/guardians, you will need to decide what you feel is safe for your family.  I always encourage contacting your child's pediatrician for guidance if you are not sure about the safety/age appropriateness of an activity. All activities on this blog are intended to be performed with adult supervision.  Appropriate and reasonable caution should be used when activities call for the use of materials that could potentially be harmful, such as scissors, or items that could present a choking risk (small items), or a drowning risk (water activities), and with introducing a new food/ingredient to a child (allergies).  Observe caution and safety at all times.  The author and blog disclaim liability for any damage, mishap, or injury that may occur from engaging in any of these activities on this blog.

Magic Foaming Treasure Stars

Tuesday, July 8, 2014

Ever since I created our recipe for Foaming Dough, I've been bent on figuring out a way to make Magic Foaming Stars.  Though it might seem like a straightforward thing, it was anything but!  I made lots of stars that just did not foam well.  I kept trying because I won't post anything on the blog until I think it's perfect.  And these?  PERFECT.

A NEW play recipe:  Magic Foaming Stars.  Add them to your shallow tray and watch as they shoot out rays of colored foam.  Search through the mound of puffy ice cold foam produced to find the treasures once hidden inside.  From Fun at Home with Kids

After you set them in your shallow tray, colored foam shoots out from them.  It's pretty amazing to watch.

A NEW play recipe:  Magic Foaming Stars.  Add them to your shallow tray and watch as they shoot out rays of colored foam.  Search through the mound of puffy ice cold foam produced to find the treasures once hidden inside.  From Fun at Home with Kids

S experimented with moving them around.  The colored foam continues to shoot out for quite some time, so she got to make interesting colored patterns by moving them as they foamed.

A NEW play recipe:  Magic Foaming Stars.  Add them to your shallow tray and watch as they shoot out rays of colored foam.  Search through the mound of puffy ice cold foam produced to find the treasures once hidden inside.  From Fun at Home with Kids

Seriously, how beautiful is this?  The pictures do not even do it justice.  You've gotta try this one!

A NEW play recipe:  Magic Foaming Stars.  Add them to your shallow tray and watch as they shoot out rays of colored foam.  Search through the mound of puffy ice cold foam produced to find the treasures once hidden inside.  From Fun at Home with Kids

When S asked what they were called, she honed in on the "treasure" part of the name and began chipping away with her fingers to see what she could find.

A NEW play recipe:  Magic Foaming Stars.  Add them to your shallow tray and watch as they shoot out rays of colored foam.  Search through the mound of puffy ice cold foam produced to find the treasures once hidden inside.  From Fun at Home with Kids

This yellow star had released some of its treasure already.  Searching through the cold and fluffy rainbow foam for it is definitely part of the fun.

A NEW play recipe:  Magic Foaming Stars.  Add them to your shallow tray and watch as they shoot out rays of colored foam.  Search through the mound of puffy ice cold foam produced to find the treasures once hidden inside.  From Fun at Home with Kids

Bingo!  Found one!

A NEW play recipe:  Magic Foaming Stars.  Add them to your shallow tray and watch as they shoot out rays of colored foam.  Search through the mound of puffy ice cold foam produced to find the treasures once hidden inside.  From Fun at Home with Kids

All in all a SERIOUS amount of fun and oohing and aahing was had.  And all for just a few minutes of prep ahead of time.  See - I told you they're finally perfect!  :)

To make your own Magic Foaming Treasure Stars, you will need:

Baking Soda (aka Sodium Bicarbonate for International readers)
Vinegar
Water
Dish Soap (aka Washing up Liquid for International readers)
Liquid watercolors (or food coloring, but food coloring may cause some temporary hand staining)

For each star (since I wanted to make a rainbow), I mixed 1/4 cup of baking soda with 1 teaspoon of liquid watercolors and 1 teaspoon of water until the color was evenly distributed (if you are using food coloring, use a few drops and 2 teaspoons of water).  Then I packed about half of the mixture into the star mold and added some plastic gems I got at a craft store to the center of the half-filled star.  After the plastic gems were added, I packed in the remainder of the "dough" and smoothed the top.  I repeated this process for each star.  Once the mold was filled, I placed it in the freezer overnight.

The next day I grabbed a shallow bin and filled the bottom with a few inches of vinegar (this equated to several cups of vinegar, but don't worry about getting it exact - you can always add more if you notice the foaming reaction slowing down) and then added a few squirts of dish soap (roughly 2 teaspoons) and veeeerrry gently swished a few times to mix the two.  Then I took the stars out of the freezer, popped them out of their molds and added them to the vinegar.  

For the BEST foaming reaction, be sure that the vinegar level is lower than the top of your stars.  If you notice that the stars are shooting less colored foam (or stop altogether) as time goes on, gently add some more vinegar to your container.  As long as there is enough fresh vinegar, the stars will create a HUGE mountain of foam for playing!


Follow along with Fun at Home with Kids on FacebookGoogle+Pinterest or Subscribe by Email or Bloglovin'!

All activities here are activities I feel are safe for my own children.  As your child's parents/guardians, you will need to decide what you feel is safe for your family.  I always encourage contacting your child's pediatrician for guidance if you are not sure about the safety/age appropriateness of an activity. All activities on this blog are intended to be performed with adult supervision.  Appropriate and reasonable caution should be used when activities call for the use of materials that could potentially be harmful, such as scissors, or items that could present a choking risk (small items), or a drowning risk (water activities), and with introducing a new food/ingredient to a child (allergies).  Observe caution and safety at all times.  The author and blog disclaim liability for any damage, mishap, or injury that may occur from engaging in any of these activities on this blog.