
We love a good DIY toy around here - especially one that uses a cardboard box. (We are avid Amazon shoppers). I first saw a drop box on Play at Home Mom. It's such a genius idea! Since it's winter here, I decided to make a snowman drop box. I knew X would be in toddler heaven, but I was surprised to find that S loved it just as much!
Doesn't he look super friendly? X isn't old enough to learn his shapes, but if you have an older toddler, this would be a nice playful way to incorporate some shape/color learning.

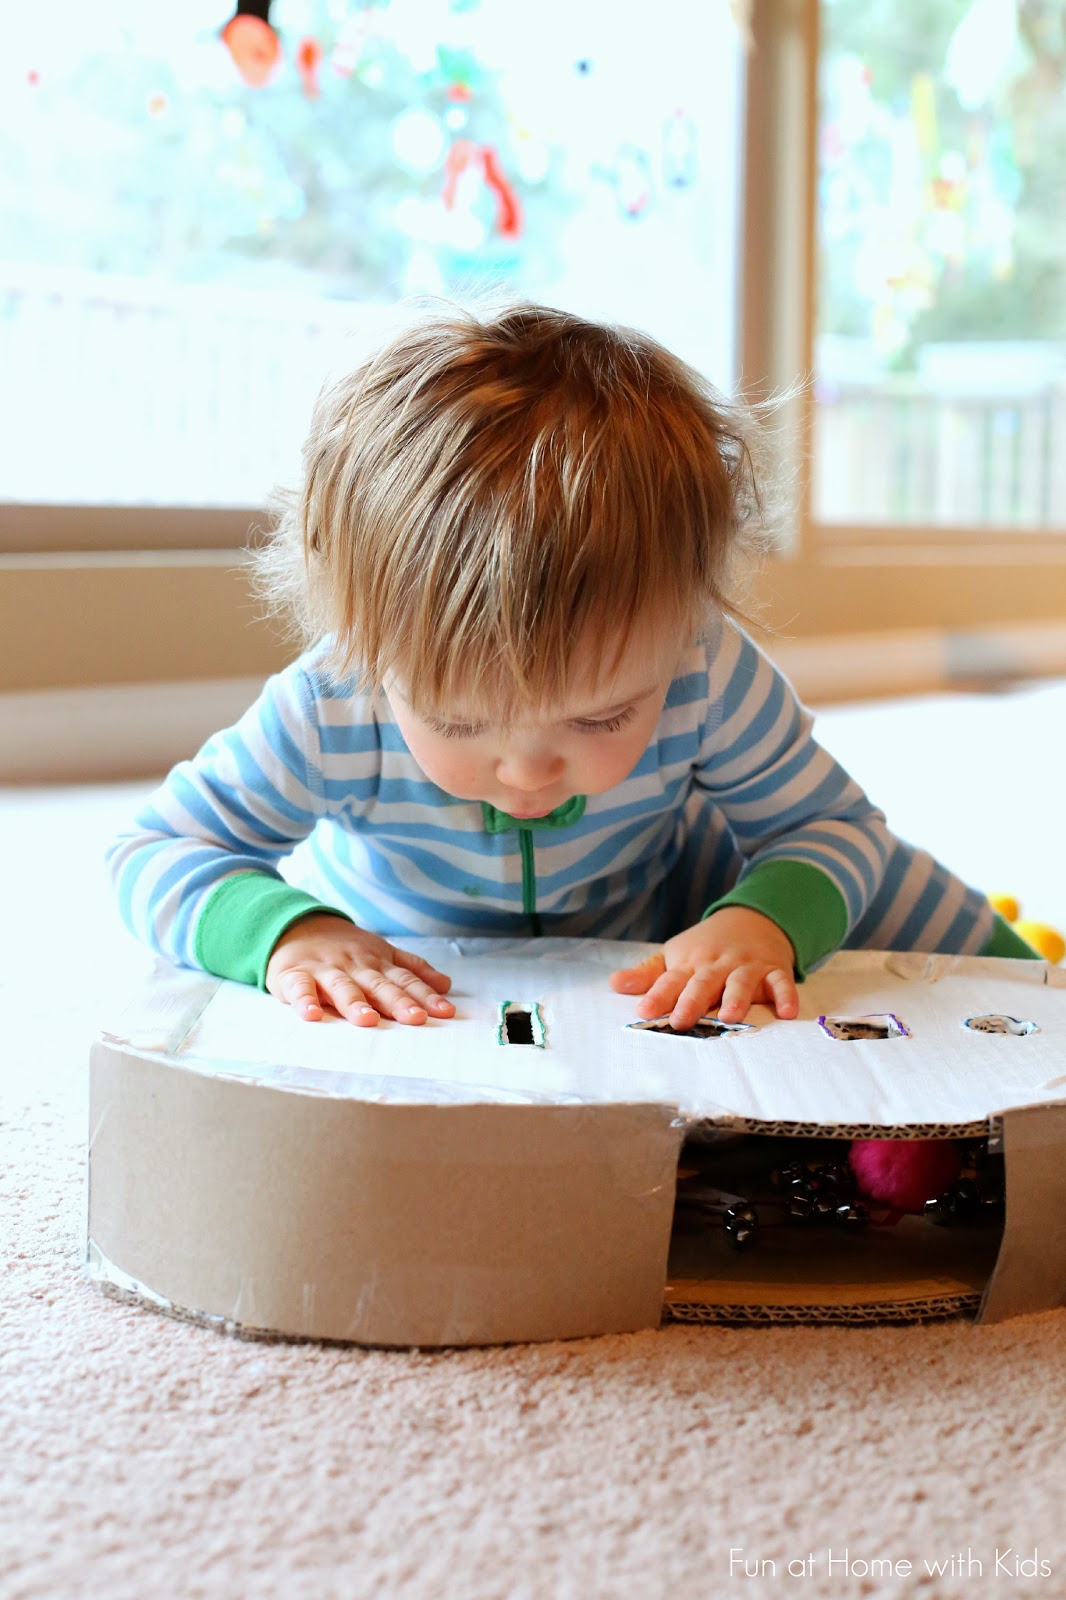
Here S is poking a giant pom pom through the snowman's circle eye.

It was a great lesson for X on what would and would not fit. He really wanted to drop that big blue jingle bell through the thin slot and it just would not fit! Please note some items shown here do present choking hazards. If you would like to do this activity with a baby or toddler who is still mouthing toys, I recommend cutting larger holes and playing with items that are not a choking risk. Even if your child is no longer mouthing, please provide close and constant supervision if you choose to include chokable items in this activity.

The jingle bells were S's idea and they were perfect. The made such a satisfying little jingle as they dropped into the snowman's belly. :)

X loooooved this activity. He would shout "YAAAAAAYYY!" and clap his hands every time he got something in. It really was the cutest thing ever.

Sibling teamwork!!!

One of S's favorite jobs was emptying him of all the goodies. It was like a giant piñata!

This post contains affiliate links for your convenience.
To make your own drop box snowman, you'll need some sturdy cardboard. Roughly draw a snowman shape and using a box cutter or xacto knife
AWAY FROM CHILDREN, cut out the snowman. If you wish to add shapes to his face, draw and cut those the same way. Use the snowman as a template to trace and cut out the snowman that will become the bottom of your box. Using a more pliable cardboard - we found that cereal boxes worked well - cut strips and apply them to the edges of your snowman. You can either use hot glue or packing tape
to attach the more pliable cardboard to the snowman front and back (we used packing tape). Be sure to leave a gap somewhere along the snowman so you can get the dropped items out again.
or xacto knife
AWAY FROM CHILDREN, cut out the snowman. If you wish to add shapes to his face, draw and cut those the same way. Use the snowman as a template to trace and cut out the snowman that will become the bottom of your box. Using a more pliable cardboard - we found that cereal boxes worked well - cut strips and apply them to the edges of your snowman. You can either use hot glue or packing tape
to attach the more pliable cardboard to the snowman front and back (we used packing tape). Be sure to leave a gap somewhere along the snowman so you can get the dropped items out again.

To give his features more reinforcement, I lined them all with hot glue. I also punched a hole in each side with my scissor tip and hot glued two branch arms in place.

S helped me paint his front with white paint and then I outlined his features with markers.
.jpg)
For more snowman fun be sure to check out our new recipe for Foaming Dough - uncolored it makes the perfect snow for erupting snowmen into icy frothy foam!
Follow along with Fun at Home with Kids on Facebook, Google+, Pinterest or Subscribe by Email or Bloglovin'!
All activities here are activities I feel are safe for my own children. As your child's parents/guardians, you will need to decide what you feel is safe for your family. I always encourage contacting your child's pediatrician for guidance if you are not sure about the safety/age appropriateness of an activity. All activities on this blog are intended to be performed with adult supervision. Appropriate and reasonable caution should be used when activities call for the use of materials that could potentially be harmful, such as scissors, or items that could present a choking risk (small items), or a drowning risk (water activities), and with introducing a new food/ingredient to a child (allergies). Observe caution and safety at all times. The author and blog disclaim liability for any damage, mishap, or injury that may occur from engaging in any of these activities on this blog.


Eeek! I love it!! What an adorable idea! :)
ReplyDeleteThank you, Blayne! Kingston would LOVE one. X went NUTS for it. Play at Home Mom was so clever creating drop boxes!!!!
DeleteWonderful idea. My 14 month old is going to love this one! I wish he didn't still love to eat EVERYTHING. Especially pompoms.
DeleteThank you, Jenny! Aw, man! Well, pompoms are delightfully colored and fluffy! If you get a bigger box you should be able to make holes for any of his mouth-safe baby toys. :)
DeleteThis is so cute and lots of fun too, very good idea.
ReplyDeleteThank you, Robin!!! :)
DeleteI love your son's smile! And I LOVE the snowman too - now if only i get the time, I will try this for Aarya :)
ReplyDeleteThank you, Veena!!! :) :) :)
DeleteThis looks like a great idea but my concern is the size of the objects. They look too small for children to be playing with. They should be bigger then their fists and the ones shown in the pictures are not. Choking hazards must be a concern.
ReplyDeleteJust a concerned Nana
Absolutely - that's why I spent an entire paragraph discussing that in the post above.
Delete