
Disclosure: Discount School Supply provided the Make it Puffy to us to try.
Of all the things I received from Discount School Supply, I was most intrigued by their Make It Puffy additive (part of the Make It More series - we used the Make It Shine additive to make our Golden Slime). I loved puffy paint as a kid, and so I was eager to introduce S to the glory of it. Little did I know this is the COOLEST PUFFY PAINT EVER. No seriously. It's a good 5-10 times puffier than the store bought kind. While watching it puff in the oven, I literally exclaimed loudly "this is seriously the coolest thing ever!" at least three times.
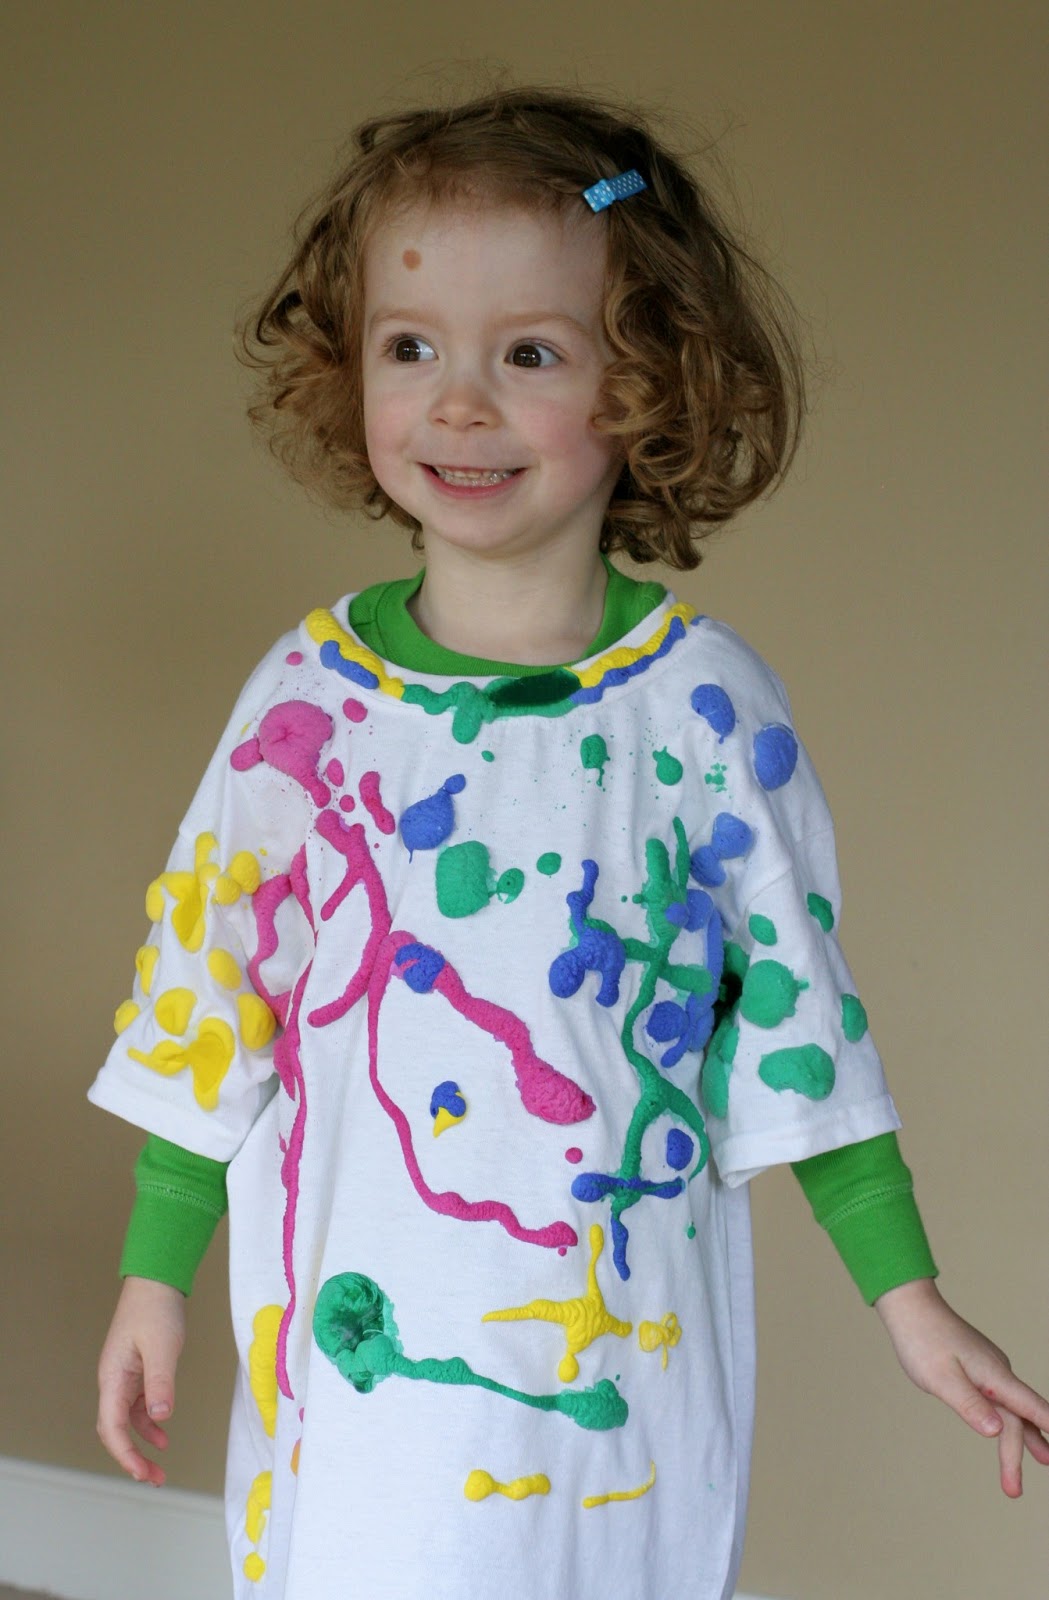
I bought S a blank white t-shirt at Michaels because they are $3 there. You can't beat a $3 shirt. They don't carry really small sizes, so this is a Youth Small - meaning it's a bit massively large on my smaller-than-average almost 4 year old. I figured she wouldn't care (she doesn't) and it would give her a larger "canvas" to work with (it did), so it's ultimately all good.
The directions on the Make It Puffy bottle call for mixing with one of a few lines of permanent (or as S calls it, "permative") paint. Luckily I had thrown four bottles of Biocolor into our last personal order from Discount School Supply and hadn't used them yet. The Biocolor series is a permanent paint available at Discount School Supply. I was happy to discover that the Biocolor paint is as vibrant as the other Colorations paints we've used.
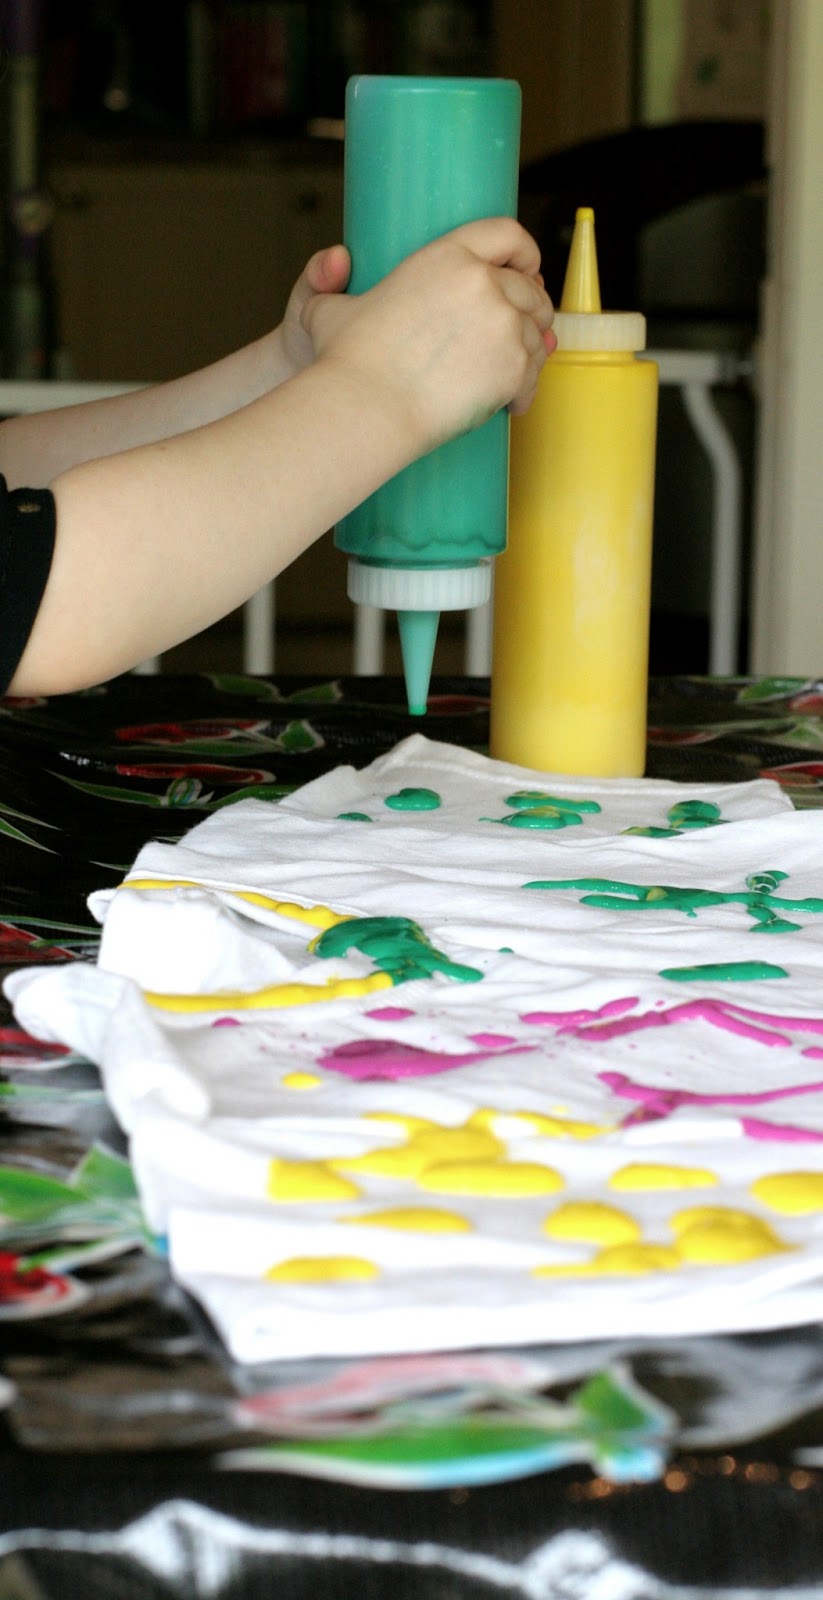
You could literally paint the Make It Puffy + Biocolor mixture onto the fabric, but I thought we ought to use our favorite squeezy condiment bottles since that was liable to produce the most puffy version of the paint. As per the instructions, I mixed one part Make It Puffy to one part Biocolor paint in each squeezy bottle.

S eagerly set to work. She had a serious vision with the shirt - here she is decorating the collar very carefully.

I laid out a splat mat on the table and on the floor underneath her to catch any stray paint since it would very likely stain.

She covered one sleeve with green polka dots and the other with yellow polka dots.
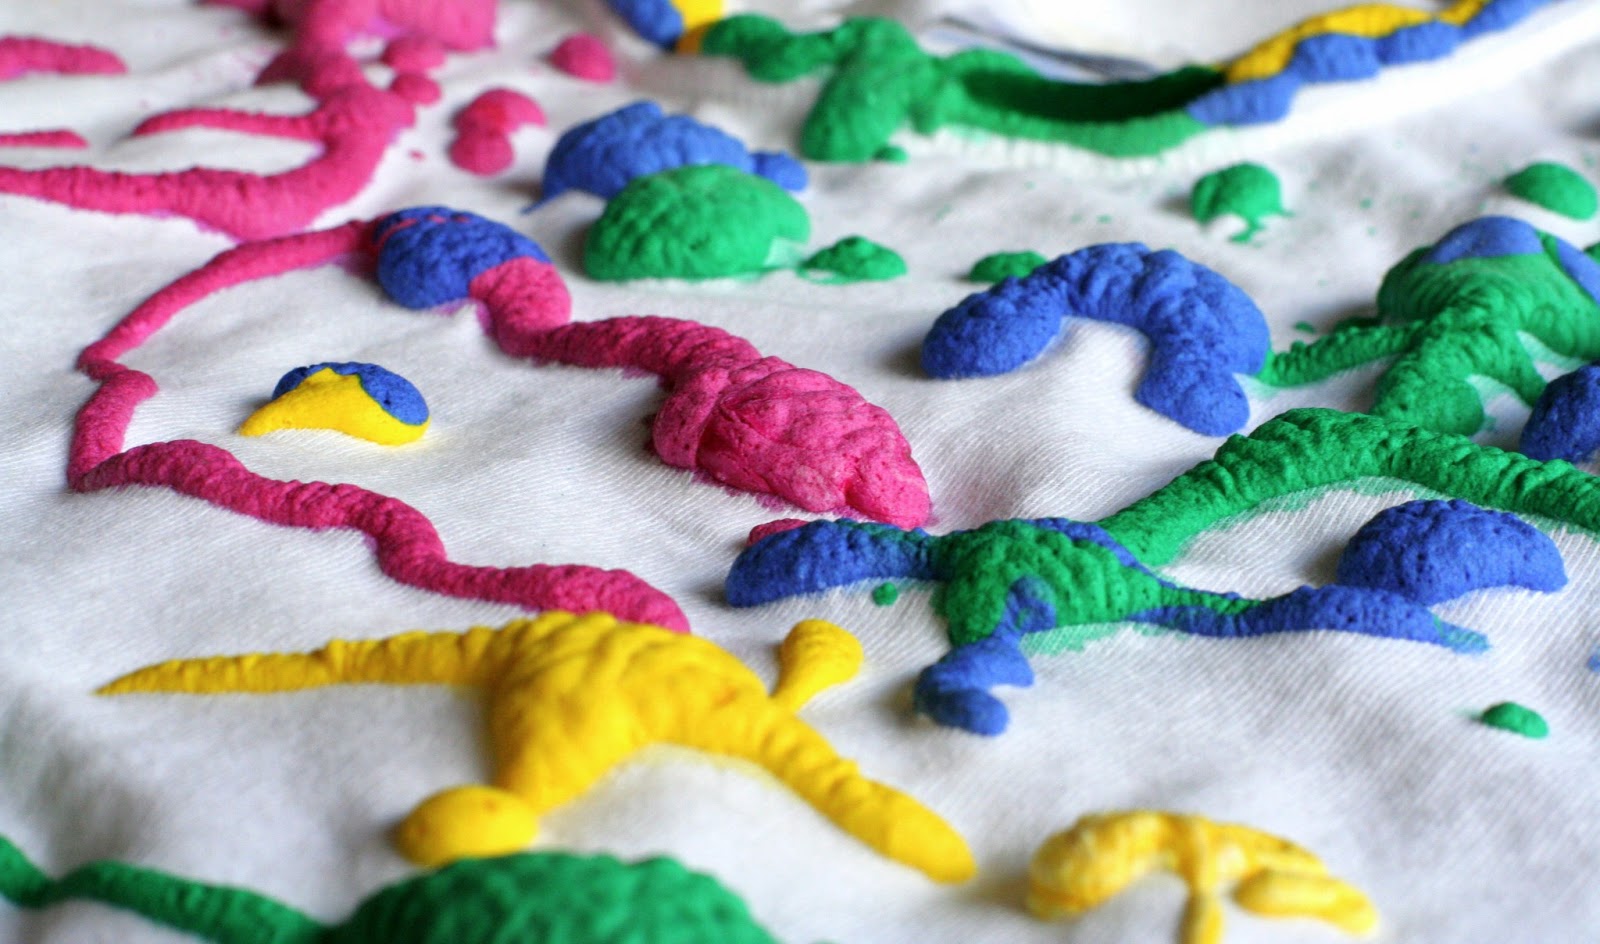
When she was done, it looked like this. The directions say to leave it until it is completely dry (approximately 24 hours). Well, we left it around 30 hours and there were still a few spots that were damp. I'd love to blame the 4 year old for the impatience here, but I'll be honest and fess up that it was me who couldn't wait to see what would happen when we puffed it by heating...so I popped the shirt in the oven (figuring that the oven heat would dry the wet spots).

In the oven it puffed like magic! It was SO cool to watch. If you look towards the back of the photo below, though, you'll notice a really dark spot of green that is not puffy. Yep, that was the part that was still damp when I popped it into the oven. Whoops. So please, if you make your own shirt, do follow the directions and wait until it is all dry. If you use the squeezy condiment bottle
method we did, I would guess it will take a full 48 hours to dry fully.
Luckily S loves her shirt - unpuffed portions and all! She's worn it to preschool (it was a big hit) and it's been through the wash (yes, it's washable! You can even run it through the dryer!) and it's still completely puffy and awesome. As you can see, S used a lot of paint to make the shirt - and in all we went through a little under half of the Make It Puffy bottle (in case that information is helpful). We also opted to bake the shirt in the oven - you can iron to make it puffy as well, but I don't trust myself with an iron, hahaha. Cooking in the oven did produce a smell, but it was not too bad (the paints are non-toxic) and we just opened the windows. I'd say it was about as smelly as when we made our Heart Shaped Crayons back in February.
We can't wait to make more puffy shirts! They are just too fun!
This post concludes our series on Discount School Supply supplies - I'll be back on Saturday to share my shopping list of must-haves from their site with you all!
.jpg)
Follow along with Fun at Home with Kids on Facebook, Google+, Pinterest or Subscribe by Email or Bloglovin'!
All activities here are activities I feel are safe for my own children. As your child's parents/guardians, you will need to decide what you feel is safe for your family. I always encourage contacting your child's pediatrician for guidance if you are not sure about the safety/age appropriateness of an activity. All activities on this blog are intended to be performed with adult supervision. Appropriate and reasonable caution should be used when activities call for the use of materials that could potentially be harmful, such as scissors, or items that could present a choking risk (small items), or a drowning risk (water activities), and with introducing a new food/ingredient to a child (allergies). Observe caution and safety at all times. The author and blog disclaim liability for any damage, mishap, or injury that may occur from engaging in any of these activities on this blog.


I can't even believe how cool this is. My kids are gonna freak! (You've got a cute little model there, too.)
ReplyDeleteIt's actually cooler in person. I LOVE THIS PAINT! I want to make hundreds of shirts... :)
DeleteAnd thank you - I do think she's pretty adorable - though I might be a little biased. ;)
I wish there was some way of getting this puffy paint here :) Love her proud face and smile, she is precious :)
ReplyDeleteOh, bummer Veens! I just checked and I guess Discount School Supply doesn't ship internationally. :( That stinks! Thank you so much - she really was so proud of her t-shirt masterpiece!!! :)
DeleteJUST TO ASK...where did you buy this Make it puffy and this bio color?!? Do you think it would also work if I make my own puffy paint with these ingredients?!? 1 tbsp self-rising flour
ReplyDeletefood colouring in the colours of your choice
1 tbsp salt
little bit of water (start with 1/4 tsp)
As stated in the post, it is from Discount School Supply. If you click on the links it will take you directly to the product listing on the site. No it would not work if you made your own. It would just wash off.
Delete