Fun at Home with Kids

Toddler Rainbow Sensory Play

Tuesday, February 25, 2014

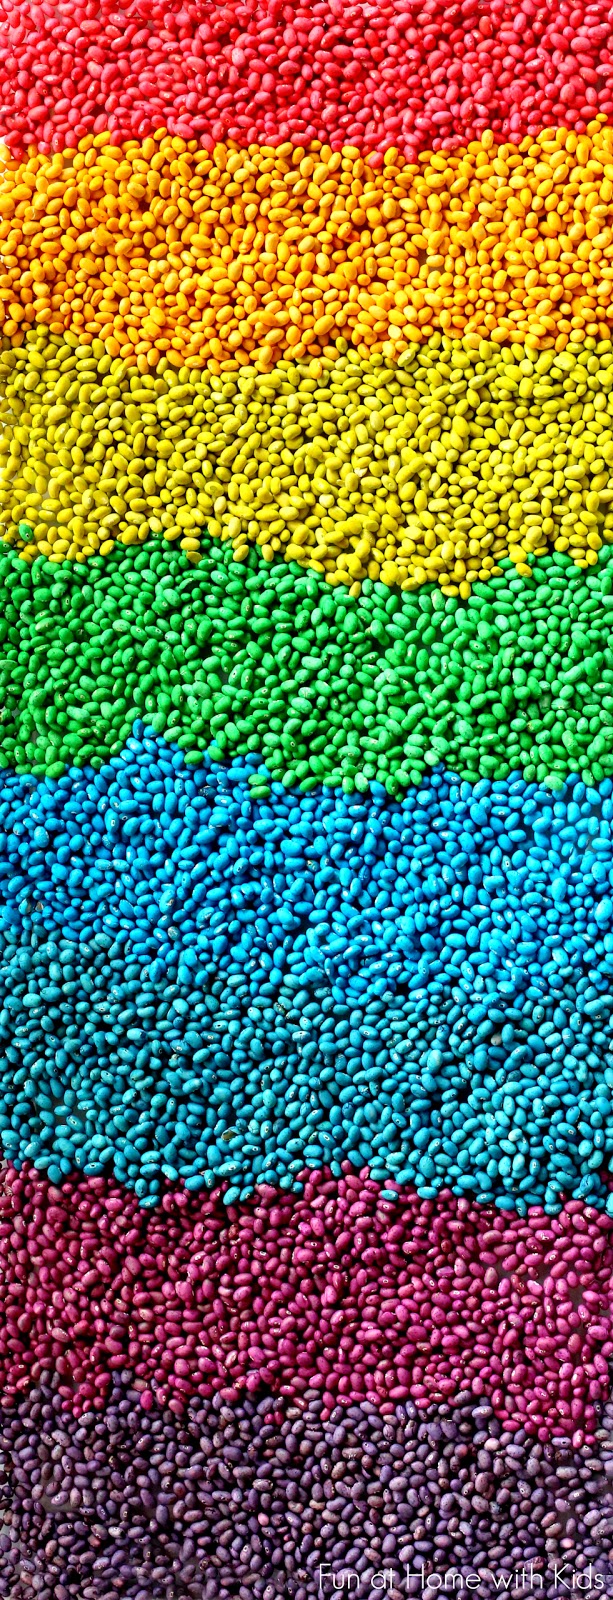
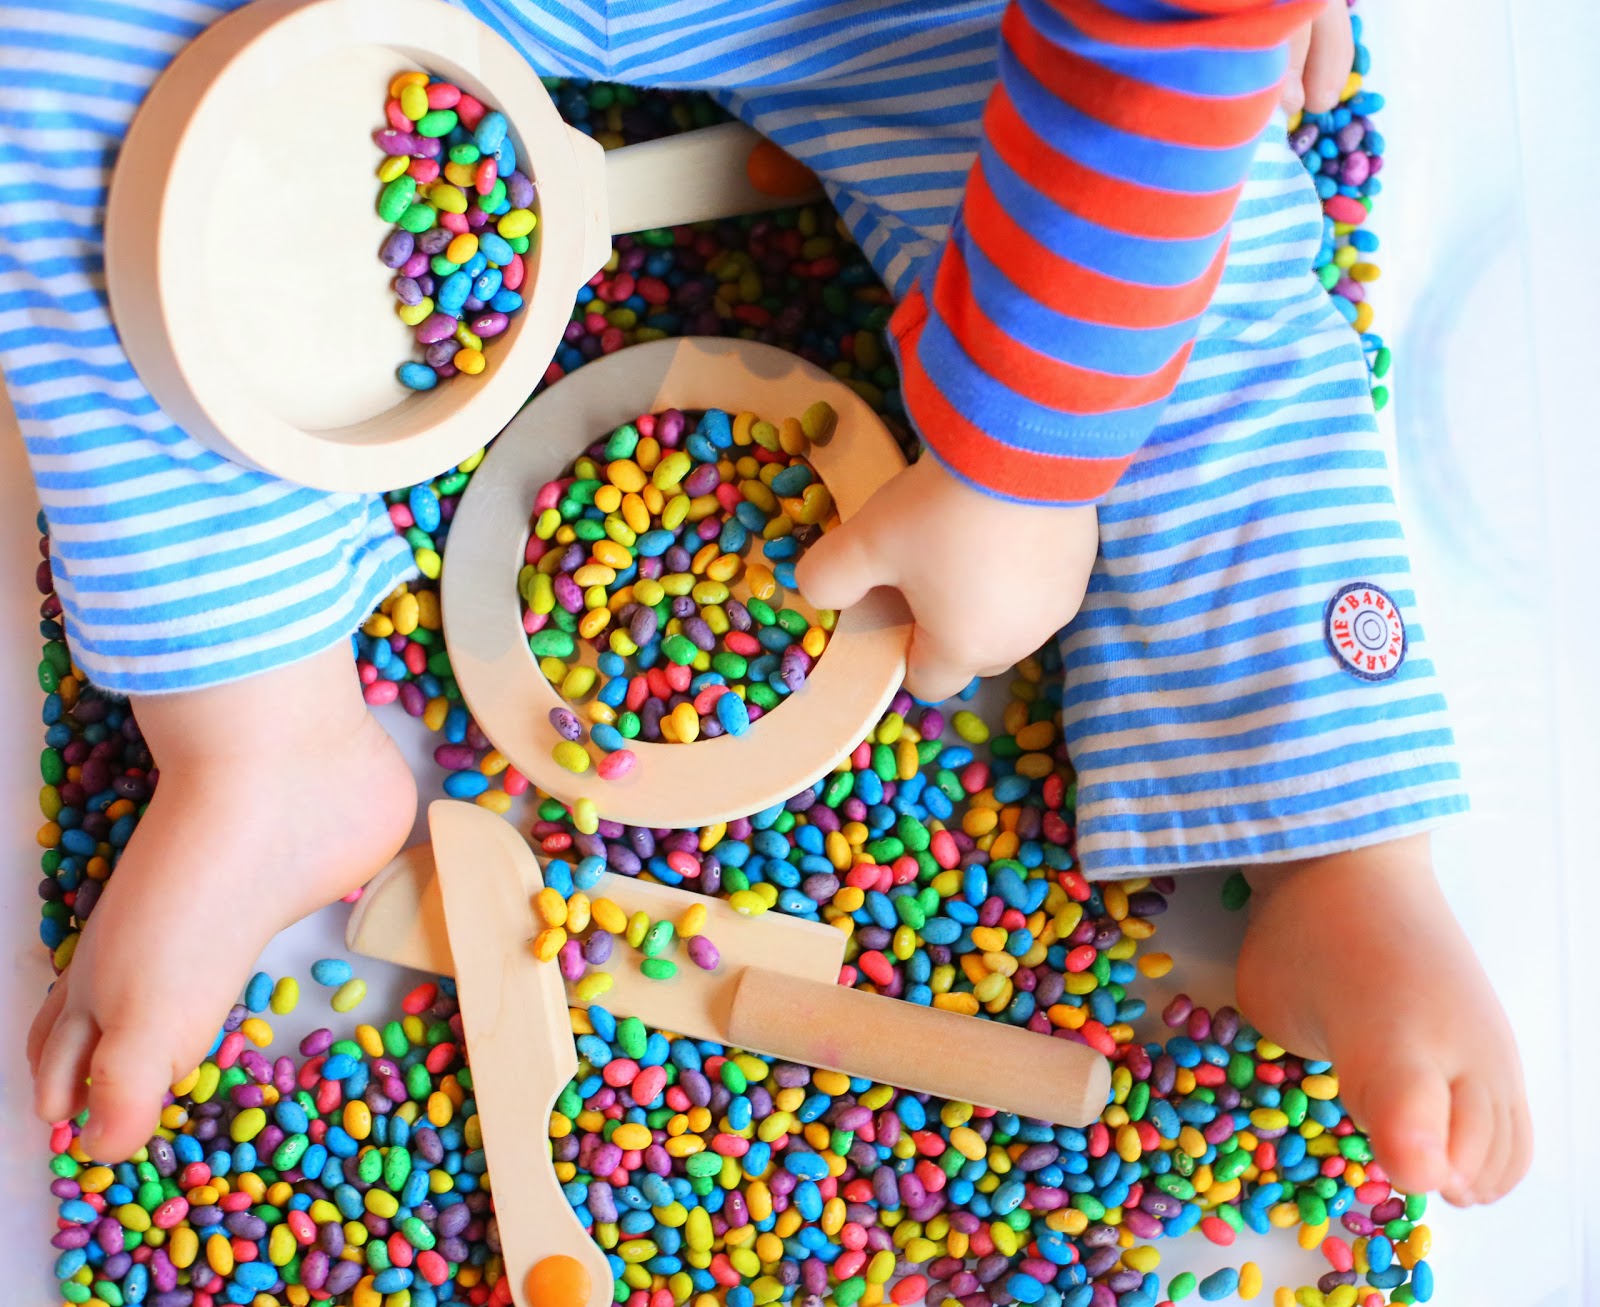
I love setting up easy sensory plays for X on the mornings that S at preschool.  Given our love of rainbows around here, I decided to make him his very own rainbow, complete with fluffy clouds.


The big puffy clouds were a huge draw.


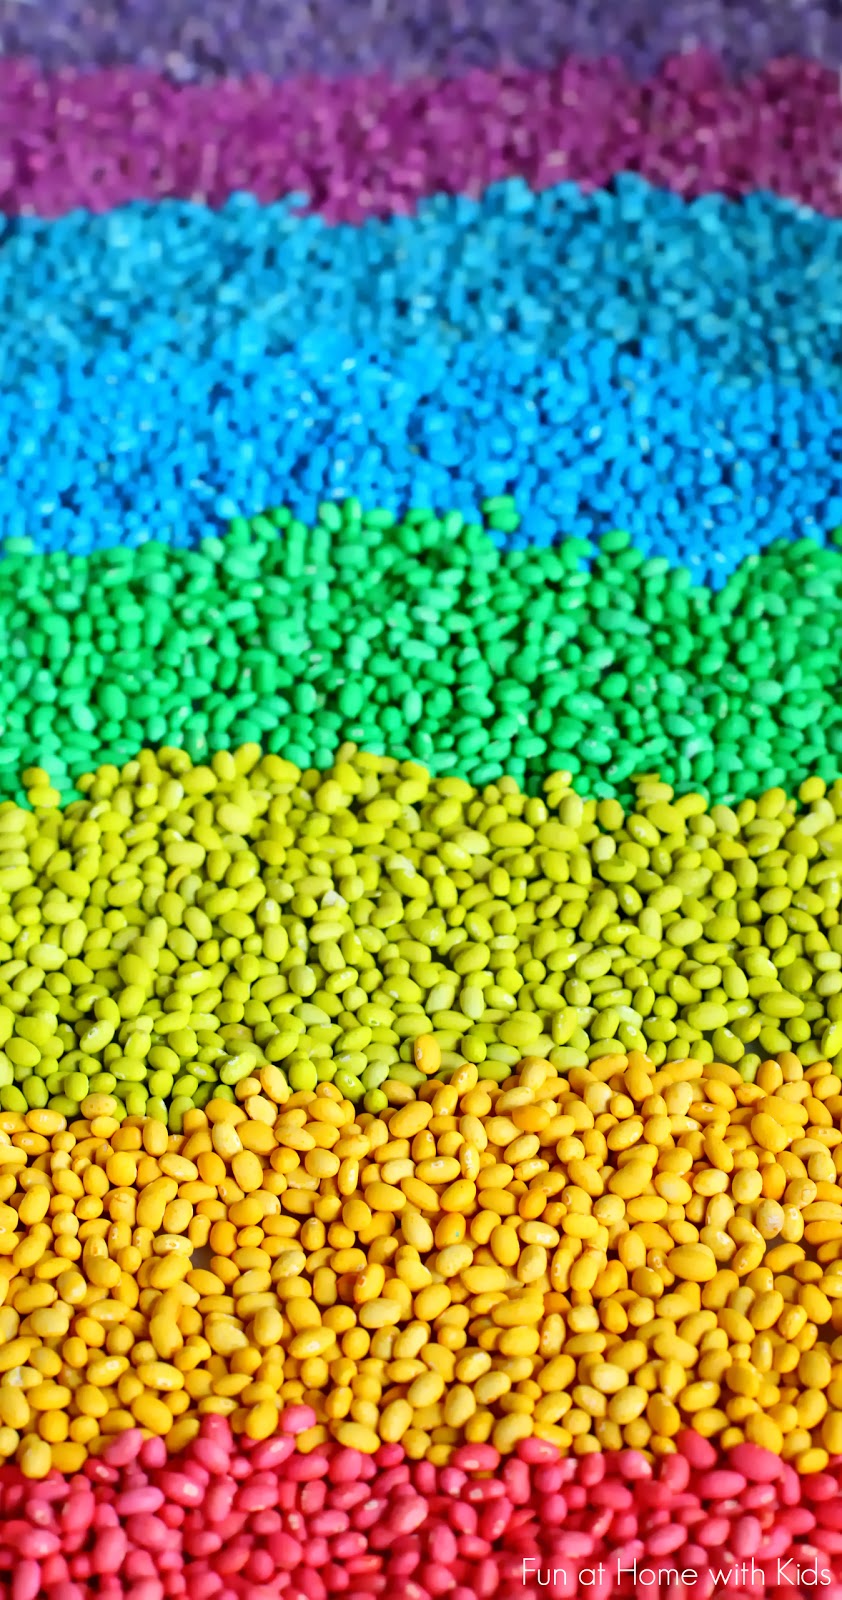
As he dug in, he looked at the separate pieces of the rainbow.  Though X isn't working on his colors yet, it would be a good way to have fun practicing them with an older toddler.  Just for good measure I did say the name of each color as he inspected it.  :)


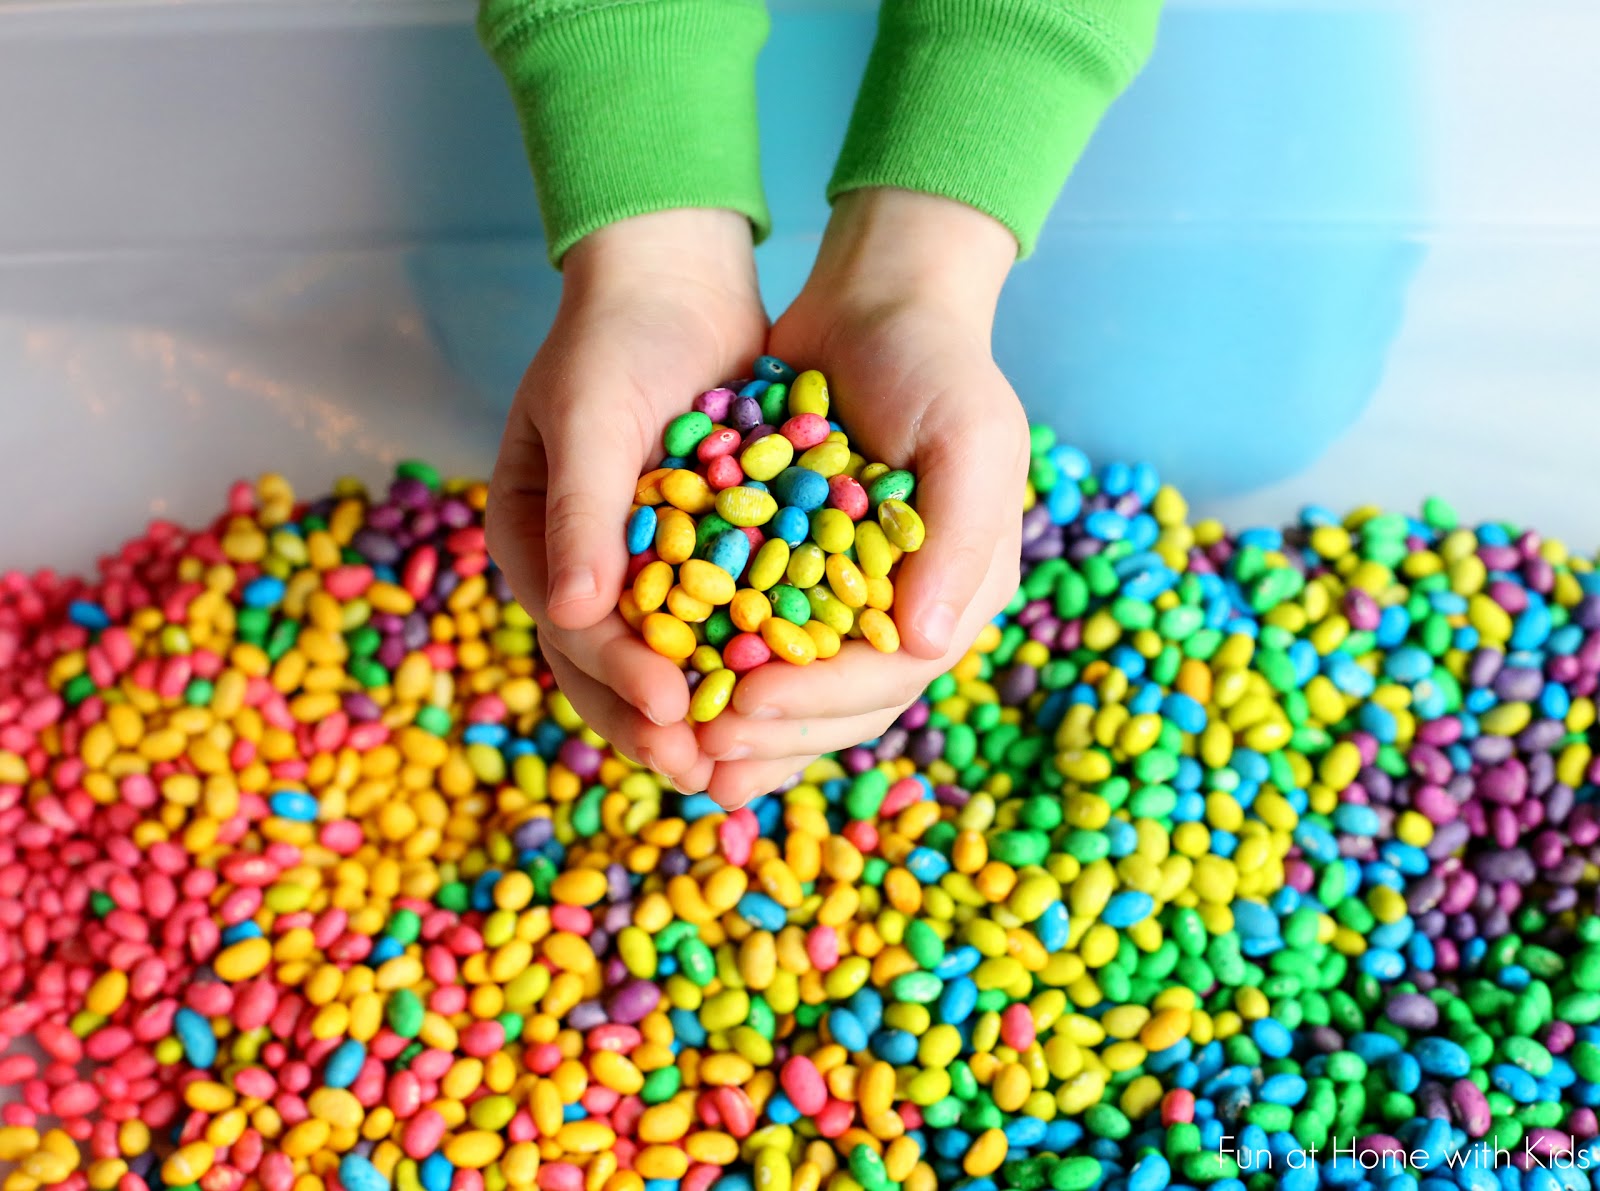
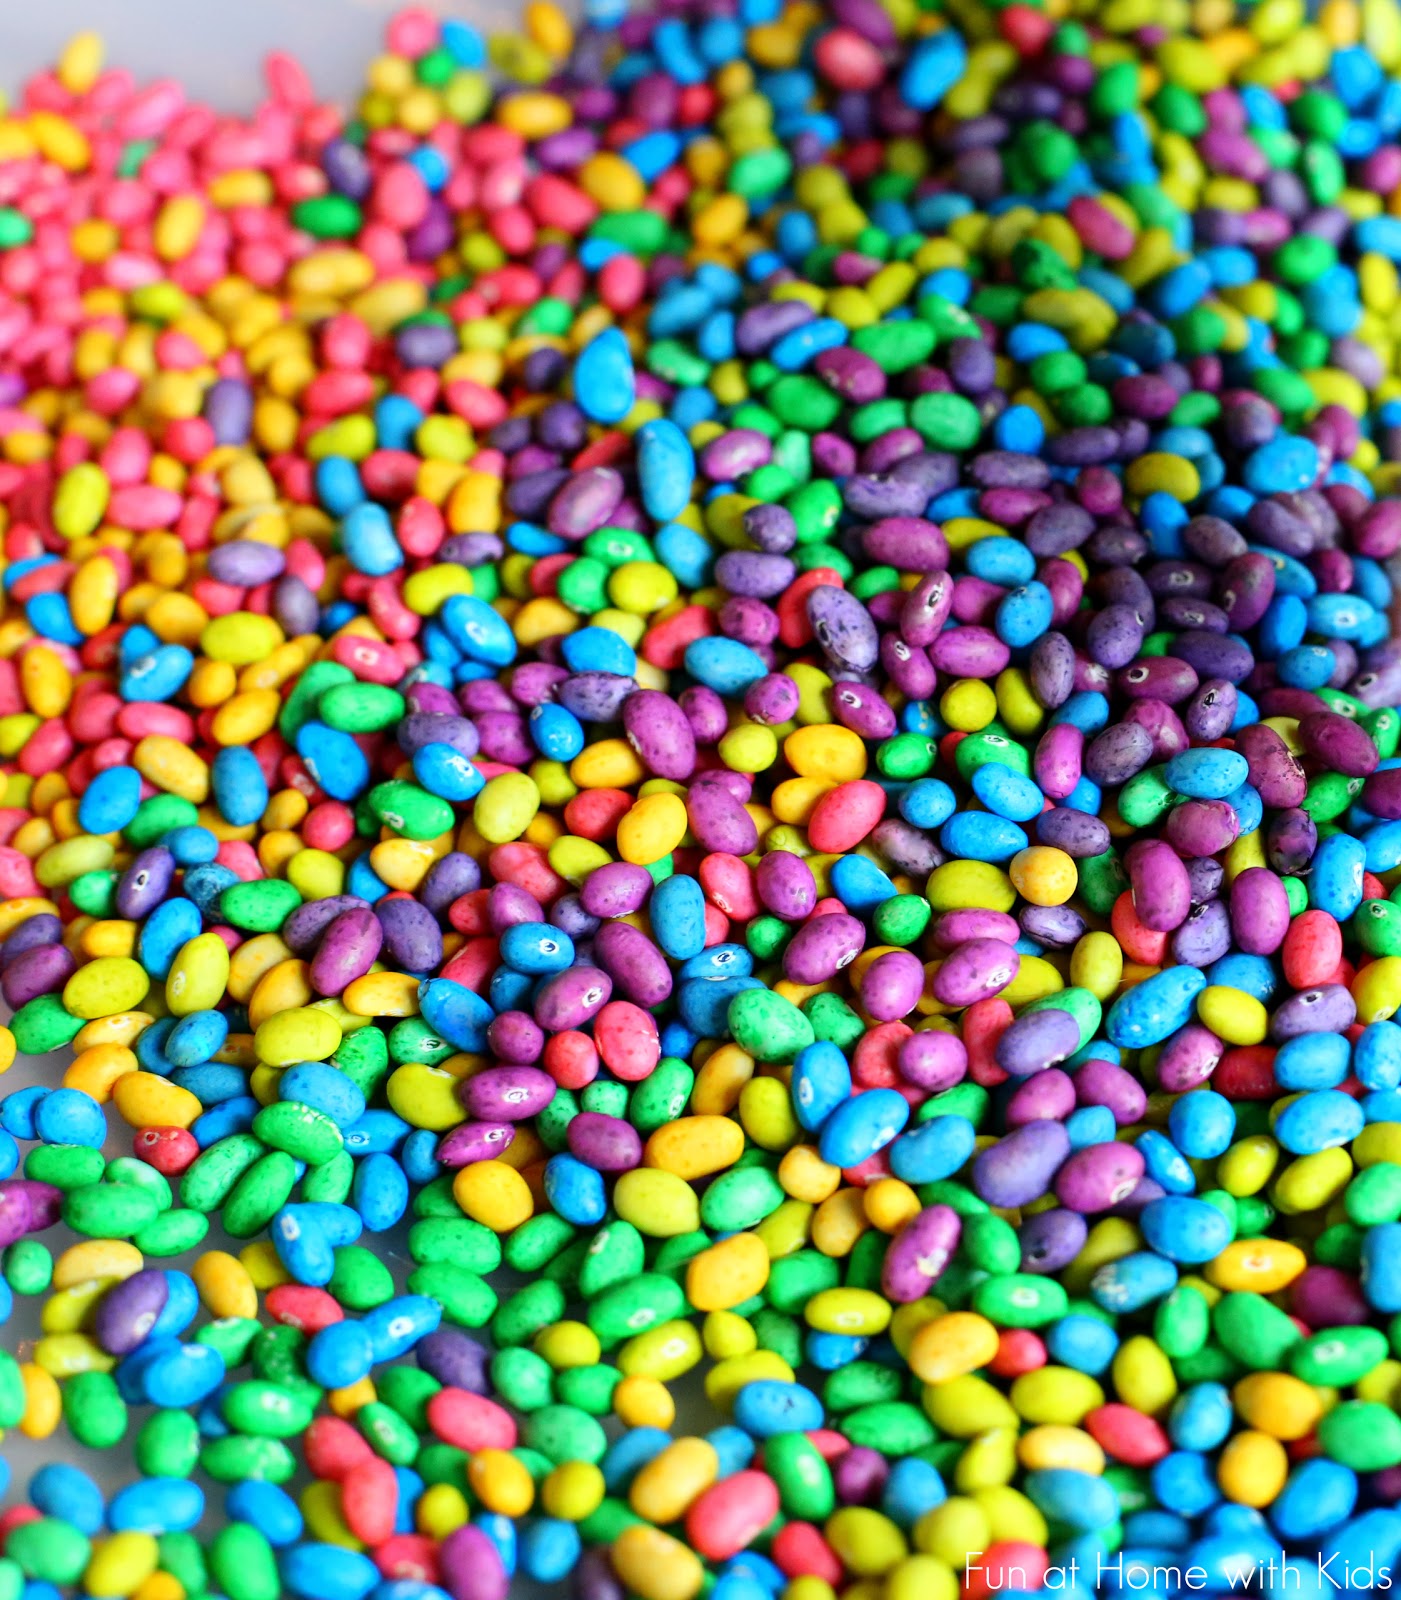
He had so much fun smooshing the fluffy clouds and mixing up the rainbow arcs.


Happy boy.  :)


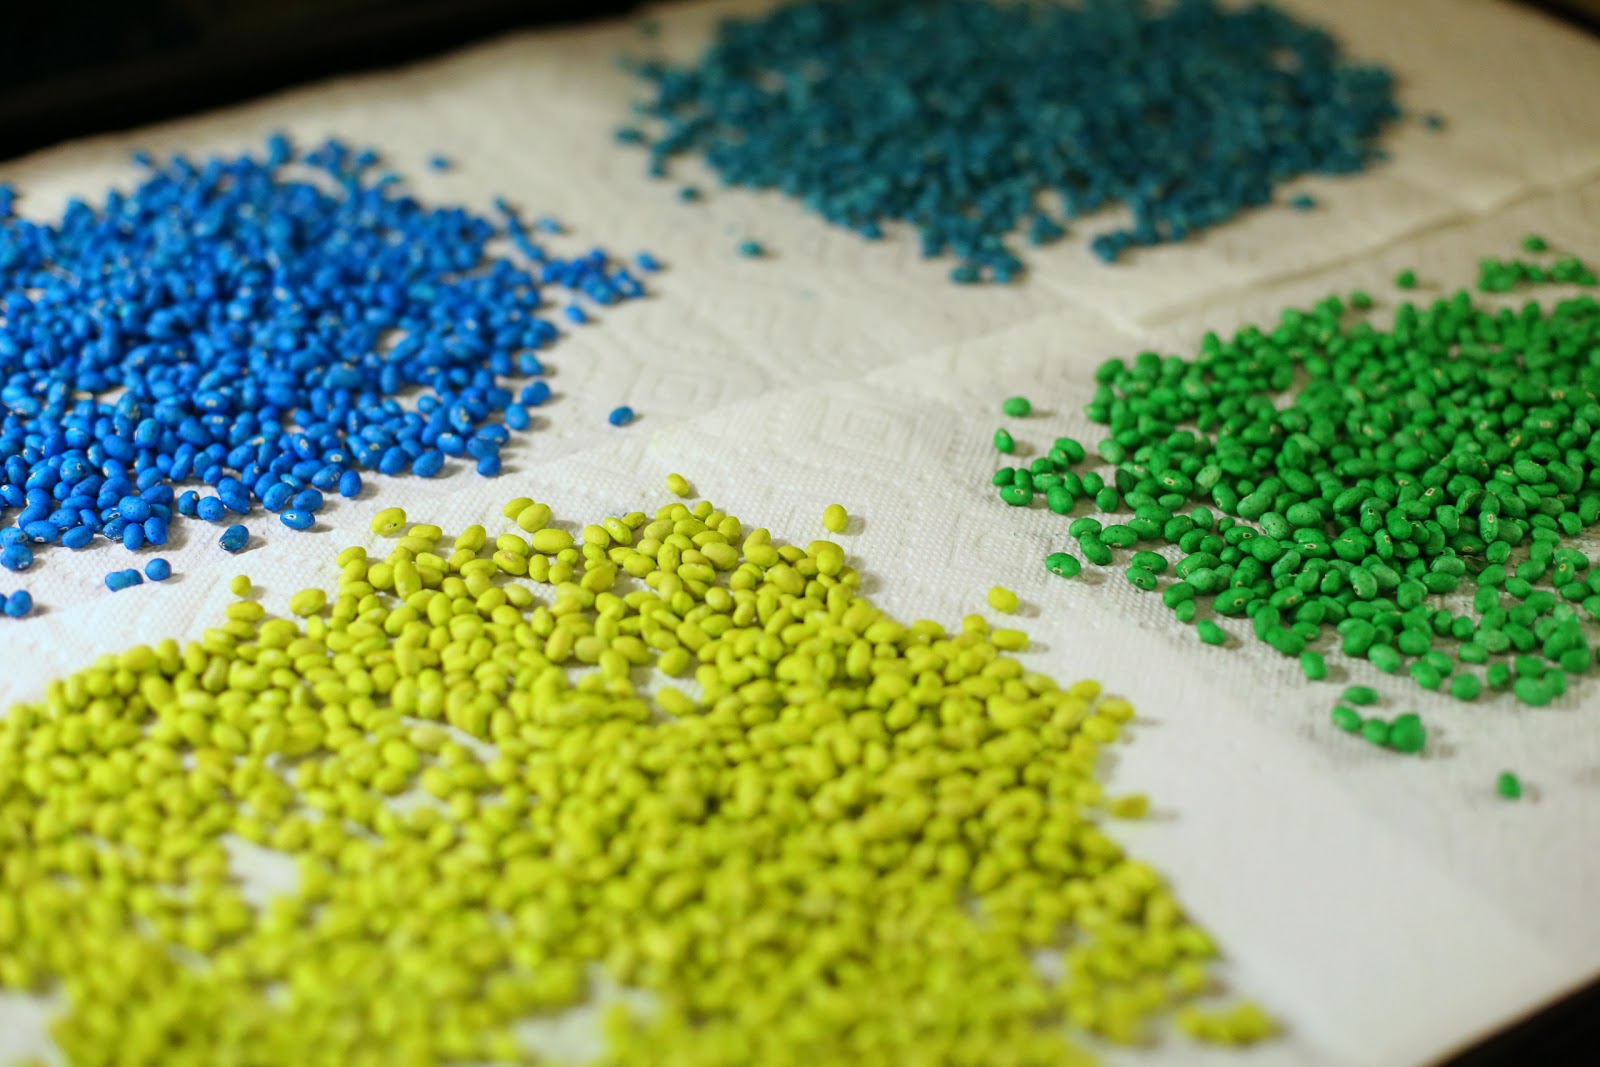
To make your own, you'll need foam sheets in all the colors of the rainbow.  This rainbow was pretty big, so I used the Large 12 x 18 Foam Sheets - but if you have smaller foam sheets , such as those from the Dollar Tree, you could always tape them together.  Because X is way past the mouthing phase, I used shaving cream to make the clouds.  I just sprayed some onto the table at either end of the rainbow and used a spoon to smooth it out.  If your child is still "tasting" Cool Whip would be a great substitute, albeit messier to clean up (maybe you'd want to move the play to a bathtub or onto a splat mat).  Uncolored shaving cream, despite appearances, is amazingly easy to clean up.  It doesn't stain anything, and it deflates over time - it makes for a very easy and quick clean up, I promise.  :)


Because the rainbow arcs are made of foam, they are completely reusable.  You could use them as window or bath art (like our Reusable Hearts Set), and you could even set this invitation up on a bathtub wall!


Follow along with Fun at Home with Kids on FacebookGoogle+Pinterest or Subscribe by Email or Bloglovin'!

All activities here are activities I feel are safe for my own children.  As your child's parents/guardians, you will need to decide what you feel is safe for your family.  I always encourage contacting your child's pediatrician for guidance if you are not sure about the safety/age appropriateness of an activity. All activities on this blog are intended to be performed with adult supervision.  Appropriate and reasonable caution should be used when activities call for the use of materials that could potentially be harmful, such as scissors, or items that could present a choking risk (small items), or a drowning risk (water activities), and with introducing a new food/ingredient to a child (allergies).  Observe caution and safety at all times.  The author and blog disclaim liability for any damage, mishap, or injury that may occur from engaging in any of these activities on this blog.

36 Rainbow Activities for Babies, Toddlers, Preschoolers and Older Kids

Monday, February 24, 2014

There are few things that make me as happy as rainbows!  So this round-up is a celebration of just that.  I've included my favorite rainbows from eight different sites (including our own) - and the activities apply to a variety of ages - there are rainbows for babies, for toddlers, for preschoolers, and even several activities that older children would still enjoy!

36 Beautiful and Engaging Rainbow Activities for all ages:  Babies, Toddlers, Preschoolers and even Older Kids!  From Fun at Home with Kids


Please click on the post title to be taken to the full recipe/tutorial on each site.  :)

Fun at Home with Kids

We love rainbows so much here at Fun at Home with Kids that it was really challenging to choose just four!  But here are four of my favorites (clockwise from upper left):


Babble Dabble Do

Here are four of my favorites from Babble Dabble Do (clockwise from upper left):


Meri Cherry

Here are four of my favorites from Meri Cherry (clockwise from upper left): 


Twig and Toadstool

Here are four of my favorites from Twig and Toadstool (clockwise from upper left): 


Blog Me Mom

Here are four of my favorites from Blog Me Mom (clockwise from upper left):


Learn Play Imagine

Here are four of my favorites from Learn Play Imagine (clockwise from upper left):


De Tout et de Rien

Here are four of my favorites from De Tout et de Rien (clockwise from upper left):


Twodaloo

Here are four of my favorites from Twodaloo (clockwise from upper left):


Housing a Forest

Here are four of my favorites from Housing a Forest (clockwise from upper left):


36 Beautiful Rainbow Activities for kids of all ages - babies and toddlers included!  From Fun at Home with Kids

Follow along with Fun at Home with Kids on FacebookGoogle+Pinterest or Subscribe by Email or Bloglovin'!

All activities here are activities I feel are safe for my own children.  As your child's parents/guardians, you will need to decide what you feel is safe for your family.  I always encourage contacting your child's pediatrician for guidance if you are not sure about the safety/age appropriateness of an activity. All activities on this blog are intended to be performed with adult supervision.  Appropriate and reasonable caution should be used when activities call for the use of materials that could potentially be harmful, such as scissors, or items that could present a choking risk (small items), or a drowning risk (water activities), and with introducing a new food/ingredient to a child (allergies).  Observe caution and safety at all times.  The author and blog disclaim liability for any damage, mishap, or injury that may occur from engaging in any of these activities on this blog.

Exploring Absorption with Watercolors on a Texture Board

This post is part of a new and ongoing series called "Easy Art Projects for Kids".  This week's theme is Exploring Watercolors.  After you read our post, be sure to use the links at the end of the post to visit the other blogs participating in today's theme for their easy and fun projects involving Exploring Watercolors.  

I thought it would be fun to explore absorption using our liquid watercolors to bring a bit of a scientific twist to our art.  I bought a foam core board (poster board would also work) at our local craft store and picked up a really thin piece of craft wood for a dollar while I was there as well.  S and I had so much fun making our DIY Rainbow Building Blocks that I thought it would be fun to include some sort of wood to remind her of that. 


I told S what our project was going to be and we searched the house for anything white (or whitish) that we could test absorption with.  We settled on using pieces of watercolor paper, white felt, computer paper, a coffee filter, facial tissue, a wax coated paper plate, paper towel, tissue paper, cotton balls, and parchment paper.  I used a hot glue gun to gently affix everything to the board.  

S got to choose her colors and she went with lime green, yellow, green, and gold Discount School Supply liquid watercolors - because they were "St. Patricksy colors".  Love it.  I supplied her with two different size paintbrushes and some plastic eyedroppers.  She immediately went for the gold liquid watercolors and dripped some on the wax coated paper plate and some on the cotton balls.


The cotton balls soaked up the watercolors, whereas they kind of sat on top of the plate.  She used a paintbrush to spread them, but observed that the plate did not absorb as well as the cotton balls.


After painting some strips on the wood ("it absorbs, Mama!"), she moved to the parchment paper.  No absorption again.  I asked her to investigate and see if she could come up with a reason as to why the wax coated paper plate and the parchment paper didn't absorb.  She poked and felt and declared "I think it is because they are so smooth feeling!".  I explained how wax resists and can be used to keep food from soaking through (plates or parchment paper).


We loved watching the liquid watercolors spread through the thin tissue paper.  She said the green watercolors were growing a forest on the tissue paper.  So cute!


We were both surprised to see how much of the liquid watercolors the felt grabbed up.  It just sucked it right down into the middle of the felt and it was so hard to tell that S had just dropped a ton of paint there!


After about 45 minutes of exploring, S decided to take a break.  About an hour later she wanted to explore some more and wanted to add a new color - blue.  Here is her finished masterpiece!  We've got it hanging up on our dining room wall.


Don't go yet!  Check out the other cool projects in today's series:
Follow along with Fun at Home with Kids on FacebookGoogle+Pinterest or Subscribe by Email or Bloglovin'!

All activities here are activities I feel are safe for my own children.  As your child's parents/guardians, you will need to decide what you feel is safe for your family.  I always encourage contacting your child's pediatrician for guidance if you are not sure about the safety/age appropriateness of an activity. All activities on this blog are intended to be performed with adult supervision.  Appropriate and reasonable caution should be used when activities call for the use of materials that could potentially be harmful, such as scissors, or items that could present a choking risk (small items), or a drowning risk (water activities), and with introducing a new food/ingredient to a child (allergies).  Observe caution and safety at all times.  The author and blog disclaim liability for any damage, mishap, or injury that may occur from engaging in any of these activities on this blog.

How to Color Beans for Play and Art

Monday, February 17, 2014

Please note that beans present a choking hazard for young children.  Raw uncooked beans, if ingested, can cause discomfort.  This activity is not intended for children who are still putting things in their mouths. Please provide constant supervision during this activity.

Dried Beans are one of our favorite sensory materials around here, so when I saw this post on Coloring Lima Beans from Praying for Parker I was super excited - I'd never thought to color them before!  One of the things we really adore around here is super bright vibrant colors - and I wanted to see if I could find a way that would color the beans more fully than the method used by Praying for Parker.


Though the ultimate answer was pretty simple, it took a LOT of tries to get it just right.


But once I'd finally figured out the method, we had such gorgeous and brightly colored beans that it was all worth it.  :)


I couldn't resist a few shots of the full rainbow before the kids dug in.


Post children.  Still beautiful, though!  I think they look a bit like jellybeans, hahaha!


The kids had fun just playing and running their fingers and toes through the beans.  Then they decided they'd like some cooking supplies and set to work cooking each other a variety of things.


S enjoyed sorting out the beans by color to make separate meals of blueberries (blue beans), spinach (green beans), and eggs (yellow beans).  As always, they needed to be IN the bin.  :)


I'd remembered Fun A Day's post on coloring corn kernels and that she had the same problem initially - she couldn't get the kernels fully saturated with color.  I used the method she outlined, and though it did brightly color the beans, the skins sloughed off.  Well, shoot.  I tested both liquid watercolors and food coloring and with and without vinegar and with a variety of soaking times and only one method yielded beautiful beans every time.  So here's how to do it.  Buy a lot of beans - any lightly colored bean will do.  Lima beans, white navy beans (what we used here), even pinto beans (you can usually score big bags of pintos at the Dollar Tree!).  Measure a cup of beans into a container.  We used a tupperware (Gladware) container, but a bag would probably also work.  Add one cup of beans and 15 drops of whatever food coloring (food dye) color you wish.  To get the rainbow of colors you see here I used a combination of regular food coloring and neon food coloring.  Unfortunately, for once, liquid watercolors did not work as well as food coloring!  Once you add the 15 drops, close the lid or seal the bag (add some air if you're using a bag) and shake them like crazy for about 10-20 seconds - until you see that they are completely coated.  Immediately dump them out onto a paper towel or paper towel lined tray and spread them out evenly so they are not clumped together (see below).  Allow them to air dry for several hours.


The beans will last for several months, if not longer, so long as they are kept dry.   We've had ours for about 3 months now and they are just as bright and vibrant as ever.  We keep them in a plastic shoe storage box when we're not playing with them.

Click the photo below to buy it on Amazon or click here to read more about our book!


Follow along with Fun at Home with Kids on FacebookGoogle+Pinterest or Subscribe by Email or Bloglovin'!

All activities here are activities I feel are safe for my own children.  As your child's parents/guardians, you will need to decide what you feel is safe for your family.  I always encourage contacting your child's pediatrician for guidance if you are not sure about the safety/age appropriateness of an activity. All activities on this blog are intended to be performed with adult supervision.  Appropriate and reasonable caution should be used when activities call for the use of materials that could potentially be harmful, such as scissors, or items that could present a choking risk (small items), or a drowning risk (water activities), and with introducing a new food/ingredient to a child (allergies).  Observe caution and safety at all times.  The author and blog disclaim liability for any damage, mishap, or injury that may occur from engaging in any of these activities on this blog.

Our 15 Best Activities for Babies, Toddlers, and Preschoolers

Sunday, February 16, 2014

This little blog of mine turned one year old last week!  I can hardly believe it.  We've come so far in a year, and I'm so thankful to you all for your help.  We couldn't have accomplished this much without each and every one of you.


In our first year YOU helped us raise enough money (we donate a portion of profits each month to charity) to build a complete well to provide clean water for an entire community in Africa (via Charity Water) and to create an entire classroom library in an impoverished area of Asia (via Room to Read).

By telling your friends, we grew a great community on Facebook. I love, love, love seeing the photos you all share of your kids having fun with our projects on our Facebook page.  It's definitely one of my favorite things about the blog.


With your help we grew a great community on Pinterest as well.  If you're not already following us and want to, you can find all of our boards here, and the board with all of our blog activities here:

And, finally, because of all of your support, I am super excited to report that one of my personal dreams is going to be a reality by the end of this year (2014!)...

UPDATE:  Our book is here and it's available Internationally!!!


Chapters CA: http://goo.gl/CI4frB
Book Depository (UK and AUS): http://goo.gl/e3qjYC
Amazon UK: http://goo.gl/8aWNUs
Amazon CA: http://goo.gl/P6ncCn
Barnes and Noble: http://goo.gl/MSywEZ
From your local US bookstore: http://goo.gl/w994nn
Fishpond AU: http://goo.gl/hdjL2w
Adams Media (ships worldwide): http://goo.gl/EnxbkL


And now without further ado, I present to you the 15 most popular activities of our first year here at Fun at Home with Kids (click on the name below to go to the full post):

DIY Sensory Boards for Babies and Toddlers

DIY Playroom with Indoor Rockwall

No Cook Scented Edible Rainbow Fingerpaints

Sensory Starter Kit for under $20 from the Dollar Tree (with free printable shopping list)

Golden Glitter Slime

10+ All Ages Two Ingredient or Less Sensory Bins

Rainbow Foam Dough

Fun Science for Kids:  Elephant Toothpaste

Safe Edible Glow Water

Edible Non-Chokable Mini Water Beads

Rainbow Soap Foam Bubbles

Edible All Natural Slime

DIY Dyed Wooden "Grimm" Style Rainbow Blocks

No Cook Edible Gluten Free Playdough

Foaming Dough Recipe


Thank you again for all your continued support!  We are looking forward to another fantastic year of Fun at Home with Kids!!!!  :)  :)  :)

Follow along with Fun at Home with Kids on FacebookGoogle+Pinterest or Subscribe by Email or Bloglovin'!

All activities here are activities I feel are safe for my own children.  As your child's parents/guardians, you will need to decide what you feel is safe for your family.  I always encourage contacting your child's pediatrician for guidance if you are not sure about the safety/age appropriateness of an activity. All activities on this blog are intended to be performed with adult supervision.  Appropriate and reasonable caution should be used when activities call for the use of materials that could potentially be harmful, such as scissors, or items that could present a choking risk (small items), or a drowning risk (water activities), and with introducing a new food/ingredient to a child (allergies).  Observe caution and safety at all times.  The author and blog disclaim liability for any damage, mishap, or injury that may occur from engaging in any of these activities on this blog.

Valentine's Day Sensory Play and Toddler Art

Sunday, February 2, 2014

We've had so much fun playing and making art leading up to Valentine's Day.  We are big on sensory play, so when I found these at the grocery store, I just knew I wanted to set something fun up for the kids.  I had so much fun making the pretty little hearts.


And they had SO much fun destroying them.  You can't hear it, but X is literally shrieking with glee here.  :)


I don't know if they're related....  :)


Happy babies!  You can set a splat mat or sheet down if you're worried about spilling.  I usually don't with dry stuff because it only takes 1-2 minutes to scoop it all up.


One of S's favorite ways to play was to make a pouch full of beans and DUMP!


X enjoyed watching the beans fall from inside and outside the bin.


When the kids had had their fill of the sensory play, we moved on to art.  I made sticky hearts (you can find complete directions for making sticky hearts in our Tissue Paper Hearts post) again and set the kiddos up with a small container full of beans.  S very carefully created a cute little face on her heart (you can see her working on the smile here).


X used his usual drop-art technique to create his bean heart.  As you can see, toddler art is a bit messier than preschool art.  :)


Little guy with his finished heart!  He was so proud that he made a heart just like his sister!

This post contains affiliate links for your convenience.

To make the bin I used dry Red Adzuki Beans and dry Small White Navy Beans.  Dried beans are one of our favorite sensory materials.  Super fun and they last basically forever (so long as you keep them dry!).


If you enjoyed this post, be sure to check out the rest of our Valentine's Day posts here!

Follow along with Fun at Home with Kids on FacebookGoogle+Pinterest or Subscribe by Email or Bloglovin'!

All activities here are activities I feel are safe for my own children.  As your child's parents/guardians, you will need to decide what you feel is safe for your family.  I always encourage contacting your child's pediatrician for guidance if you are not sure about the safety/age appropriateness of an activity. All activities on this blog are intended to be performed with adult supervision.  Appropriate and reasonable caution should be used when activities call for the use of materials that could potentially be harmful, such as scissors, or items that could present a choking risk (small items), or a drowning risk (water activities), and with introducing a new food/ingredient to a child (allergies).  Observe caution and safety at all times.  The author and blog disclaim liability for any damage, mishap, or injury that may occur from engaging in any of these activities on this blog.