
This is a simple and easy art project for the little ones (though older children would still enjoy it as well!). I wanted X to have a multimedia art experience, so I had him help me pick out what supplies we were going to use.

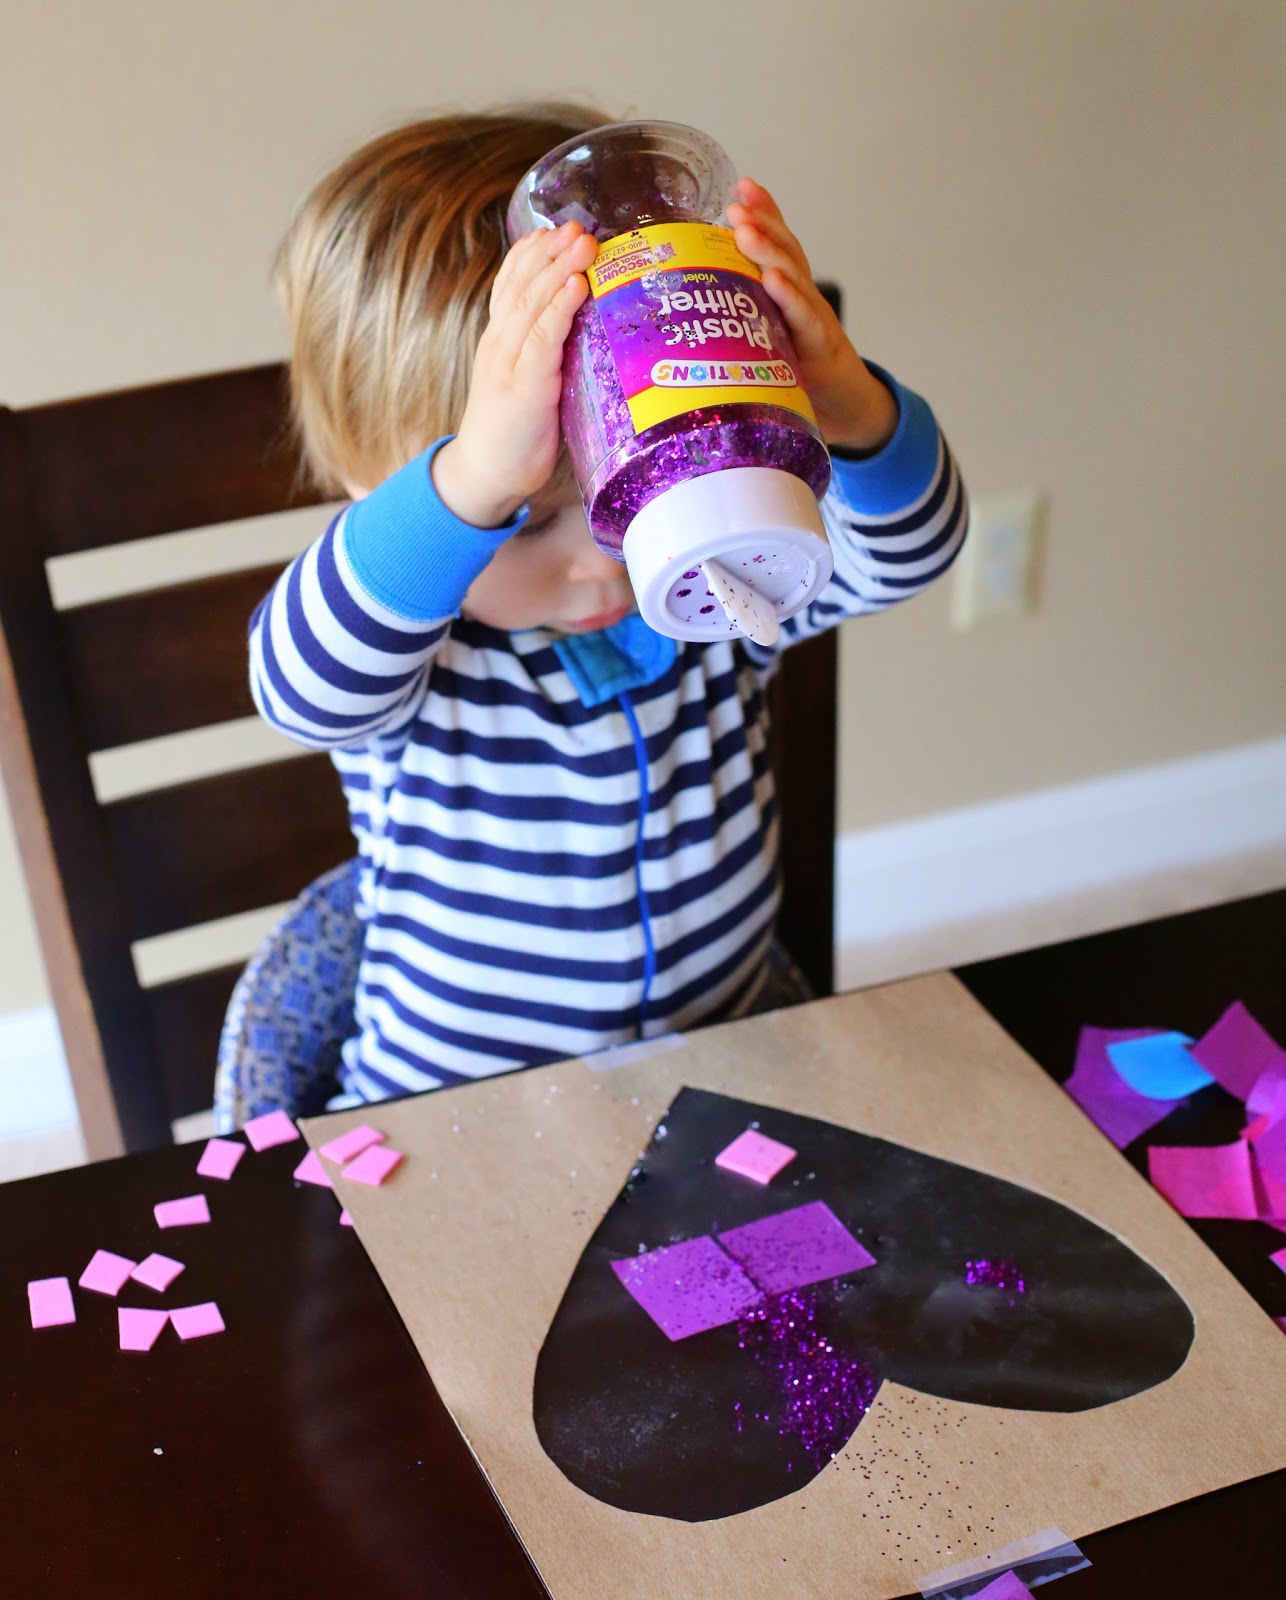
Since he's related to us, it should come as little surprise that he chose glitter! This was his first experience getting to operate the glitter solo. Here's a shot of him glittering correctly, but honestly a lot of it ended up in his lap (which I expected). Adorably, he kept thinking I was mildly insane for suggesting we operate the glitter upside down. He'd give it a shake then chuckle and turn it right side up and keep shaking. Hilarious. At any rate, he did successfully glitter his art, so he was quite pleased. :)
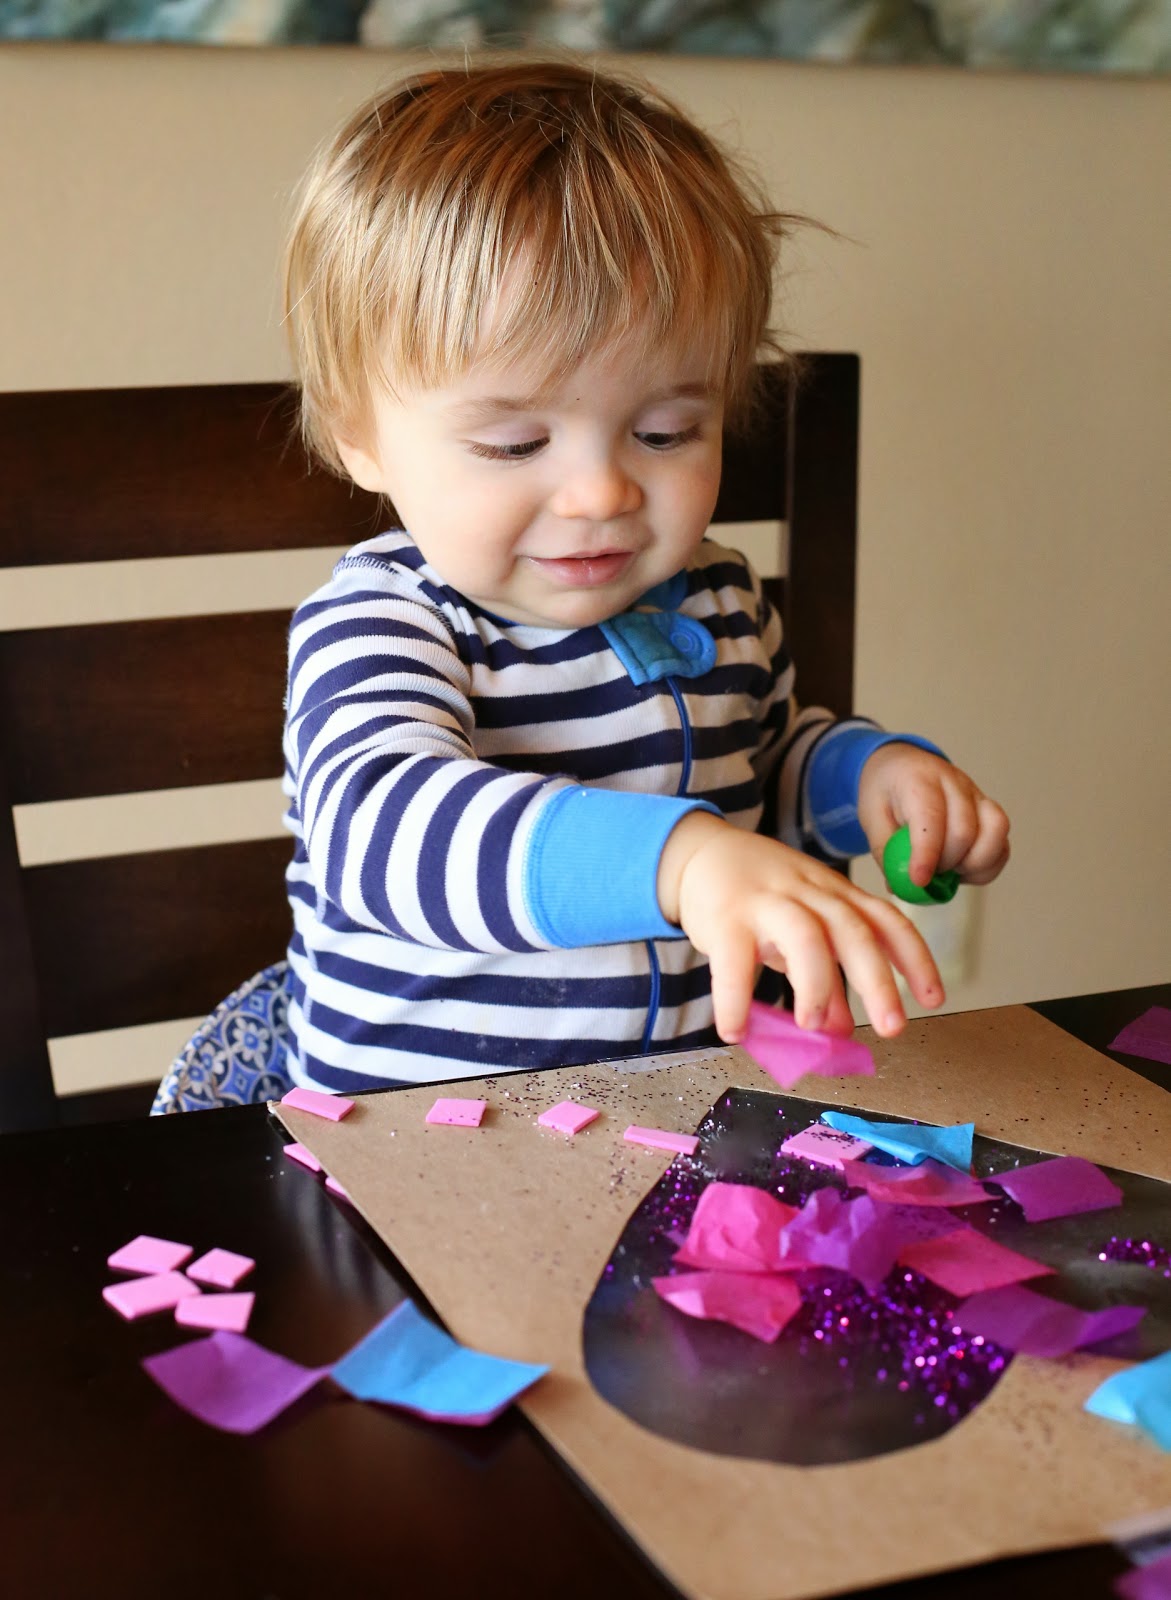
Though he also chose pink foam sheets (which I cut up into small squares), he only placed a handful before turning his attention to the tissue paper. He loooooved grabbing a square, crinkling it, and then throwing it at his canvas. The whole time he did this, he was exclaiming "art! art!". I loved his crazy unconventional method of creating!
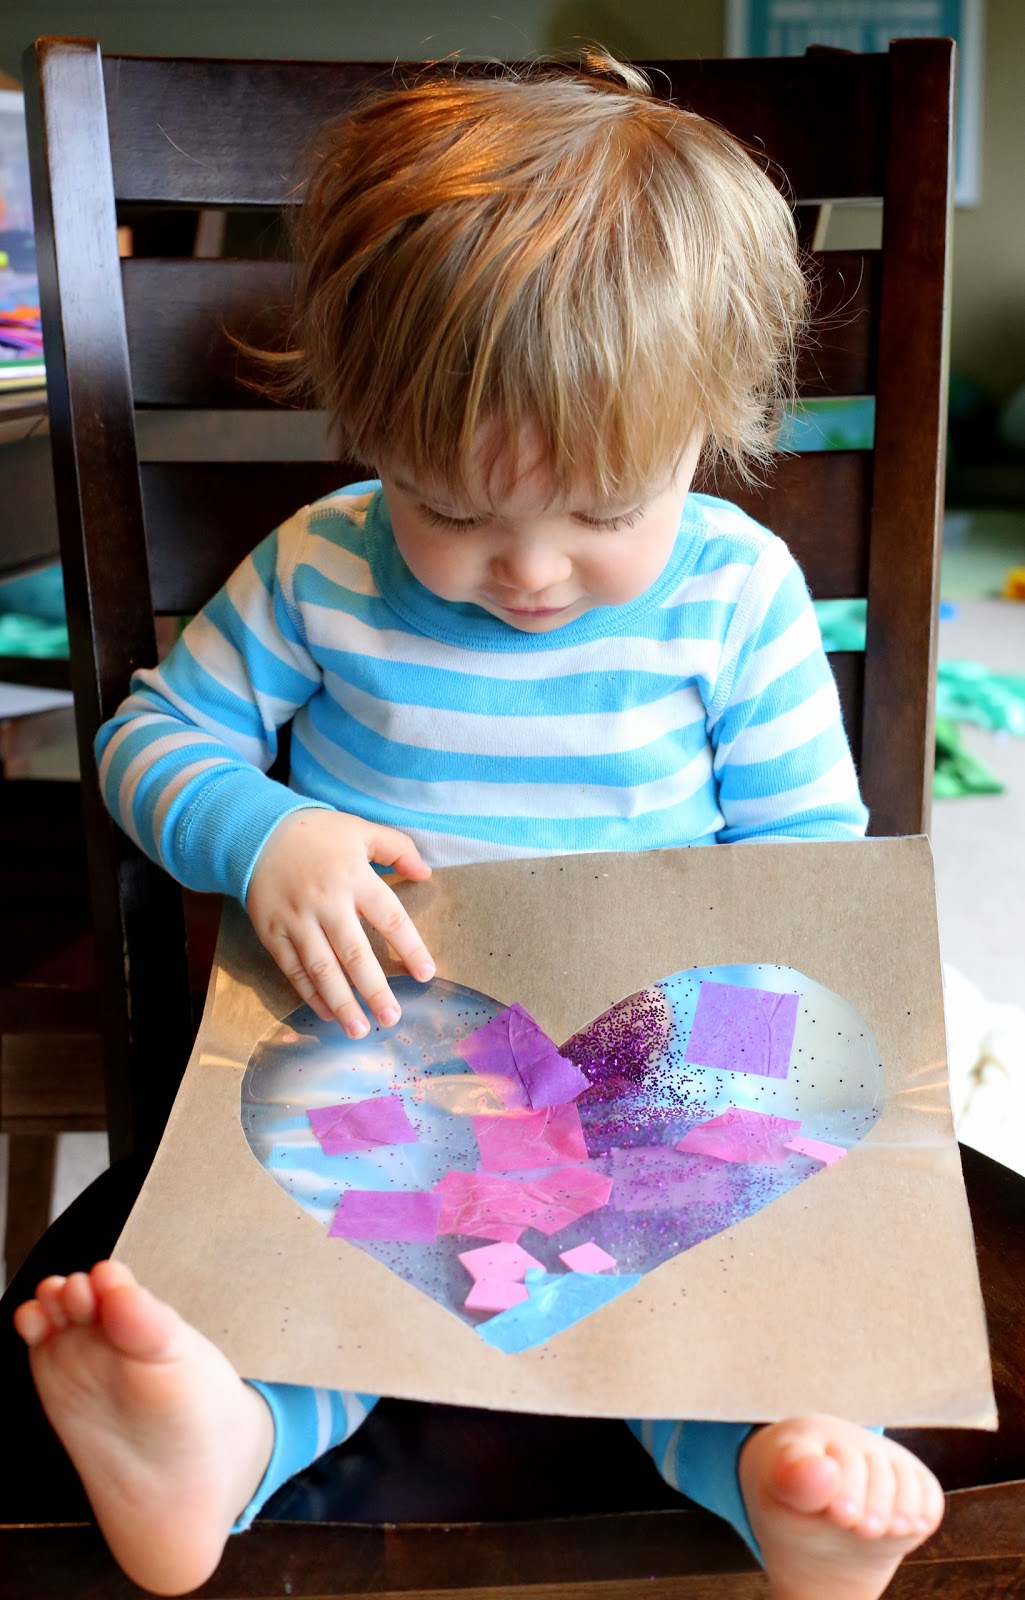
He was VERY proud of his final masterpiece and carried it around the house for quite awhile before deciding to surrender it. Since it is clear in the center, he enjoyed holding it up to his face and peeking through at us.
It makes a neat suncatcher - but it also looks nice on a wall. He's so proud to have some art hanging next to sis's creations!

To make your own, you'll need:
Thin cardboard (think old cereal boxes or the backs of drawing paper pads) or cardstock paper or posterboard paper
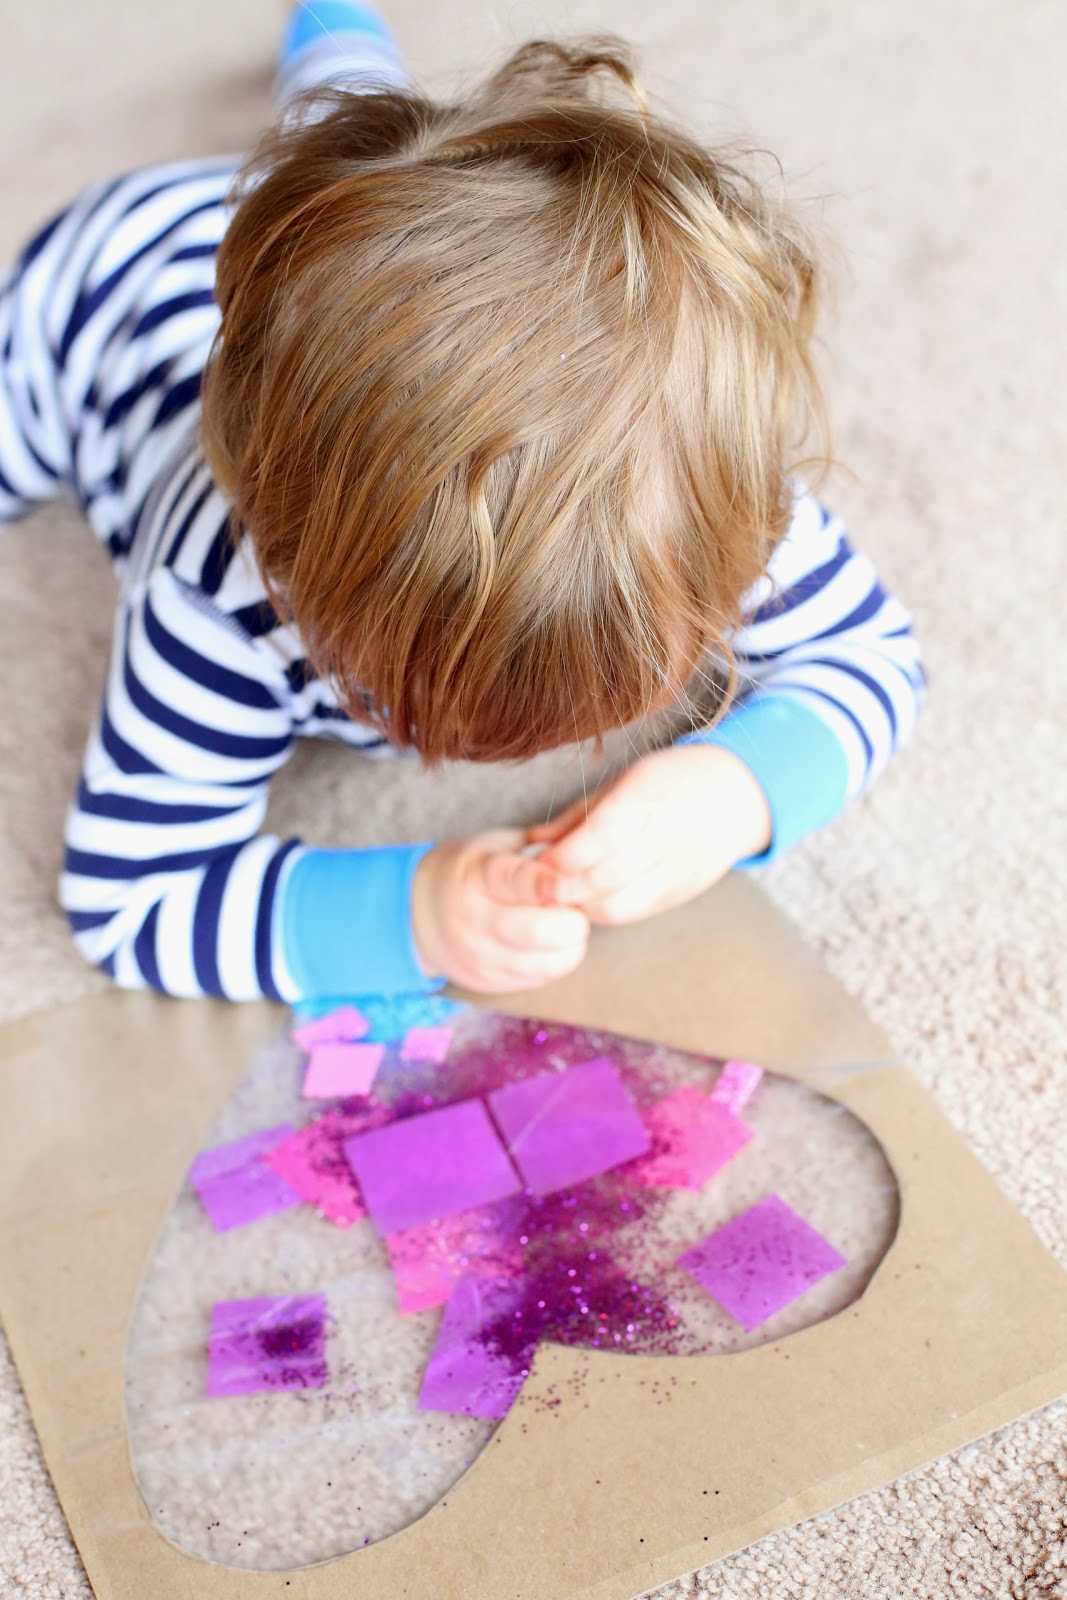
Cut a heart shape out of the center your thin cardboard/cardstock/posterboard. The greater the border you leave, the sturdier the final product will be. Measure and cut enough Contact Paper to cover one entire side. Peel and stick the contact paper to one side of your heart cut out. Flip it over such that the heart has a sticky side facing up. Tape the edges down so the heart doesn't slip as your child is decorating it and provide a variety of materials for them to decorate the heart with. When they are done, place another layer of contact paper such that the materials are sealed between two layers of contact paper and nothing is sticky!
If you enjoyed this post, be sure to check out the rest of our Valentine's Day posts here!
Follow along with Fun at Home with Kids on Facebook, Google+, Pinterest or Subscribe by Email or Bloglovin'!
All activities here are activities I feel are safe for my own children. As your child's parents/guardians, you will need to decide what you feel is safe for your family. I always encourage contacting your child's pediatrician for guidance if you are not sure about the safety/age appropriateness of an activity. All activities on this blog are intended to be performed with adult supervision. Appropriate and reasonable caution should be used when activities call for the use of materials that could potentially be harmful, such as scissors, or items that could present a choking risk (small items), or a drowning risk (water activities), and with introducing a new food/ingredient to a child (allergies). Observe caution and safety at all times. The author and blog disclaim liability for any damage, mishap, or injury that may occur from engaging in any of these activities on this blog.


He is just adorable :) and the art turned out so cute too :) He looks mighty proud :)
ReplyDeleteThank you so much, Veena! He totally is so proud!!! :)
DeleteGreat idea--thanks for sharing! He is adorable! :)
ReplyDeleteThank you, JLPS! :) :) :)
DeleteHe ia just too adorable!!
ReplyDeleteThank you so much!!! I definitely think so. ;)
DeleteLove this! That first time crafting with glitter is so nerve wracking lol. Too cute! Luv :)
ReplyDeleteHahahaha! Thank you, Jen!
DeleteThis is a great idea, I am going to try it out with Miss Almost 2 tomorrow - we're even using glitter for the first time!
ReplyDeleteAussie Mum
YAY! That makes me so happy! I hope she loves it!!! :) :) :)
DeleteI just discovered your site and I cannot seem to tear myself away from it! You are so creative in all of these projects on here, I cant seem to print everything fast enough!
ReplyDeleteThank you!
Thank you so much! What a sweet comment to wake up to this morning!!! So glad you found us! :) :) :)
DeleteWhat a fun craft! I'll have to pick up some contact paper. Your kiddos are adorable too!
ReplyDeleteThank you, Mrs. Ashley!!! :) :) :)
DeleteThank you! I am going to try this with my 21 month old for Easter. He will love!
ReplyDeleteJust perfect, MC Angel!!!
DeleteWhat a great idea! I'm going to try this with my soon to be 2 yr old (next month) for easter. We're going to cut out an easter egg instead of the heart. Thanks for the idea! I just found your site and am loving your creativity.
ReplyDeleteAwesome! I'd planned to do a post on the Easter version, but we've gotten too busy with the book. If you have a chance, I'd love to see a photo of how it turned out!!! :)
DeleteSo, in my enthusiasm to do this project with my 21 month old I forgot that my husband recently declared an indoor ban on glitter. It. Goes. Everywhere...and invariably ends up on his face at any given moment. Ooops! Regardless, my LO really enjoyed this "clean" project a lot more than when I try to get him to paint. I will definitely use the contact paper for a ton of fun projects. The finished products look great hanging in LO's bedroom window. Next time we'll just do more tissue paper and sequins and nix the glitter.
ReplyDeleteHahahahaha! Yeah sequins are a great substitute sparkle for glitter. I am so glad your little one had a great time and sorry about the mess! :) :) :)
Delete