
Many moons ago I tried to make one of our favorite slime recipes scented by adding Kool Aid. But it dissolved the slime. Whoops. Then over Christmas break it hit me - I could make chocolate slime! I tried it and it needed a few modifications to our normal recipe - but those modifications made it even stretchier than normal. We've been having so much fun seeing how far we can get it to stretch without breaking. Our current record is 9 feet! Oh, and it smells delicious!!!

And it looks *just* like melty chocolate!

Mega stretchy!!!!
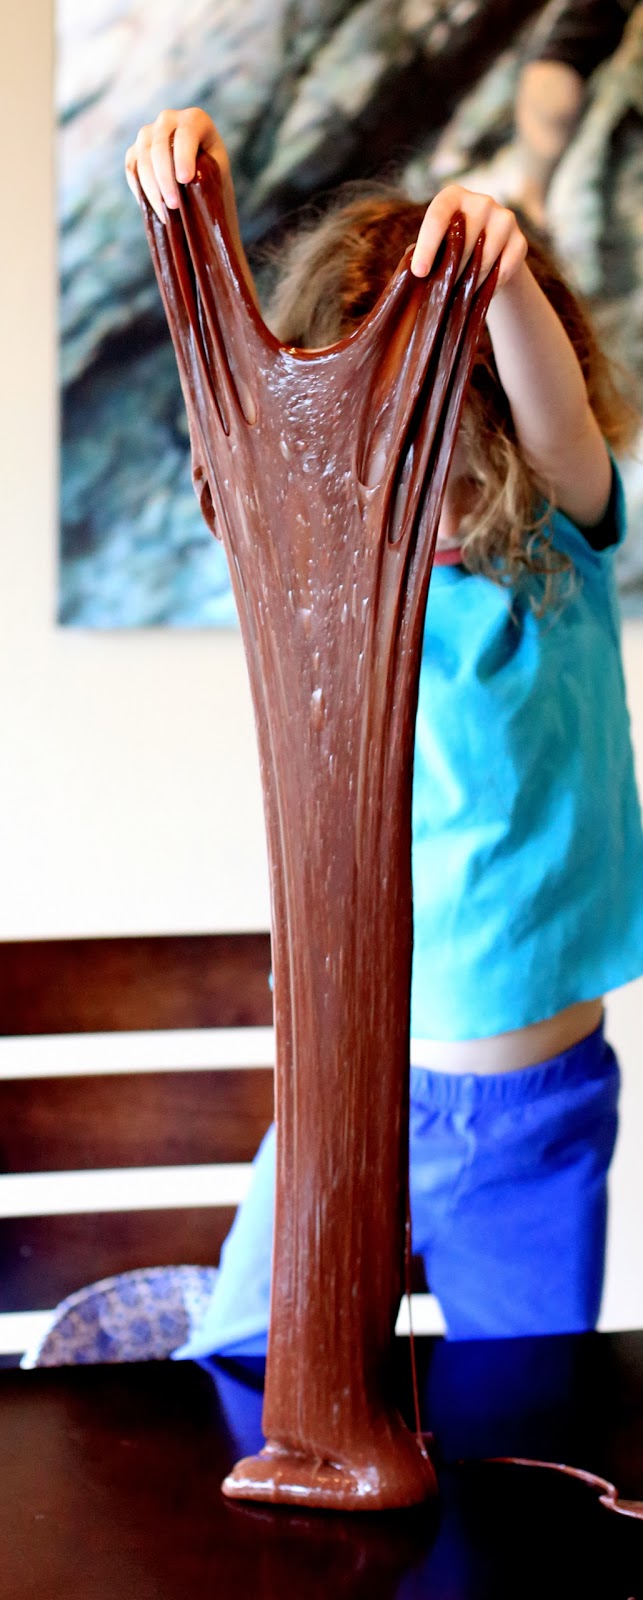
Doesn't it look like some sort of delicious chocolate batter?

And it flows just like melted chocolate. Yummm.

S discovered that it makes a great mud pit for unfortunate dinosaurs.

We later discovered that if you take a handful of slime and slowly stretch it across an opening with an edge - like this plastic Dollar Tree bowl - it will make a crazy wiggly bubble you can play with!
Ready to make your own?
First - and this is a big first - this recipe is NOT edible. Like not even a little. So if you have a toddler who might not understand that/might be tempted to taste something that smells chocolate-y and delicious - we recommend making our Edible Slime as usual, and kneading in 2-3 Tbsp of Unsweetened Cocoa Powder once the slime has set (around 5 minutes). The slime won't be as stretchy and smooth as the one pictured here - but it will be completely edible! And smell just as chocolicious.
To make the slime you see here (again NOT for tasting/eating), you will need:
Brown Food Coloring/Liquid Watercolors (optional)
To make a batch as big as ours, you will need two 4oz containers of clear washable school glue. We used Discount School Supply's clear washable glue, but any washable clear school glue should work. I emptied two bottles into a bowl and added 3 Tbsp of Unsweetened Cocoa Powder and 1/8 tsp of brown liquid watercolors (this is optional - I just wanted to be sure that we got a nice rich brown color!). I stirred until the cocoa powder was completely mixed into the glue. Next, I filled each of the glue bottles up with Sta Flo Liquid Starch and emptied them into the bowl. I stirred until it was completely combined. At this point we usually have our regular slime, but because of the added cocoa powder, I had to add even more Sta Flo than usual. Add 1/2 a glue bottle of Sta Flo at a time, stirring well in between. Once the slime no longer sticks to the sides of the bowl and instead begins clumping in the center of the bowl or on your spoon, reach in and start kneading it by hand. If it is sticking to your hands, add more Sta Flo. It should not be sticky (but it will be slippery!). Once you have a non-sticky, slippery and stretchy slime - you are good to play!
We find that warm water will easily rinse the slime off of any toys (or hands!). We store our slime in a Ziploc bag and find that it lasts for several weeks.
.jpg)
Follow along with Fun at Home with Kids on Facebook, Google+, Pinterest or Subscribe by Email or Bloglovin'!
All activities here are activities I feel are safe for my own children. As your child's parents/guardians, you will need to decide what you feel is safe for your family. I always encourage contacting your child's pediatrician for guidance if you are not sure about the safety/age appropriateness of an activity. All activities on this blog are intended to be performed with adult supervision. Appropriate and reasonable caution should be used when activities call for the use of materials that could potentially be harmful, such as scissors, or items that could present a choking risk (small items), or a drowning risk (water activities), and with introducing a new food/ingredient to a child (allergies). Observe caution and safety at all times. The author and blog disclaim liability for any damage, mishap, or injury that may occur from engaging in any of these activities on this blog.


This looks like so much fun to play with! I bet a container of this would be perfect as a Valentine's Day gift. :)
ReplyDeleteOooh, great idea, Kristan Price!!! And thank you!!!
DeleteI always love all your play recipes! You're so clever and do all the hard work for me :P I so appreciate you sharing your fun ideas!
ReplyDeleteHahaha - thank you, Rachel! :) :)
ReplyDeleteThat-is-awesome!
ReplyDeleteThank you, Kate! We had SO much fun streeeeetching it! :)
DeleteDidn't see this till now lol. Made this last night. Just a throw togeather. I used white pva instead. Still turnt out great
ReplyDeleteIs there any way to make it without liquid starch? Where I live you can’t get liquid starch :(
ReplyDeleteIf you live in the UK I share two different recipes that don't use liquid starch. You can also use borax dissolved in water or buffered saline contact solution that contains borate/borax.
DeleteMy kids love slime diy project so much!
ReplyDelete