Fun at Home with Kids

Make Your Own Cardboard Butterfly Wings

Friday, June 28, 2013

We have had butterflies on the brain since we've recently played in a Butterfly Small World and Raised Our Own Butterflies.


So it shouldn't be SO surprising that the other day an amazing thing happened!  A beautiful (and I think rare?) rainbow butterfly came to visit our house.  It flew from one end of our deck to the other very quickly!


Then it paused for a moment to sun its beautiful wings.


And it was off again!  Making a really silly face as it ran by!  Baby X and I got to marvel at its beauty (and speed) for quite some time before it disappeared.


If you would like to have a beautiful giant butterfly visit you, we've got some pointers.  First, you'll need a big cardboard box.  If you have your child lay down by the box, you can eyeball how big the wings of a giant butterfly ought to be.  I cut one wing and then used it to trace the opposite.  I overlapped them slightly to make the center very strong, taped it with packing tape and used some black adhesive foam to make the shape of a butterfly's body.  I punched four holes (one above and one below her shoulder on each side) and threaded some spare orange ribbon through and taped it down.


I added watercolor paper over both sides of the wings and lined the wing edges with black masking tape (the same tape I use to make frames around S's artwork in our Art Room).  We used Colorations Liquid Watercolors 
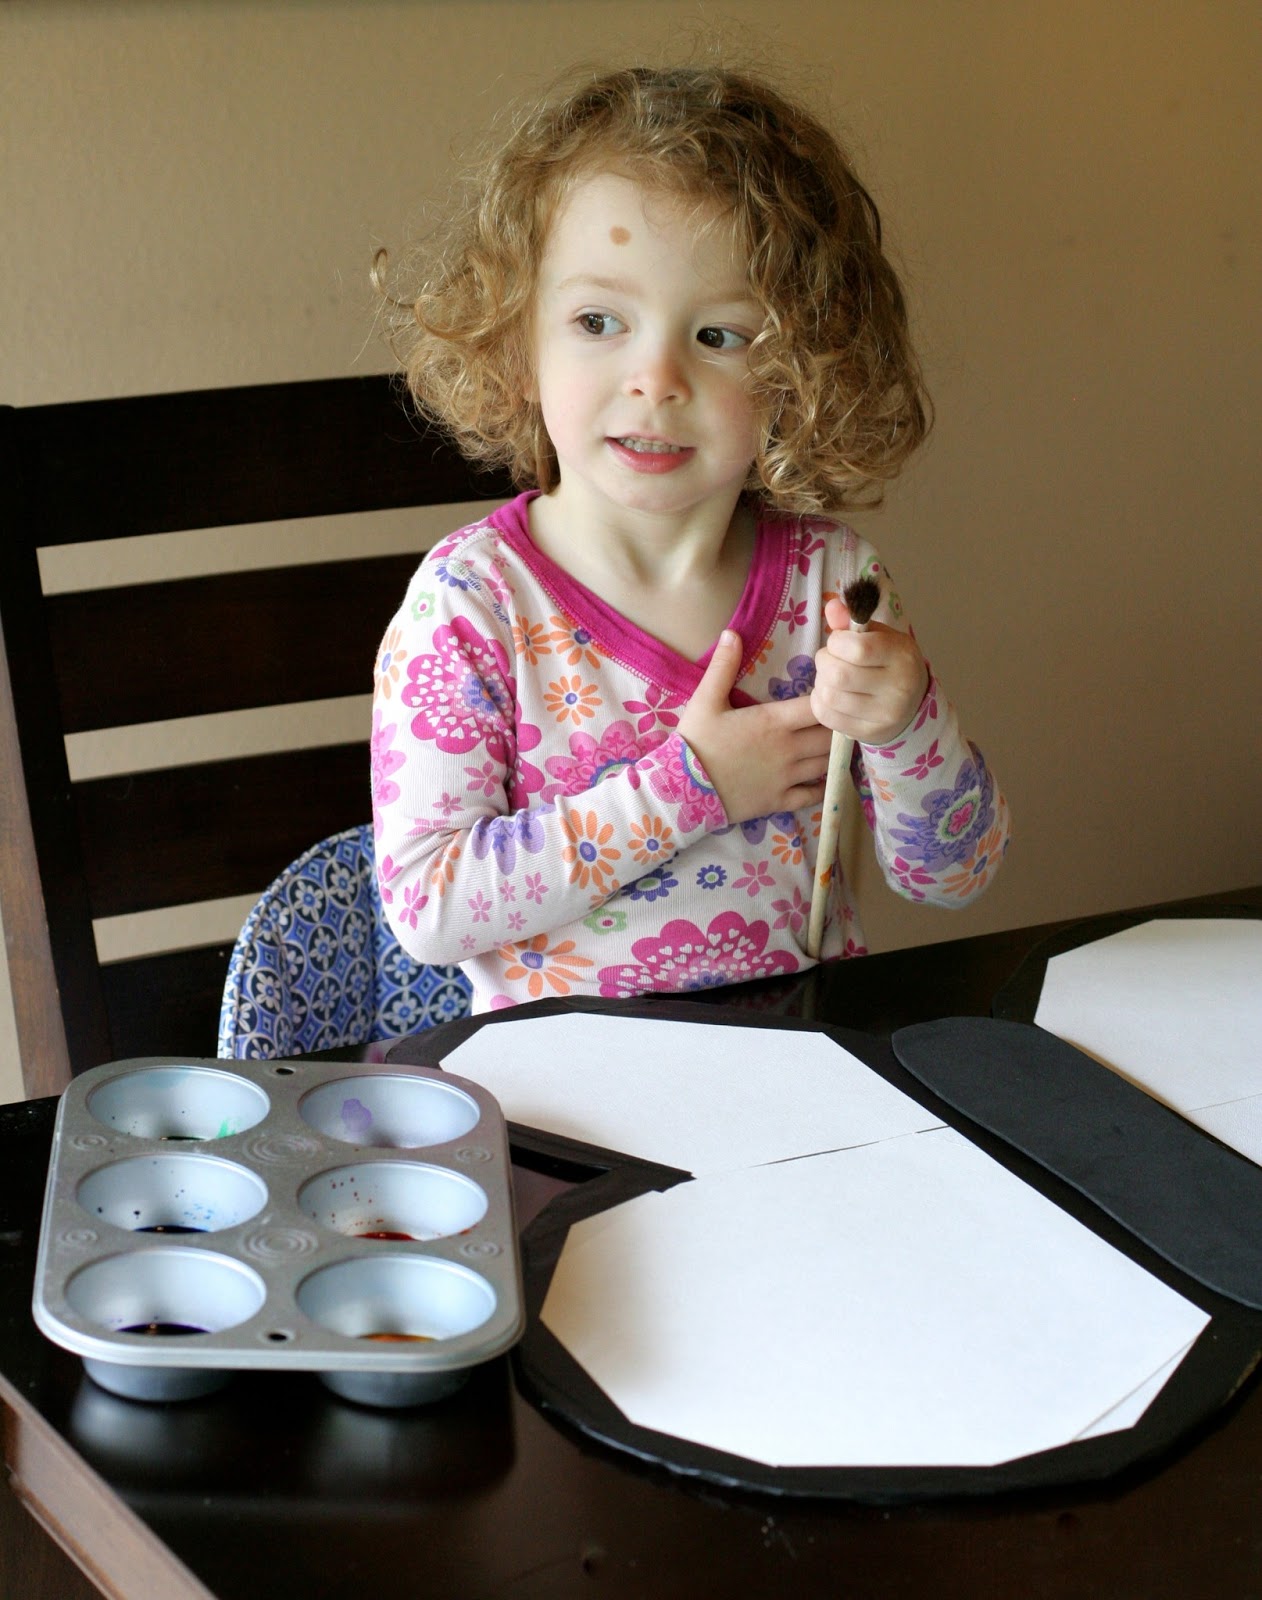
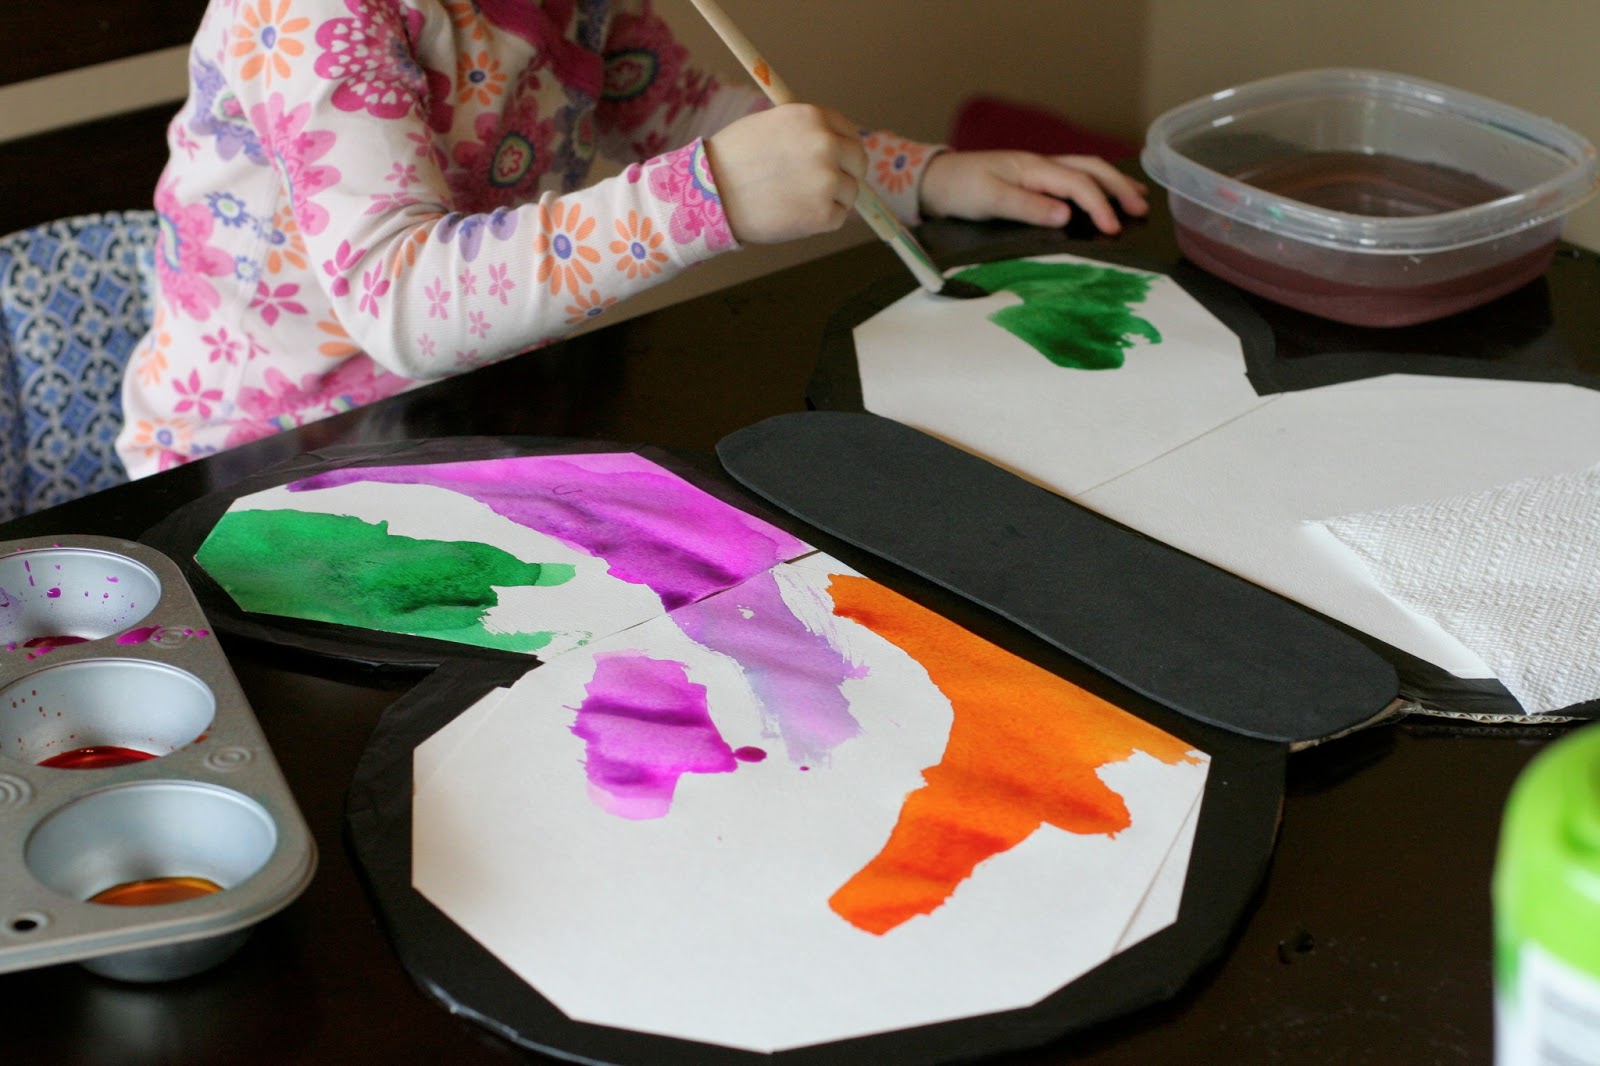
(What are Liquid Watercolors?) to paint, but you could also use traditional watercolors and get a similar result (our favorite traditional watercolors are these).  


S wanted to make a pattern on the butterfly's wings, so I cut some shapes out of the black sticky foam and we talked about symmetry.  S applied the shapes symmetrically to each wing herself.


Once we had some dry wings, we added some purple pipecleaner antennae to a headband and waited.  We were so lucky to have this beautiful butterfly visit - too bad S was missing for the whole thing!  ;)

This activity was inspired by these awesome cardboard fairy wings from Outnumbered by Kids.

Follow along with Fun at Home with Kids on FacebookGoogle+Pinterest or Subscribe by Email or Bloglovin'!

All activities here are activities I feel are safe for my own children.  As your child's parents/guardians, you will need to decide what you feel is safe for your family.  I always encourage contacting your child's pediatrician for guidance if you are not sure about the safety/age appropriateness of an activity. All activities on this blog are intended to be performed with adult supervision.  Appropriate and reasonable caution should be used when activities call for the use of materials that could potentially be harmful, such as scissors, or items that could present a choking risk (small items), or a drowning risk (water activities), and with introducing a new food/ingredient to a child (allergies).  Observe caution and safety at all times.  The author and blog disclaim liability for any damage, mishap, or injury that may occur from engaging in any of these activities on this blog.

Simple Small Worlds: Dinosaurs and Frozen Sensory Snow

Thursday, June 27, 2013

I saw this awesome recipe for Shivery Snow Dough from Learn with Play at Home a few months back and thought it was totally brilliant!  A freezing cold snow dough in the hot summer sounded just perfect.  I decided to make a different snow dough, but followed her add glitter and freeze steps.  :)  

Frozen Sensory Snow - Easy, cheap (cost around one dollar!), and the icy cold lasted for TWO hours while we played!  Perfect for keeping cool this summer from Fun at Home with Kids

I wanted to use something that crunched like snow, and I remembered the texture of slightly wet baking soda - the precursor to making  our baking soda shells in our Hidden Fizzing Ocean World (and also our Fizzing Treasure Rocks in Day 2 of our Leprechaun Treasure Hunt).

Frozen Sensory Snow - Easy, cheap (cost around one dollar!), and the icy cold lasted for TWO hours while we played!  Perfect for keeping cool this summer from Fun at Home with Kids
This post includes affiliate links for your convenience.

So I took two boxes of baking soda and added just enough water that it looked like crumbly snow (I mixed by hand).  Then I added some glitter (of course) and popped it in the freezer.  S loved how cold it was, but it was pretty darn frozen.  We decided to add some water with our squeezy condiment bottlesto see if we could melt some of the "snow".

Frozen Sensory Snow - Easy, cheap (cost around one dollar!), and the icy cold lasted for TWO hours while we played!  Perfect for keeping cool this summer from Fun at Home with Kids

Adding the water started the melting process and you could break off little tiny melty snowballs.  It was then deemed ready for some dinosaurs!  Now these particular dinosaurs lead pretty adventurous lives.  If you are a regular reader, you'll recall they've been fossilized, caught in sticky mud, and frozen in gelatin.  Today was their first adventure in snow, though.  :)


Since the snow was made of baking soda, S wanted to try adding some vinegar (I know some of my readers have children who don't like the smell of vinegar - this play works perfectly well with water!  Vinegar is totally optional.)   We had fun watching the brief glittery burst of bubbles as the vinegar and baking soda reacted.

Frozen Sensory Snow - Easy, cheap (cost around one dollar!), and the icy cold lasted for TWO hours while we played!  Perfect for keeping cool this summer from Fun at Home with Kids

Then it was back to playing.  The vinegar/water made glittery lakes on either side of a frozen path.  The dinosaurs were taking many trips back and forth along the frozen path and sometimes falling into a lake on either side and needing S's assistance (apparently dinosaurs are not good swimmers)!


As the baking soda snow melted, it was so soft.  I was surprised to see how long the whole mixture stayed cold.  It was really quite cold even at two hours out (S REALLY liked this world and kept playing and playing and...you get the idea)!


The slurry that the melted baking soda made was reminiscent of cornstarch and water.  It was nice and goopy and drippy, which is extra fun for dramatic play.

Frozen Sensory Snow - Easy, cheap (cost around one dollar!), and the icy cold lasted for TWO hours while we played!  Perfect for keeping cool this summer from Fun at Home with Kids

As it melted, the frozen crumbles turned into more of a snowy sludge (it was still SO COLD!) and S could make patterns with her fingers and the dinosaurs could leave footprints (they quickly disappeared, but it was pretty cool).

Frozen Sensory Snow - Easy, cheap (cost around one dollar!), and the icy cold lasted for TWO hours while we played!  Perfect for keeping cool this summer from Fun at Home with Kids

So much fun - and baking soda is only 59 cents a box at the Dollar Tree!  What's not to love?  :)

Frozen Sensory Snow - Easy, cheap (cost around one dollar!), and the icy cold lasted for TWO hours while we played!  Perfect for keeping cool this summer from Fun at Home with Kids

You can read about our other simple small worlds here:
Follow along with Fun at Home with Kids on FacebookGoogle+Pinterest or Subscribe by Email or Bloglovin'!

All activities here are activities I feel are safe for my own children.  As your child's parents/guardians, you will need to decide what you feel is safe for your family.  I always encourage contacting your child's pediatrician for guidance if you are not sure about the safety/age appropriateness of an activity. All activities on this blog are intended to be performed with adult supervision.  Appropriate and reasonable caution should be used when activities call for the use of materials that could potentially be harmful, such as scissors, or items that could present a choking risk (small items), or a drowning risk (water activities), and with introducing a new food/ingredient to a child (allergies).  Observe caution and safety at all times.  The author and blog disclaim liability for any damage, mishap, or injury that may occur from engaging in any of these activities on this blog.

Rainbow Foam Dough

Tuesday, June 25, 2013

Like many sensory materials, this one has several names.  I've seen it all over, but from what I can tell it started with a mention by the Ooey Gooey Lady on Facebook and has been done by several bloggers at this point.  I always see this pin from Mom Trusted float by me on Pinterest - and now that I've played with the sensory material, I do think Foam Dough is the best name for it.  

This post contains affiliate links for your convenience.

I was expecting it to be pretty fun, but WOW IS IT FUN.  You really ought to try it.  Because you will LOVE it.  We had one of S's grandmas staying with us this weekend and she and I just could not stop playing with this dough.  It's a safe bet that an activity is a total win if any adults around are just as engrossed with playing as the kid(s).   Now that I've hopefully convinced you to try it, I will warn you that it is messy.  Like really messy.  Maybe the messiest thing I've played with?  It cleaned up just fine for us, but I am thinking most people would rather play with this in a big bowl/tub/bin outside.  :)

Foam Dough has two ingredients in a roughly one to one ratio - cornstarch and shaving cream   I wanted to make rainbow Foam Dough, because, well - rainbows!!!!  So I started by coloring the shaving cream because I figured that would be easiest - I added Colorations Liquid Watercolors (What are Liquid Watercolors?), but you could also use food coloring (this, coincidentally, is how we make Shaving Cream Paint).


Then I slowly added cornstarch to each cup and stirred until it started looking ever so slightly doughy.  We kept our dough on the wet side because it was so much fluffier.  The more cornstarch you add, the drier the dough, but it does lose some of that amazing foamy-puffy texture.  Ultimately I'd say our foam dough ended up being slightly more shaving cream than cornstarch.


It really is just so foamy and puffy and fluffy and AMAZING.  It's like touching a cloud or a marshmallow...or maybe a marshmallow cloud?  Anyway, the pictures simply do not do it justice.


You can roll it into pretty little balls.  S had her grandma and me on ball rolling duty - and then she would SMOOSH them.  :)


Smooooosh.


It really was such a blast and so unlike any other material we've played with.

We sincerely hope you'll give this one a try - it is something you must experience!!!!


Click the photo below to buy it on Amazon or click here to read more about our book!

Follow along with us on FacebookGoogle+Pinterest or Subscribe by Email or Bloglovin'!

Please always supervise your infant/child at play.  Please stay within arms reach and never leave infants/children unattended.

Natural Rock Play Space and Outdoor Kitchen

Monday, June 24, 2013

 This post is part of a series on Playspace Design.   Other posts in the series include:
Our Playroom
DIY Outdoor Sound Wall
Dinosaur Garden

This is my favorite, favorite part of our yard.  It makes me happy just being here.  There's the dappled sunlight through the overhanging trees, the gentle rustling of the native grasses - and somehow it all combines to just be perfection.  It's so hard to do a place like this justice through photos...which is why there are SO many in this post.  I really felt like it was the only way to possibly get a feel for it.


When we first looked at our house a year and a half ago, I could see so much potential inside - but the backyard was a big bummer for me.  It was sloped and had three tiers where each flat level was overgrown grass and each slope between was full of vinca or ivy.  If you were a bird looking down on the property the flat areas would make a giant overgrown grass E, if that makes sense.  Anyway, it just didn't feel very fun.  You couldn't move between the levels and the yard was just not that inviting for young children.  My mom had the vision, though.  She assured me that we could make some amazing playspaces in the yard and create ways to move between the areas of the yard more easily.  This area you see here is located at the far bottom right of the "E".  There were two beautiful boulders at the top of the lowest stretch of overgrown grass and I remember telling my mom maybe we could add some rocks here, building off those two boulders, so that the kids could climb between the flat levels?  Well --- this is what my mom created.  A magical playspace modeled after a natural dry stream bed.


S is obsessed with collecting sticks.  Every time we go on a nature walk she's carrying and collecting an assortment the whole way.  So my mom designed four of these stick holders as a sculptural element to the playspace.  S likes to bring the sticks home from all over and place/arrange them in these black PVC pipes that we've buried in the ground.


There is also a water works element to the playspace.  We have this giant metal bucket that we fill with fresh water each time we come out to play and S can use it in either of her sand pits to "cook" the food she's always busy making here, or she can pour it down her hidden pipe.  


In between two rocks there's a slotted opening that leads to a flexible underground pipe we buried when we were making the dry stream bed.  It runs from one side diagonally to the opposite side of the dry stream bed.  If you're quiet, you can hear the water as it travels under the play area.


The pipe is laid at a gradual slope, so S can walk down the path and catch the water coming out of the flexible pipe at the other end.  We have a purple Tubtrug there to catch the water as it comes out.  If S is wanting to cook at the lower sand pit, she'll often send a large quantity of water through the pipes to fill this lower bucket for easier access.


Here's another view of the main water bucket.  S is prepping some muffin tins for the sand batter.  :)  We found all the cooking supplies at our local Goodwill.


Here you can see S's lower sand pit.  We dug a very deep (around 3 feet deep) pit in the dirt and encircled it with stone pavers.  We added several 50 pound bags of play sand to fill it and we keep a garbage can lid over it when not in use to keep wild animals from using it (ew!).  You can see S's array of cooking utensils here near the lower sand pit.  On either side of S are the two orignal beautiful boulders that inspired this whole amazing space.


Here's a finished cake that S has made for the dinosaurs from our Dinosaur Garden.  Doesn't it look delicious?  :)


A view up the dry stream bed.  Once we cleared the area of all the grass and vinca, we laid/buried the pipe, rough cut out the stairs, and dug and filled the sand pits.  We then laid the largest boulders that made the steps and framed the planters.  Next we brought in large river rock and placed them sporadically, finally we filled in the remaining spaces with smaller rocks and pea gravel.  We chose native grasses of varying heights for each of five planters - the largest grasses exist on the perimeters and will grow to about 5 feet in height at maturity, eventually creating an even more private area.


A closer look at the upper sand pit from behind the upper grasses.


My mom also found this long rectangular flagstone and earmarked it for a bench/oven.  S can sit on it to eat her fantastic baked goods, or she can place the muffin tin and some of the smaller pots and pans underneath to cook them in the "oven".


Going back up the path to fetch another bowl.


The sand pits are so much fun.  We'd considered mud, but ultimately decided that sand would be easier for S to work with as mud can sometimes get a bit difficult to dig through when it's dry.


My little chef hard at work in her little sanctuary.


Well, I hope I've managed to capture a little bit of the perfection and peace that exists in our amazing dry stream bed play space.  We are so thankful to my mom who had this incredible vision and brought it to life!  I still can't believe this used to be a snarl of grass and vinca...

Sometime next week I will try to post the remaining elements of our backyard so you can see how everything works together!


Follow along with Fun at Home with Kids on FacebookGoogle+Pinterest or Subscribe by Email or Bloglovin'!

All activities here are activities I feel are safe for my own children.  As your child's parents/guardians, you will need to decide what you feel is safe for your family.  I always encourage contacting your child's pediatrician for guidance if you are not sure about the safety/age appropriateness of an activity. All activities on this blog are intended to be performed with adult supervision.  Appropriate and reasonable caution should be used when activities call for the use of materials that could potentially be harmful, such as scissors, or items that could present a choking risk (small items), or a drowning risk (water activities), and with introducing a new food/ingredient to a child (allergies).  Observe caution and safety at all times.  The author and blog disclaim liability for any damage, mishap, or injury that may occur from engaging in any of these activities on this blog.

Not a Fairy Garden - a Dinosaur Garden!

Friday, June 21, 2013

 This post is part of a series on Playspace Design.   Other posts in the series include:
Our Playroom

This is the second of four posts on our Backyard's Design.  One of the elements I wanted to have in our yard was a place for imaginary play.  When I was perusing Pinterest, I saw so many fabulous Fairy Gardens - but fairies are just not S's thing.  However, dinosaurs are.  So I settled on creating a Dinosaur Garden instead.   :)


First we needed to decide where in the yard to create this world/garden.  My mother was super instrumental in our entire backyard design.  She's got a background in landscape architecture, so she was full of helpful tips.  She suggested playing off a feature that was already present in our backyard.  We had these two huge tree stumps from trees that were damaged in an ice storm and had to be cut down - so we built from there.

This post contains affiliate links for your convenience.

On either side of the tree trunks, we created large, wide mounds of dirt.  I really wanted a water feature for our Dinosaur Garden, but I didn't want to deal with standing water.  I'd seen aquarium rocks used to make trails in fairy gardens, so I settled on making a giant lake out of blue aquarium rocks (I bought them at a local pet store).  To make the lake I flattened one of the mounds and made sort of a crater that I filled in with the aquarium rocks.


Next we needed greenery.  I just love sedum in general, and it was the perfect addition here.  It looks so prehistoric, it has so many varied textures, and it's drought tolerant (who doesn't love a plant that rolls with you forgetting to water it, right?).  I bought three flats of sedum (at our local home improvement store they sell these large flats of sedum that look almost like a giant plant carpet) and we broke them up into several large clumps and laid them on top of our dirt.  We did all this a year ago - so by now the sedum has mostly filled in the gaps.  It is a type of groundcover, so if you aren't picky about some gaps the first year, you can save money by just planting spaced handfuls and they will fill in over time.


Finally, we needed some dinosaurs!  Safari Ltd makes some great dinosaur models, but we were a bit more frugal and I raided the local Goodwill.  I actually love the crazy faded plastic dinosaurs I found there!  They're pretty awesome.  S has decided that they are a family - there's the Dada in the background below, the Mama is the Triceratops in the foreground, and they have a baby (smaller) triceratops as well.  In addition to the large scale dinosaur family, I also bought a bag of tiny dinosaurs - half of which lived out here and the other half of which live inside our house and play in some of our small worlds.  I like the tiny guys because usually S sends her friends home with one or two (which is great - because you get so many in a set she's happy to share) and the tiny guys hide really well in the sedum.  :)


Here's another view of Dinosaur Lake.


There's S playing with a tiny dinosaur guy.


S LOVES her Dinosaur Garden.  She spends hours quietly chattering telling all sorts of stories, making them meals of grass and gravel, and generally having a great time.  It's such a fun addition to our backyard!  PS - Her cuteness in this picture melts my heart!!!!


Got a dinosaur lover?  For even more dinosaur fun, be sure to check out:
Follow along with Fun at Home with Kids on FacebookGoogle+Pinterest or Subscribe by Email or Bloglovin'!

All activities here are activities I feel are safe for my own children.  As your child's parents/guardians, you will need to decide what you feel is safe for your family.  I always encourage contacting your child's pediatrician for guidance if you are not sure about the safety/age appropriateness of an activity. All activities on this blog are intended to be performed with adult supervision.  Appropriate and reasonable caution should be used when activities call for the use of materials that could potentially be harmful, such as scissors, or items that could present a choking risk (small items), or a drowning risk (water activities), and with introducing a new food/ingredient to a child (allergies).  Observe caution and safety at all times.  The author and blog disclaim liability for any damage, mishap, or injury that may occur from engaging in any of these activities on this blog.