
While doing the research on glowing that led to our creation of Safe and Edible Glow Water, I happened across a photo of a glowing flower. The person had painted it with glow in the dark paint, but it got me to thinking - could I do the traditional science experiment where you change the color of the flower by soaking it in dye?

This post contains affiliate links for your convenience.
So I bought several white flowers and we set half of the flowers in tonic water and the other half of the flowers in a concentrated glass of our Glow Water. We let them sit overnight and S and I excitedly checked the next morning with our blacklight ..but nada. Bummer. I decided to do a Google search to see if anyone had successfully made glowing flowers (other than by painting them) - because maybe it just couldn't work - and found this article on About.com. Interestingly they list soaking the stem of the flower in tonic water as a way to make a flower glow. We tried that method yet again and even tried using different flowers, but we never could get soaking the stems in tonic water to produce glowing flowers for us.
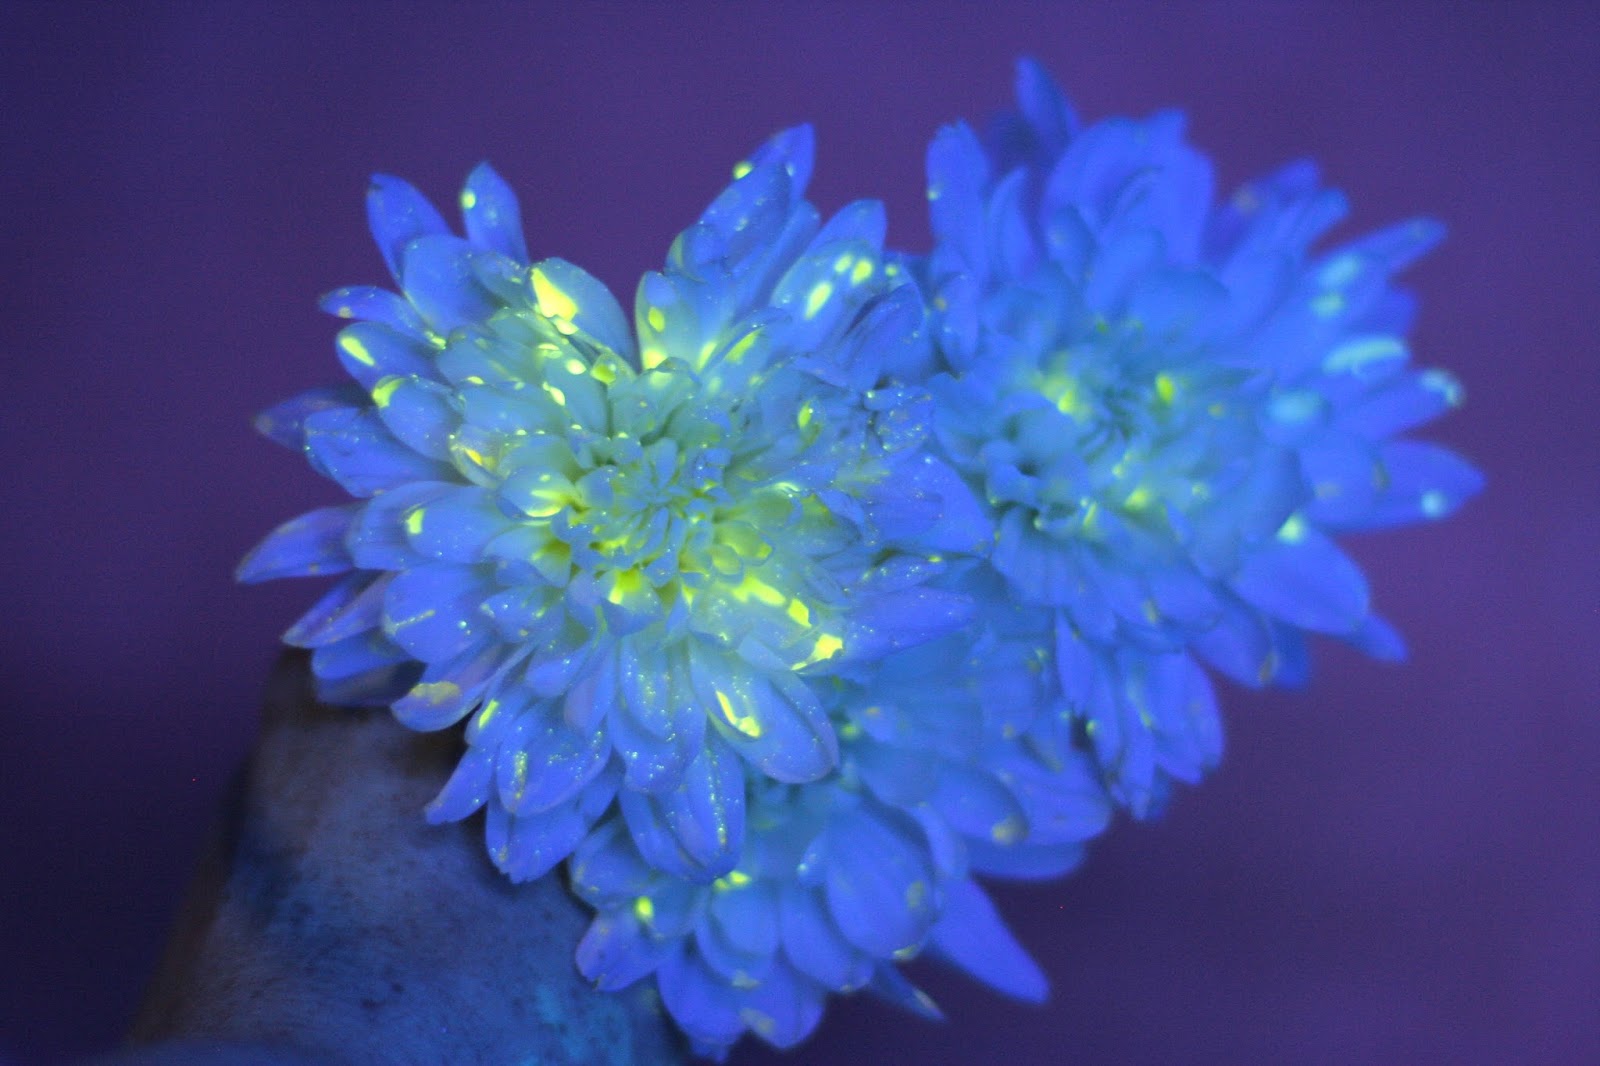
However, we did have success with two of the other methods listed in the About.com article. The flowers below are mums and I soaked the flowers (upside down - I wrapped the stems with a damp paper towel) in our Glow Water for two hours. The article claims that the petals absorb the glowing water/dye - but it looked a lot more like it just sits on the petals and ultimately dries. Either way, it totally worked and made gorgeous flowers. They are still thriving and glowing three days later.
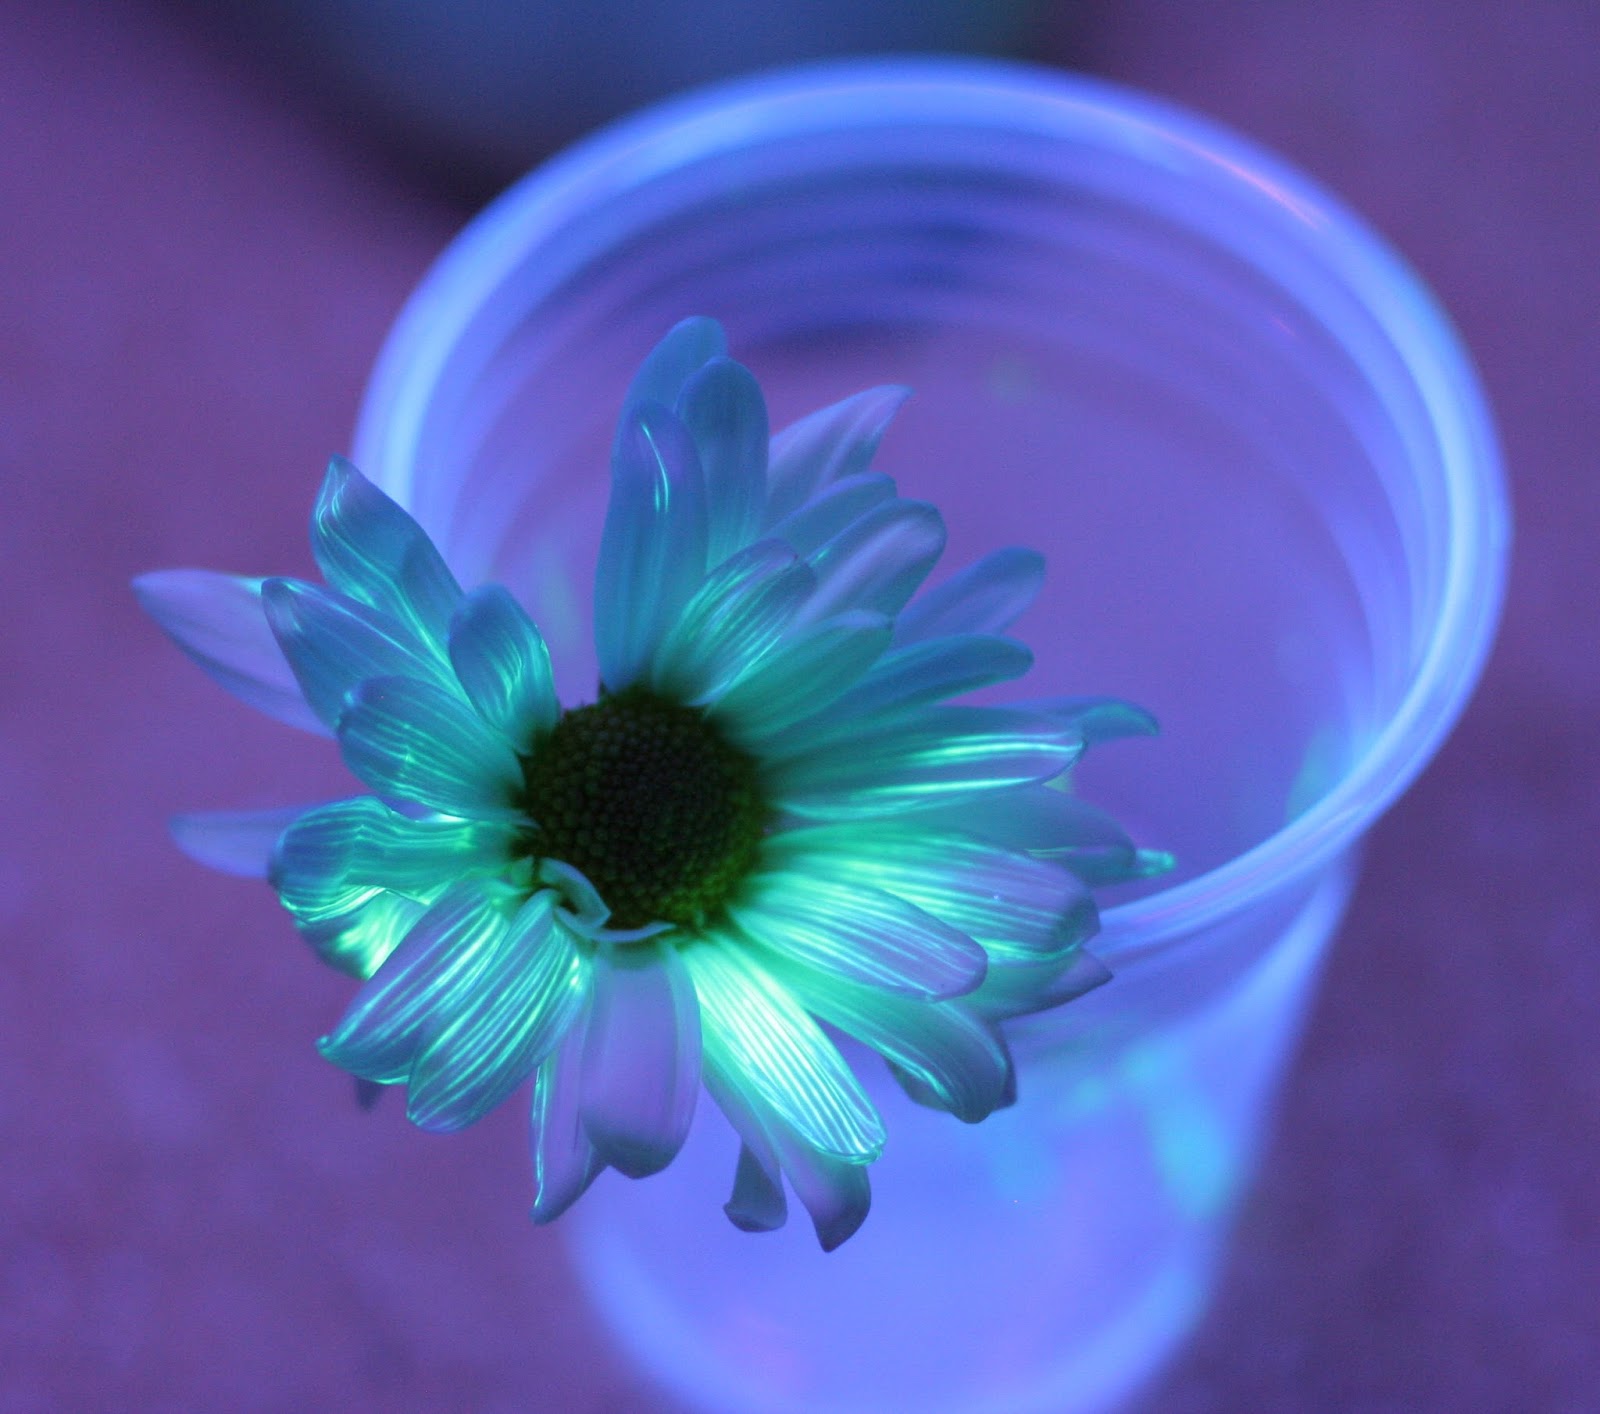
These next flowers were made by the soaking method as well, only we soaked these upside down in tonic water .

Here's a closer look at a tonic water soaked mum. I love the galaxy effect it gives - don't you?

The next method we used was soaking them in highlighter water. We tried several different color of fluorescing highlighters - but only the traditional yellow dye was absorbed. It created long streaks of glowing color on both the daisies and the mums. To make the highlighter water, I smashed the pen open with a hammer and pulled out the center (in ours it was a cotton cylinder soaked with dye). I ran water through it and squeezed out the dye. The more concentrated you can make the highlighter water, the brighter the resulting flowers. The highlighter water flowers are also doing well after three days.
After soaking overnight, we selected two of our mums that had been treated with highlighter
water and split the stems open in the light. We then looked at the inner stem under the blacklight and it lit up! We could clearly see the highlighter dye traveling up the stem (I learned the cool trick of looking inside the stems from Momtastic's post on coloring flowers with food coloring). I really loved that it was a bright glowing visual example of how the plants "drink" and transport the water and dye up to their leaves and flowers.

We traced the path the dye takes from the bottom of the flower up through the base leaves and out into the petals. It was really neat to see it illuminated like this!!!

And because little hands just love to dissect flowers, S got to choose a few flowers to deconstruct. I laid them on white paper so she could see the plant parts more clearly.

After that I invited her to make some art with the various flower parts by laying out some contact paper sticky side up.

Once she was done, we had to see the glowing version of her art.

It made a beautiful suncatcher in regular light as well.

.jpg)
Follow along with Fun at Home with Kids on Facebook, Google+, Pinterest or Subscribe by Email or Bloglovin'!
All activities here are activities I feel are safe for my own children. As your child's parents/guardians, you will need to decide what you feel is safe for your family. I always encourage contacting your child's pediatrician for guidance if you are not sure about the safety/age appropriateness of an activity. All activities on this blog are intended to be performed with adult supervision. Appropriate and reasonable caution should be used when activities call for the use of materials that could potentially be harmful, such as scissors, or items that could present a choking risk (small items), or a drowning risk (water activities), and with introducing a new food/ingredient to a child (allergies). Observe caution and safety at all times. The author and blog disclaim liability for any damage, mishap, or injury that may occur from engaging in any of these activities on this blog.


These are soooooo cool!!! I love the three different ways of making them, and the three different results. I probably would have gotten discouraged after the first experiment didn't work! I also can't wait to cut open the stems and see inside. Awesome. And now I have to start inventing a time machine so I can have a glow-in-the-dark wedding!
ReplyDeleteThank you, Jessica! I was determined to make them glow, LOL! Yessss, that would be amazing!
DeleteNow THAT is so cool!!!
ReplyDeleteThank you, Play Create Explore! You are always SO kind!!!! :)
DeleteThis is so cool! My daughter will LOVE this!
ReplyDeleteI nominated you for the Versatile Blogger Award! Check it out! http://www.mustardseedmommy.com/2013/08/the-versatile-blogger-award/
Thank you on both counts, Sarah!!! :) :)
DeleteI believe you need to insure a couple of things to make the flowers absorb colors (How they make Black Roses). The flowers need to be freshly cut so they are still in the 'live' category, allowing them to still want to suck nourishment. Also, cut the stem at a 45 degree angle before putting them in the water solution, this provides you with more surface area for absorption. Hope this helps. I know Mums are easily/often colored for sporting events to portray school colors.
ReplyDeleteAll great points!!!! Thank you for mentioning those tips. :)
DeleteThanks for sharing!
ReplyDeleteSure thing! We had so much fun experimenting with making them glow!
DeleteThank you! :)
ReplyDeleteThis is so cool! to view the flowers after you soak them in highlighter fluid, did you place them under the backlight or can you see it just the same with the lights turned off??
ReplyDeleteThank you, Michelle! Unfortunately with all of them - they only glow in the presence of a blacklight. So to see the highlighter flower glow (that one was the coolest!) you will need a blacklight.
DeleteThank you for posting! We will do a trial run over the weekend with my kids. These are so beautiful and exactly what I need. Planning to give them away as a "thank you" to our school glow carnival fundraiser (for our volunteers, teachers & parent volunteers).
ReplyDeleteAwesome! A glow carnival sounds SO neat!!!!!
Deletehow much are mums flowers?
ReplyDeleteIt depends on where you buy them! I think this bunch was maybe $6?
DeleteDo you need a black-light with all of the ideas or is there any that will glow naturally?
ReplyDeleteAll of these ideas need a blacklight. You could try painting them in glow-in-the-dark paint?
DeleteThank you I'm using the idea for a science project:)
DeleteThank you and I love your website I am using your idea as a science project with my friend:)
ReplyDeleteFun! And thank you!
DeleteWhat kid of mums are they?can you use any other king of flower? and thank you for answering my questions I'm working on a science project
ReplyDeleteYes, you could use other flowers as well. Anything that's white would work best, and daisies are exceptionally good at taking up dye if you go that route. :)
DeleteHi, Love this article. I have it on one of my pinterest boards and it has almost 1500 repins and 250 likes. Thanks!!!!
ReplyDeleteThank you so much! That is amazing!!!!
DeleteThis is AWESOME! Definitely adding it to our to do list :)
ReplyDeleteThank you, Kim!
Deletenot sure if my I sent my question- I have been trying this but my pictures are not working-- can you tell me what type of black light you used and what type of camera or camera settings that you used? thanks!
ReplyDeleteBlack light photography is HARD. I have a really good DSLR camera, so I'm able to shoot at around 12800 or 25600. I also used a tube black light and experimented with the location of it to get a higher quality photo. I hope that helps!
Deletethanks for info- I have a decent camera but I have always used auto settings -which setting do I change for 12800- sorry for such a novice question!
DeleteNo worries! It's your ISO. :)
DeleteThank you for the marvelous pictures. I also appreciate your comments on what didn't work. Have you tried this with Vitamin B water? Buy the kind that is highest in riboflavin. It also make fun glow -in-the-dark bathwater (non-toxic).
ReplyDeleteYep! I was the one who first shared the vitamin B glowing baths. :)
Delete